Build on Any Side: The Workplane in Kids 3D Lab
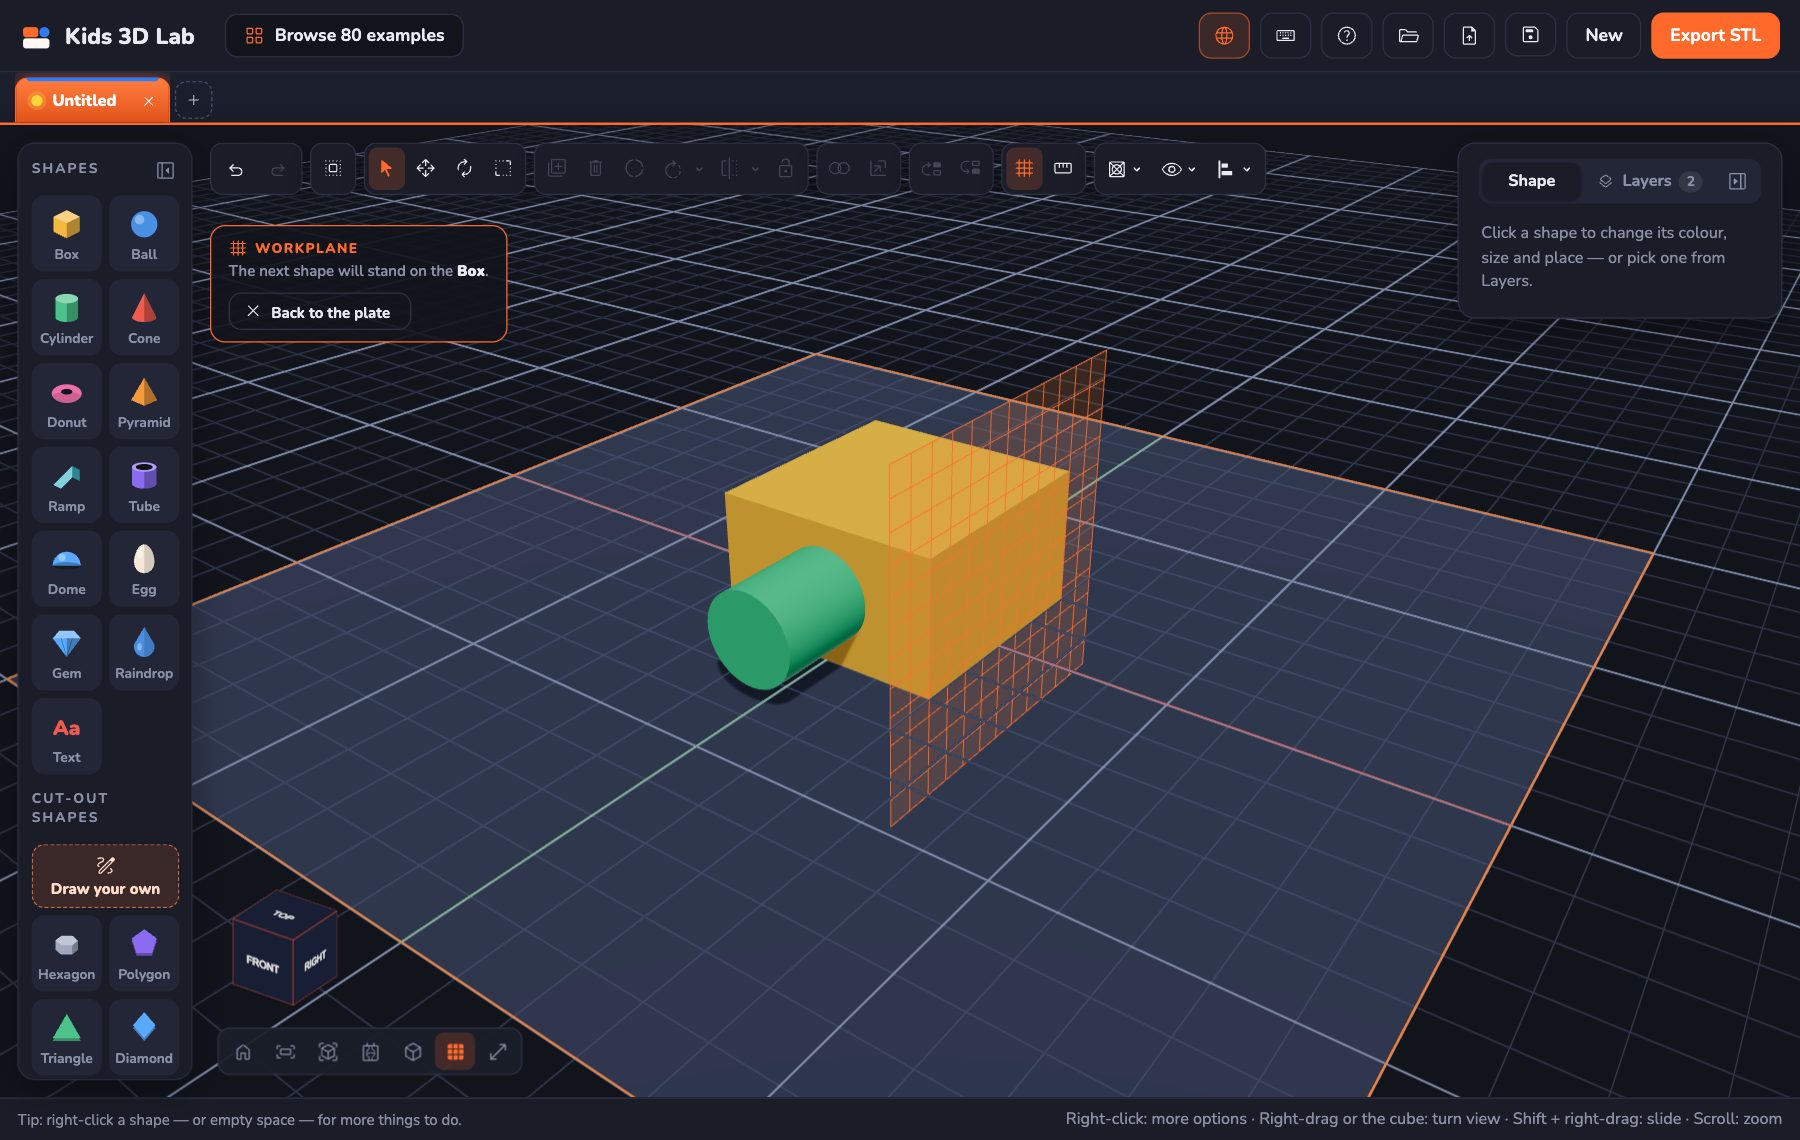
Have you ever wanted to put a wheel on the side of a car? Or a nose on the front of a robot's head? Or a chimney on top of a roof? Until now, new shapes always landed on the plate, and you had to lift them and move them into place. Now there is a quicker way. It's called the Workplane, and it lets your next shape stand on any side of another shape.
What is a workplane?
When you add a shape, it stands on the plate. The plate is like the floor of your room. A workplane is a new floor that you choose yourself. It can be the top of a box, or the side of a box, like a wall.
Big 3D design apps, like Tinkercad, have workplanes too. Now you can learn the same idea in Kids 3D Lab, in a way that is quick and easy.
How to use the Workplane
- Click Workplane in the tool row. It's the button with the orange grid. You can also press P on the keyboard.
- Move the mouse over your shapes. An orange grid shows up on the side under the mouse. It always sits in the middle of that shape.
- Click the side you want. A card at the top left says: The next shape will stand on the Box.
- Now add a shape. It stands right in the middle of that side!
If you picked the top, the new shape stands on top. If you picked a side, the new shape stands out sideways, like a handle on a door.
It's for the next shape only
The workplane works once. After one shape has landed on it, the workplane goes away, and new shapes go back to the plate. This way you never wonder why a ball suddenly appeared on top of a box!
Want to put two shapes on the same side? Easy: click Workplane and the side again. It takes two clicks.
Changed your mind before adding a shape? Click Back to the plate on the card, click the plate, or press Esc.
Even faster: drag it
On a computer, there's an even quicker way.
- Hold the mouse button down on a shape in the Shapes panel on the left.
- Drag it into the 3D view.
- Let go on top of another shape, or on its side.
The shape stands exactly where you let go. While you drag, a faint orange grid shows which side it will land on. Let go on the plate instead, and the shape lands on the plate, right at that spot.
Clicking a shape in the panel still works the same as before. Dragging is just another way.
Words on a wall
Text works with the workplane too. Put your name on the front of a box, and the letters stand out from the wall. They read the right way up, not upside down and not sideways. This is perfect for door signs, name blocks and trophies.
- Add a Box.
- Click Workplane, then click the front of the box.
- Add Text, and type your name.
Your name now sticks out of the front of the box!
Why the shapes print as one piece
When a new shape stands on a side, Kids 3D Lab pushes it a tiny bit, just 0.1 mm, into that side. You can't see it, but it matters. Two shapes that only touch might print as two loose pieces. Two shapes that overlap a little print as one strong piece.
So you can build a robot with arms on its sides and a nose on its face, and it will come out of the printer all in one go.
A few things to know
- Faces pointing down can't be a workplane. The bottom of a floating shape points at the plate. A shape standing there would hang upside down, so Kids 3D Lab doesn't allow it.
- Nothing goes under the plate. If you drop a shape low on a wall, it moves up a little, so it sits on the plate instead of poking through it.
- Moving the shape ends the workplane. If you move, change or delete the shape the workplane is on, the workplane goes away. It would be in the wrong place otherwise.
- New shapes are in the middle. With the Workplane button, the new shape always lands in the middle of the side. You can slide it left or right afterwards, with the arrows or the arrow keys.
Try it: a little robot
Let's use the workplane to build a robot face.
- Add a Box. Make it 30 mm wide, 30 mm deep and 30 mm tall. This is the head.
- Click Workplane, then the front of the head. Add a Ball with a diameter of 8 mm. That's an eye! Slide it to the left.
- Click Workplane and the front again. Add another Ball for the other eye, and slide it to the right.
- Click Workplane and the top of the head. Add a thin Cylinder. That's an antenna.
- Drag a Cone from the Shapes panel and let go on the front of the head, between the eyes. A nose!
- Paint everything in fun colours.
Now turn the view around. Every part is stuck to the head, in the right place. Try adding ears on the left and right sides too.
Questions kids ask
Where is the Workplane button? In the tool row above the plate, next to Measure. It has an orange grid on it.
Why did my next shape go back to the plate? The workplane only works for one shape. Click Workplane again to use it for another shape.
Can I drag shapes on a tablet? Dragging from the panel works with a mouse. On a phone or tablet, use the Workplane button: tap it, tap a side, then tap a shape.
Can I use it with holes? Yes! Add a shape on a side and click Hole. It only just touches the side, so pick the box, Shift-click the hole, and click Cut through to push it all the way in. Great for windows and doors.
For grown-ups
The workplane is a core idea in computer-aided design: work happens relative to a chosen surface, not only to the floor. Tools like Tinkercad, Fusion and Onshape all use it, so children who learn it here will feel at home later. In Kids 3D Lab, the workplane holds for one shape only, then resets to the plate on its own. Young children often forget a setting that stays on, and then can't explain why shapes appear in odd places, so one shape at a time keeps things predictable. New shapes overlap the surface by 0.1 mm so the model exports as a single solid, which slicers print as one piece. To learn the other arranging tools, read Line Up, Stack and Group. For every button in the app, see The Kids 3D Lab Guide.
Keep reading
 App skills
Make Your First 3D Model in 10 Minutes
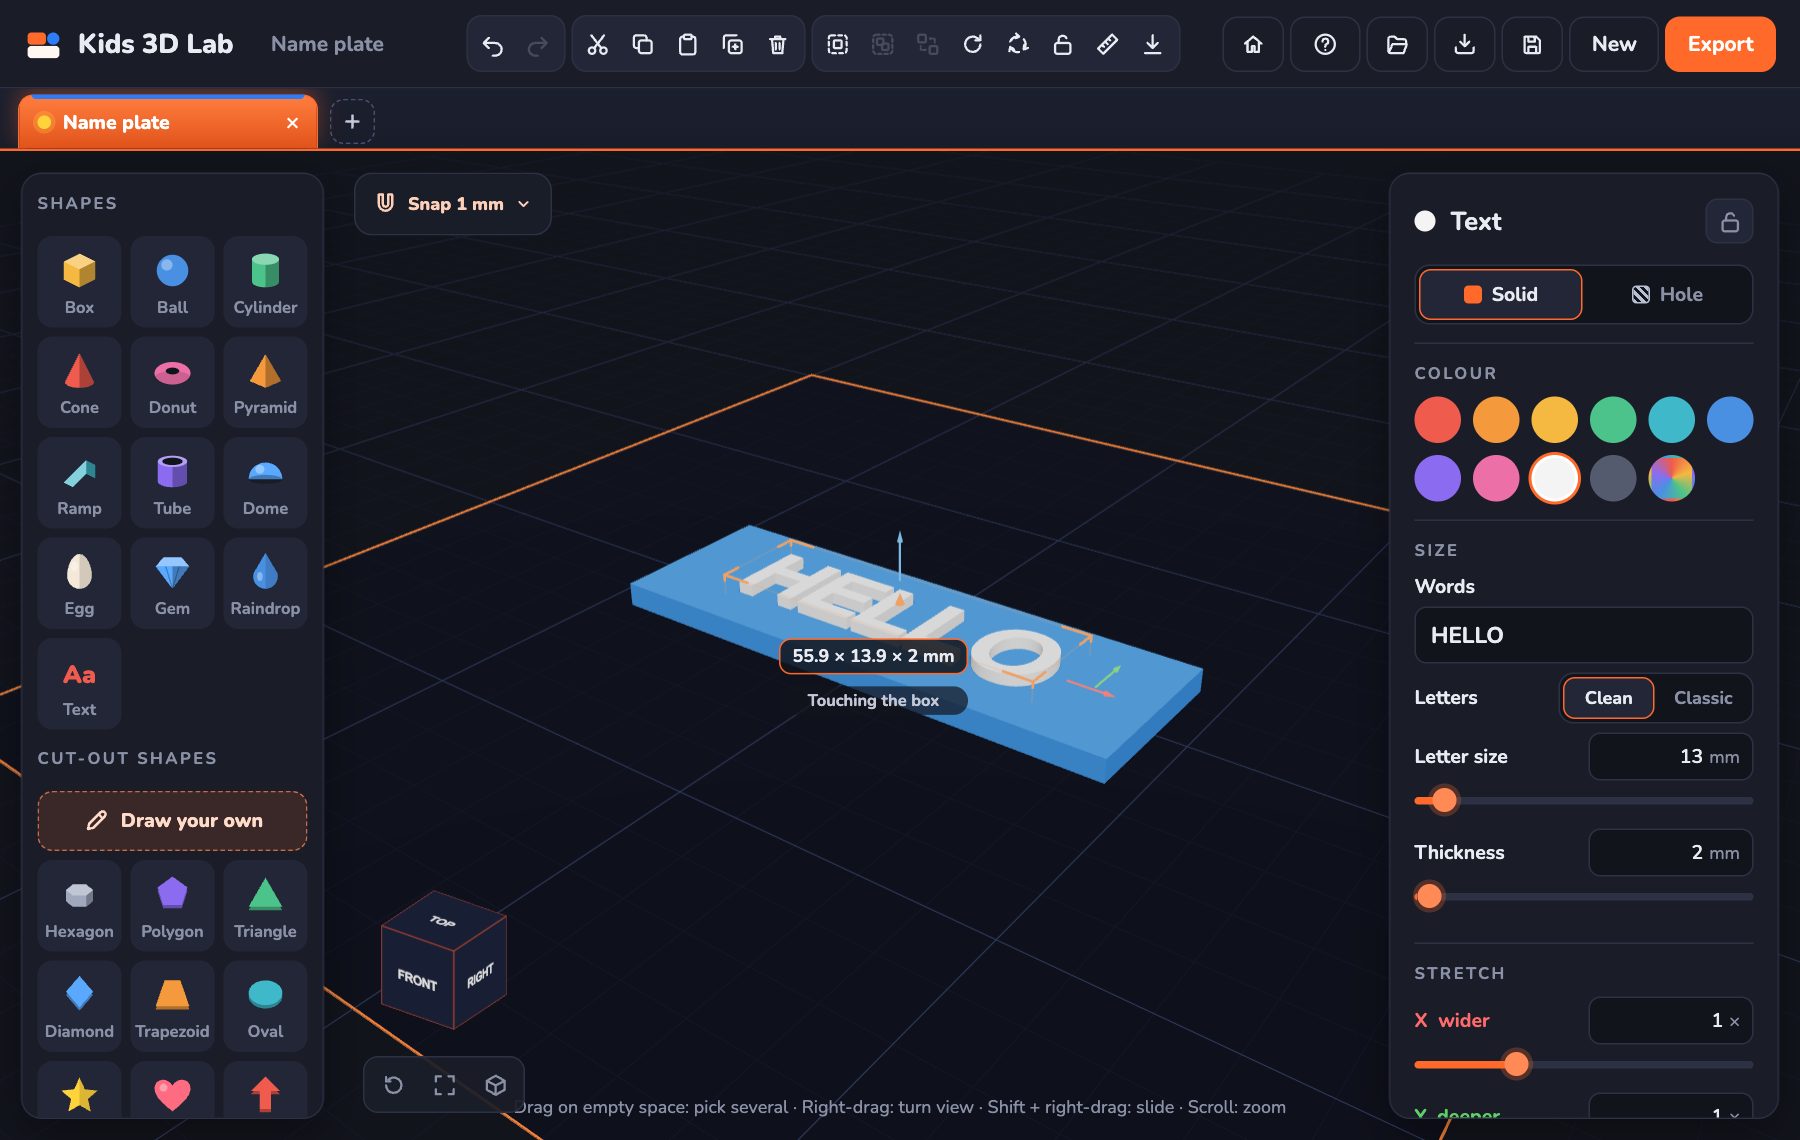
How to make a 3D model, step by step — your very first one is a name tag with your own name on it. Great for beginners and school projects.
6 min read
App skills
Make Your First 3D Model in 10 Minutes
How to make a 3D model, step by step — your very first one is a name tag with your own name on it. Great for beginners and school projects.
6 min read
 App skills
Millimetres Made Easy: How Big Is Your Model?
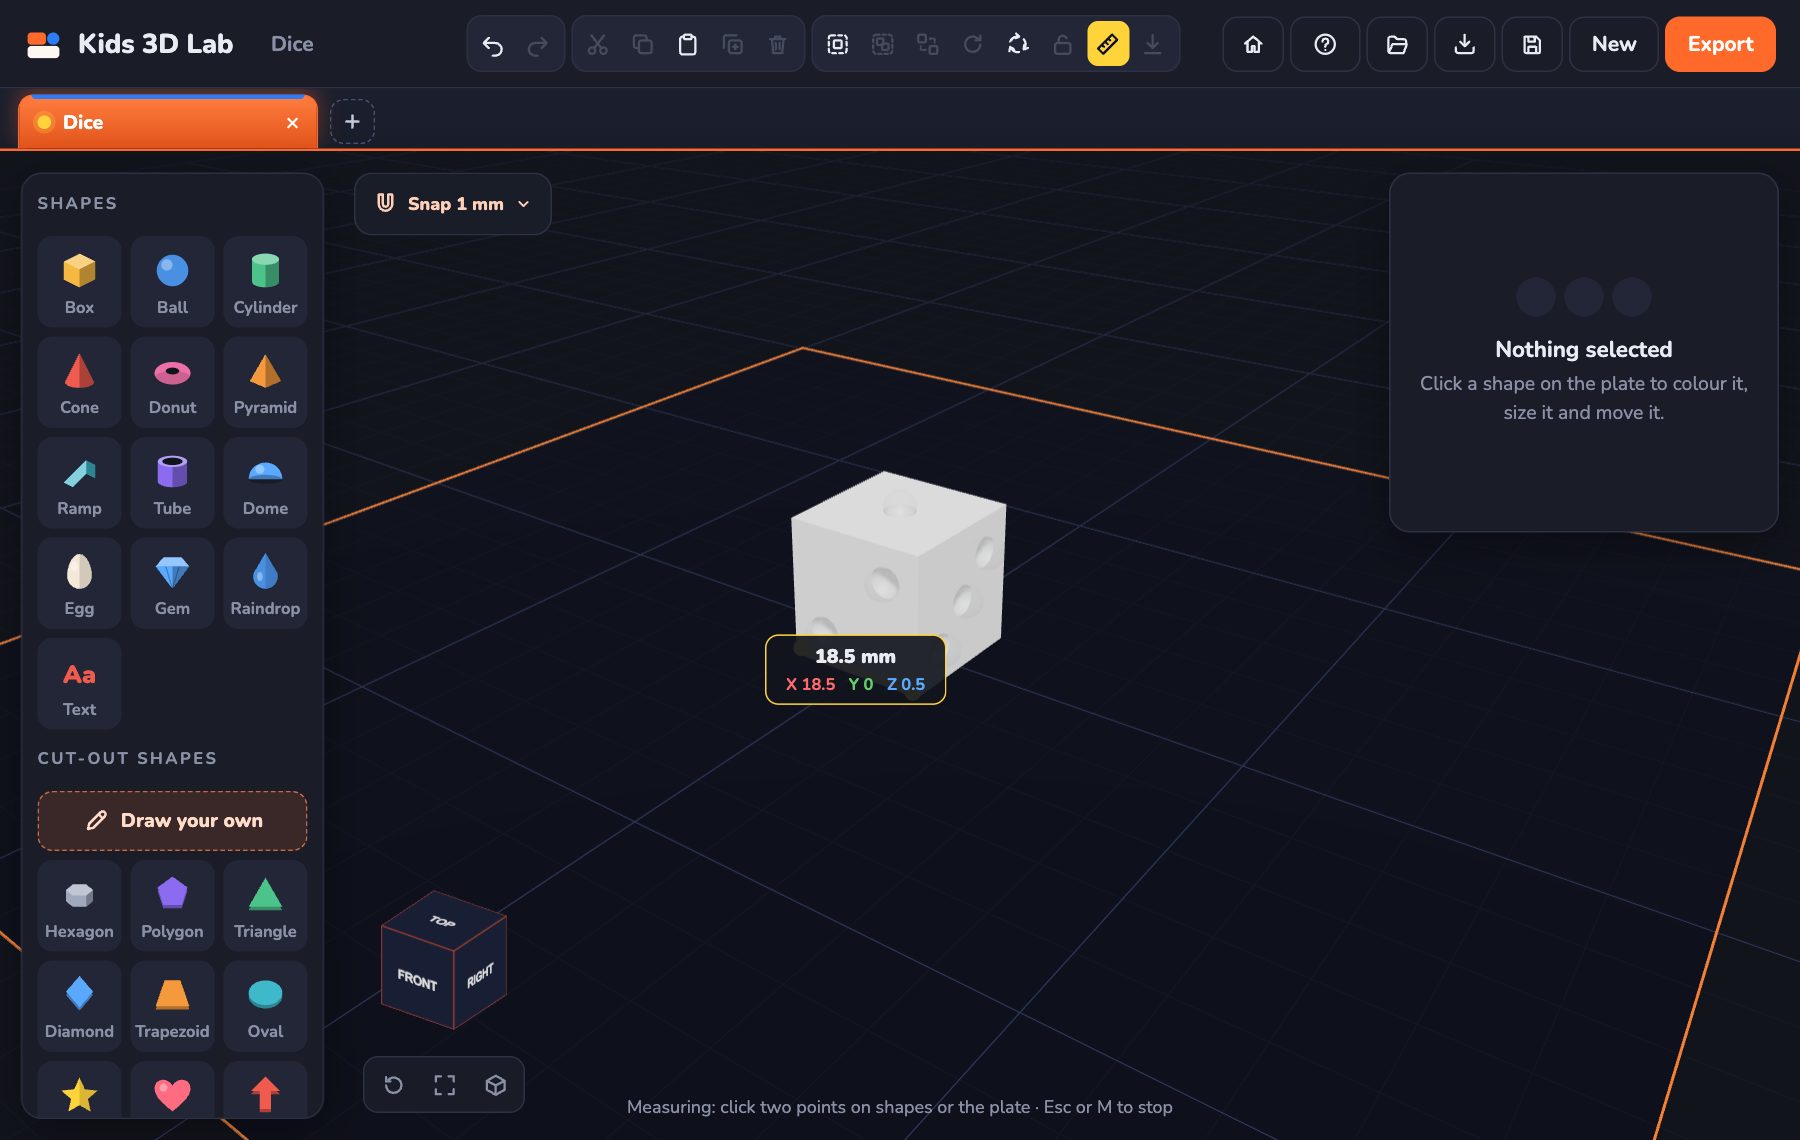
How big is 1 mm, 3 mm or 4 mm? Millimetre sizes with everyday examples, how to find 3 mm on a ruler, and how to make your model just the right size.
6 min read
App skills
Millimetres Made Easy: How Big Is Your Model?
How big is 1 mm, 3 mm or 4 mm? Millimetre sizes with everyday examples, how to find 3 mm on a ruler, and how to make your model just the right size.
6 min read
 App skills
How Holes Work (and How to Make a Key Tag)
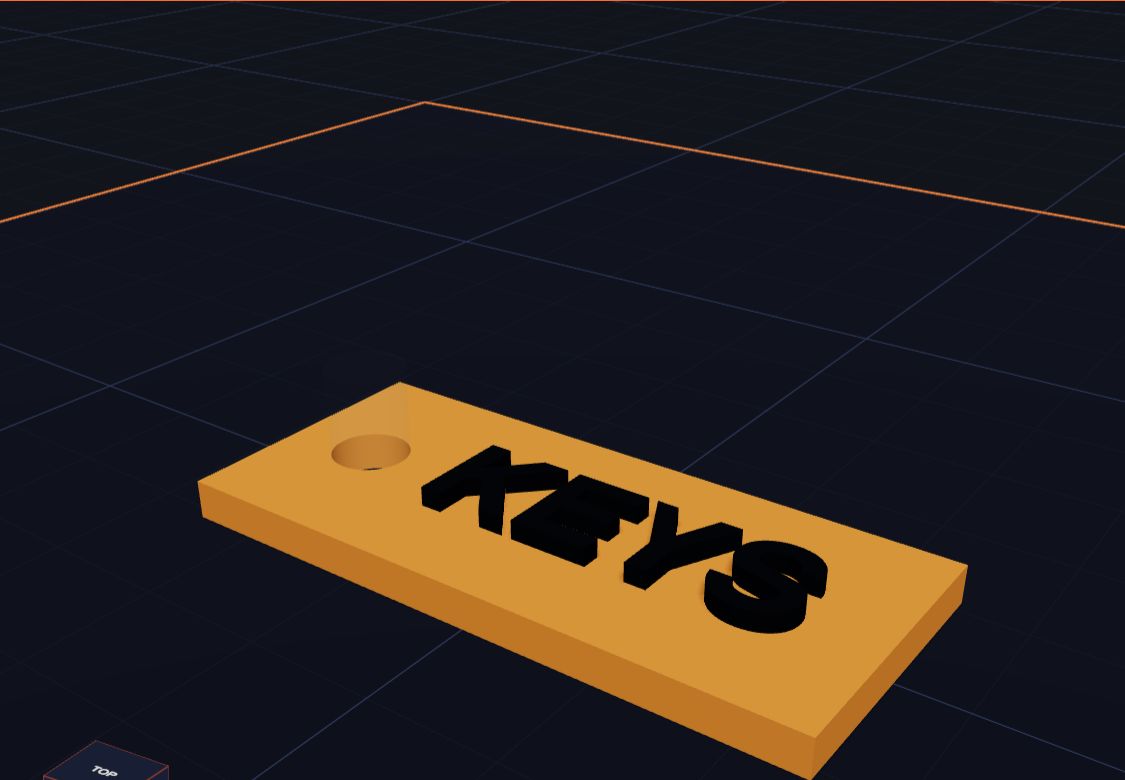
In Kids 3D Lab any shape can become a hole. Learn how holes cut into other shapes, and make a key tag with a hole for the ring.
6 min read
App skills
How Holes Work (and How to Make a Key Tag)
In Kids 3D Lab any shape can become a hole. Learn how holes cut into other shapes, and make a key tag with a hole for the ring.
6 min read