Blog ›
3D Design Lesson Plans for Grades 3 to 5
These five lessons help children in grades 3 to 5 (about ages 8 to 11) learn 3D design with Kids 3D Lab. Each lesson takes about 45 minutes. They build on each other, but you can also use any one on its own.
Kids 3D Lab runs in any modern web browser, including on Chromebooks and tablets. There's nothing to install and no student accounts to set up, so you can start in the first minute of the lesson.
Before the first lesson
- Open kids3dlab.com/app/ once on each computer to check it loads.
- Try the lesson yourself first. It takes about 10 minutes.
- Decide how children will save work. Builds are kept in the browser, but on shared computers, children should click Save and keep their .kids3d file in their own folder.
- Share The Kids 3D Lab Guide with children who like to look things up.
Lesson 1: Shapes all around us
Goal: Children name 3D shapes and build an object from them.
Starter (10 minutes): Show a toy or object from the classroom, like a pencil sharpener. Ask: "What shapes is it made of?" List ideas on the board: box, cylinder, cone, ball.
Main activity (25 minutes):
- Children click New build and follow the short tour at the bottom of the screen.
- They add a Box, a Ball, a Cylinder and a Cone, and change each one's colour.
- Open the Snowman example together. Click each part and name its shape.
- Challenge: build a snowman, a tree or a robot from at least three different shapes.
Plenary (10 minutes): Children share their builds and name the shapes in them.
Check learning: Can the child name the shapes they used, and say why they chose them?
Lesson 2: Every number is millimetres
Goal: Children measure real objects and design at real size.
Starter (10 minutes): Give each group a ruler and an eraser. Measure its width, depth and height in millimetres.
Main activity (25 minutes):
- Add a Box and type the eraser's sizes into Width, Depth and Height.
- Use the ruler tool (press M) to measure between two points on the screen.
- Challenge: build a model of something on your desk at its real size.
Plenary (10 minutes): Compare. Which measurements were hardest? Why do designers use millimetres and not centimetres?
Check learning: Can the child explain that 10 mm is 1 cm, and type sizes to match a real object?
Useful reading: Millimetres Made Easy.
Lesson 3: Taking away with holes
Goal: Children understand that shapes can be made by taking material away.
Starter (5 minutes): Show a cup or a key ring. Ask: "How could we make the empty part?"
Main activity (30 minutes):
- Follow the key tag steps: a flat Box, a Cylinder, then click Hole.
- Pick the box, Shift-click the hole, and click Cut through the box.
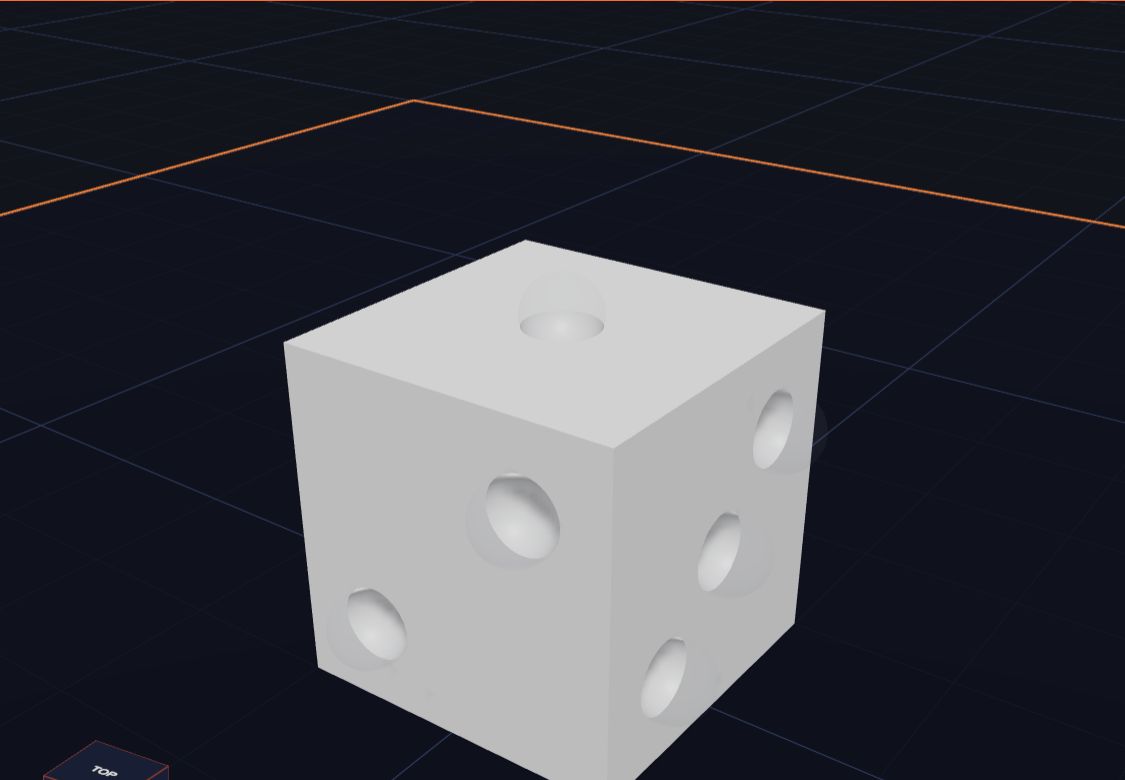
- Open the Dice example. Count the holes. Check that opposite sides add up to 7.
- Challenge: make a coaster with a star pressed into the top, using a star-shaped hole.
Plenary (10 minutes): Where do we see holes in everyday objects? Buttons, cups, nuts, beads.
Check learning: Can the child explain why a hole that only sits on top cuts nothing?
Lesson 4: Turning and symmetry
Goal: Children use turning and copying to make balanced designs.
Starter (10 minutes): Fold a paper heart. Talk about lines of symmetry.
Main activity (25 minutes):
- Open the Flower example. Six ovals are turned around the middle. How many degrees apart are they? (60 degrees, because 360 ÷ 6 = 60.)
- Add a Box and type a Turn of 45 under Z. Try the Flip buttons.
- Copy shapes with Ctrl + D and turn each copy.
- Challenge: design a snowflake or a flower with 4, 6 or 8 matching parts.
Plenary (10 minutes): How did you work out the angle? What happens with 5 parts?
Check learning: Can the child divide 360 by the number of parts to find the angle?
Lesson 5: Design challenge
Goal: Children plan, build and improve a design that solves a problem.
Starter (10 minutes): Give a problem: "Our pencils keep rolling off the desk," or "We need a name tag for our bags."
Main activity (25 minutes):
- Children sketch their idea on paper first and write down the sizes.
- They build it in Kids 3D Lab.
- They click Export and read the Ready to print? check. Does it fit? Is anything floating? Is it one piece?
- They fix any problems the check finds.
Plenary (10 minutes): A gallery walk. Each child says one thing they changed after checking.
Check learning: Does the design solve the problem? Did the child improve it after testing?
Project ideas: Make a Pencil Holder for Your Desk, Make a Name Keychain.
Links to other subjects
| Subject | How 3D design helps |
|---|---|
| Maths | Measuring, 3D shapes, angles, symmetry, estimating |
| Science | Materials, heat (how printers melt plastic), testing ideas |
| Design and technology | Planning, making, testing and improving |
| Art | Colour, form and making things beautiful |
| English | Writing instructions for someone else to follow |
Tips for a smooth lesson
- Pair up. Younger or less confident children do well in pairs: one "driver", one "navigator", swapping every 10 minutes.
- Use the examples. Taking apart an example is often easier than starting from nothing.
- Celebrate mistakes. A floating part or a hole that cuts nothing is a chance to learn.
- Print a few. You don't need to print every design. Print a class set of small ones, like name tags.
Questions teachers ask
Do children need accounts?
No. Kids 3D Lab needs no accounts and collects no personal information, which keeps set-up simple and children's data safe.
Can we use it on Chromebooks and tablets?
Yes. It runs in the web browser. On a tablet, children drag with one finger to turn the view and use two fingers to zoom.
Do we need a 3D printer?
No. Every lesson works without printing. If you have one, print a few designs to make the learning real.
How can I see children's work?
Children click Save to make a .kids3d file, which they can hand in like any other file. You open it with Open a file.
For grown-ups
These plans are a starting point, so adapt them to your class. Keep the focus on thinking, not on perfect models: asking "What shapes is it made of?" and "How do you know it will fit?" builds the habits of a designer. Many teachers find that children who struggle with written tasks shine in 3D design, so give them a chance to lead. For more ideas, see Kids 3D Lab for Parents and Teachers.
Keep reading
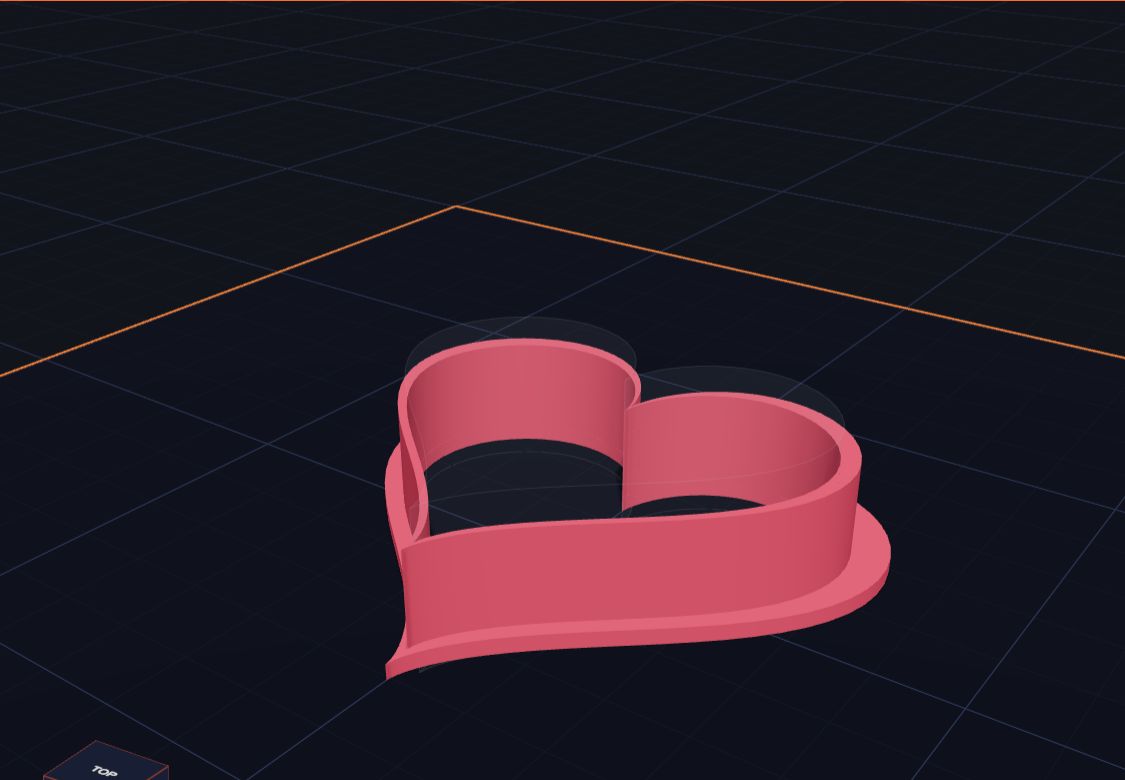 Make Your Own Cookie Cutter
Design a heart-shaped cookie cutter in Kids 3D Lab with two hearts and a heart-shaped hole, then learn how to make stars, animals and your own shapes.
6 min read
Make Your Own Cookie Cutter
Design a heart-shaped cookie cutter in Kids 3D Lab with two hearts and a heart-shaped hole, then learn how to make stars, animals and your own shapes.
6 min read
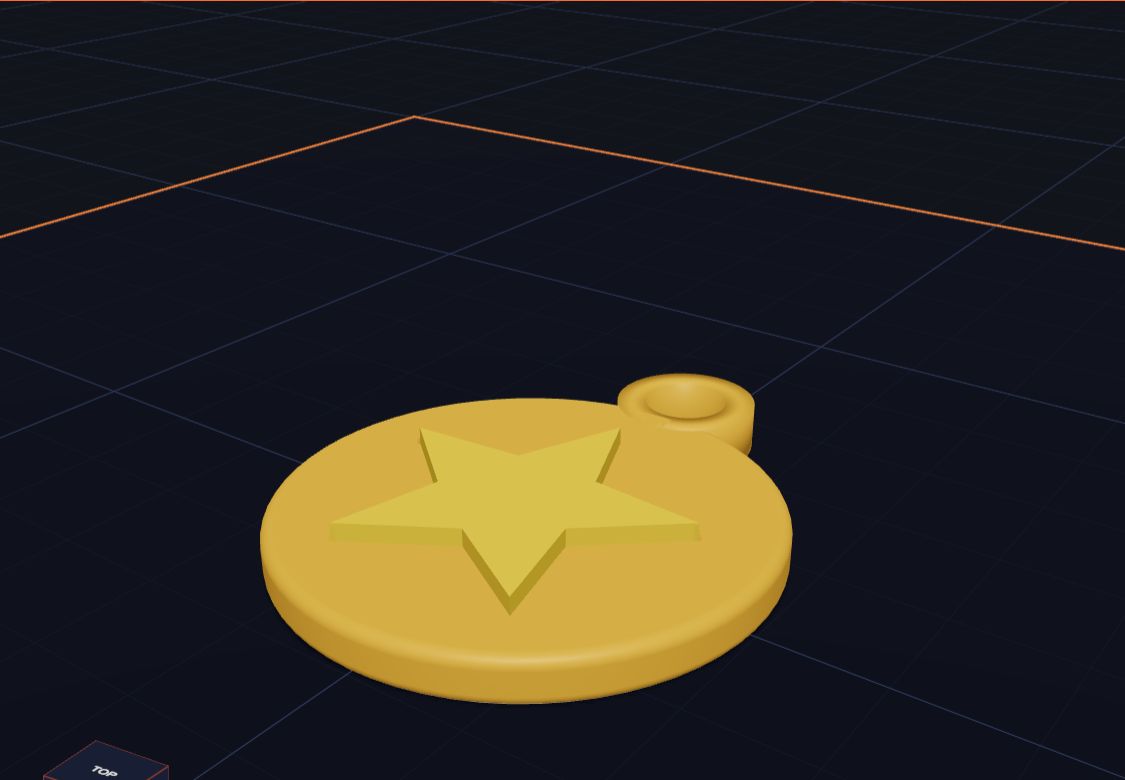 What Is CAD? Explained for Kids
CAD means computer-aided design. Learn what CAD is, who uses it, how it helps make cars, phones and toys, and how you can start doing CAD today.
5 min read
What Is CAD? Explained for Kids
CAD means computer-aided design. Learn what CAD is, who uses it, how it helps make cars, phones and toys, and how you can start doing CAD today.
5 min read
 What Is 3D Printing?
A 3D printer makes real things you can hold, one thin layer at a time. Here is how it works, in simple words.
5 min read
What Is 3D Printing?
A 3D printer makes real things you can hold, one thin layer at a time. Here is how it works, in simple words.
5 min read