Blog ›
Make a Name Keychain, Step by Step
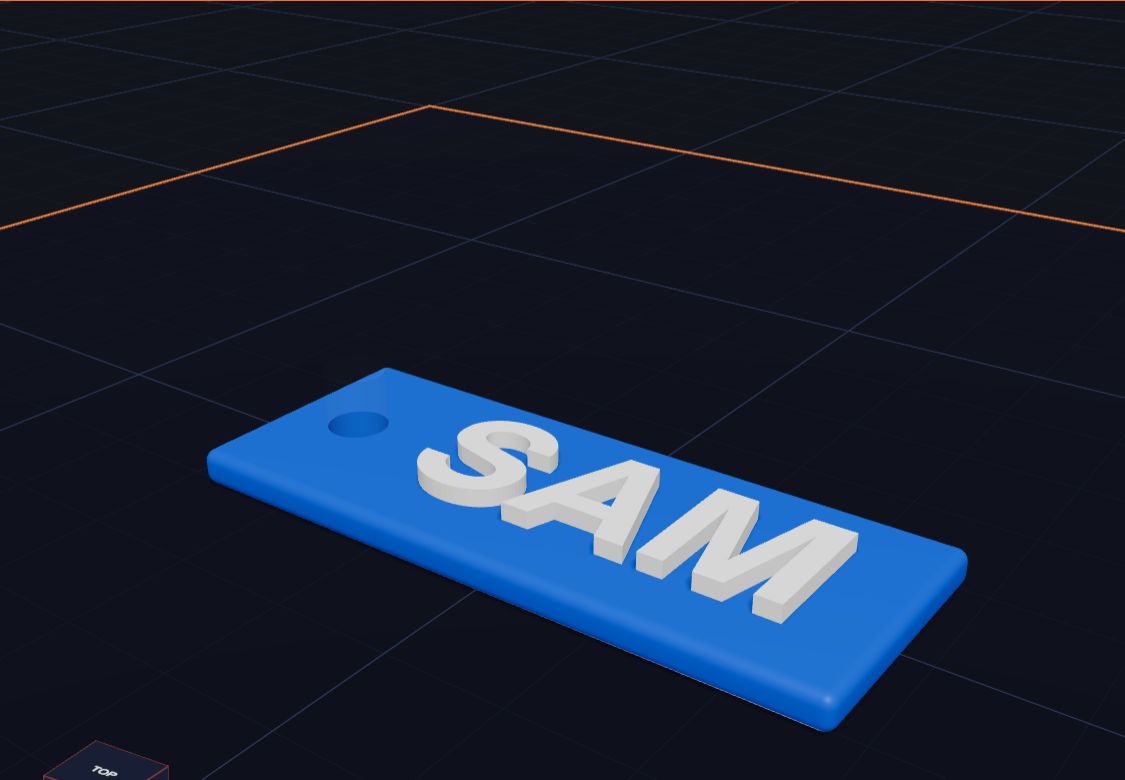
A name keychain is the perfect first 3D print. It is small, so it prints fast. It is useful, so you will use it every day. And it has your name on it, so everyone knows it's yours!
In this lesson you will make a tag, put your name on top, and cut a hole for the key ring. It takes about 10 minutes.
What you need
- A computer, Chromebook or tablet with a web browser
- Kids 3D Lab (it's free, and you don't need an account)
- A key ring, if you want to use your keychain
Step 1: Make the tag
- Open Kids 3D Lab and click New build.
- Click Box in the Shapes list. A box lands on the plate.
- Look at the panel on the right. Under Size, type these numbers:
- Width: 56 - Depth: 22 - Height: 3
- Set Soft edges to 1. Now the corners are smooth and nice to hold.
- Pick a colour you like in Colour.
Your tag is 56 millimetres long. That's about as long as your finger!
Step 2: Add your name
- Click Text in the Shapes list. The word "Hello" appears.
- In Words, type your name. Short names look best, but long names work too.
- Set Letter size to 11 and Thickness to 1.5.
- Pick a different colour for the letters, so they stand out.
Step 3: Put the name on the tag
Right now your name is sitting on the plate, next to the tag. Let's put it on top:
- Click the tag.
- Hold Shift and click your name.
- In the panel, click Put on top of the box.
Your name jumps up onto the tag, right in the middle. The tag was picked first, so it stays put and the name moves to it.
Now slide the name a little to the right, to leave room for the hole. Press the right arrow key a few times. Each press moves it a little bit.
Step 4: Cut a hole for the ring
- Click Cylinder in the Shapes list.
- Set Diameter to 5 and Height to 10.
- Click Hole at the top of the panel, or press H. The cylinder turns grey and see-through.
- Click the tag. Hold Shift and click the grey cylinder.
- Click Cut through the box. The hole goes all the way through the tag.
- Hold Shift and press the left arrow key to slide the hole to the left end of the tag.
Look at the tag. Now there's a round hole for the ring!
Step 5: Check it and save it
- Click "Untitled" at the top and type a name for your build, like "My keychain".
- Click Save to keep a file of your build.
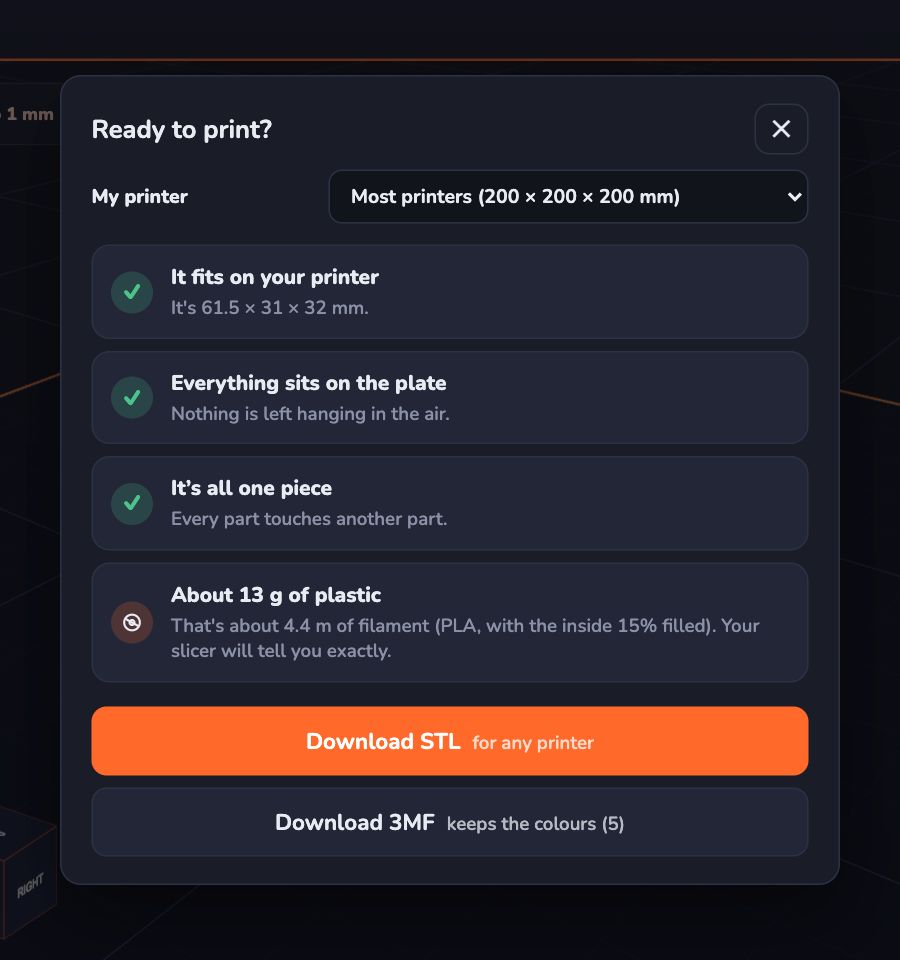
- Click Export. The Ready to print? box opens.
- Pick your printer, and read the checks. Does it fit? Is it all one piece?
- Click Download STL. Or click Download 3MF to keep the two colours.
A grown-up can open the file in the printer's slicer app and print it.
Make it even better
Carve your name in
Instead of letters that stick up, you can carve your name into the tag. Pick your name and click Hole. Then press Ctrl and the down arrow a few times to push it down into the tag. Your name is now cut into the top, like a stamp.
Try a different shape
A tag doesn't have to be a box. Try a Heart, a Star or a Cloud with a height of 3. Put your name on top and add a hole, just like before.
Add a picture
Put a small Star or Heart next to your name. Make it 1.5 high, the same as your letters, and put it on top of the tag.
Two names
Making keychains for your family? Make one, then press Ctrl + D to copy it. Change the words on the copy. Now you have two!
Common mistakes
- The hole is too close to the edge. Leave at least 2 mm of tag around the hole, or it can break.
- The hole is too small. A 5 mm hole fits most key rings. A 3 mm hole is too tight.
- The name hangs off the tag. Make the letters smaller, or make the tag wider.
- The letters are too thin. Keep the Thickness at 1.5 or more, so the letters don't snap off.
- The name is floating. If the name isn't touching the tag, the printer can't print it. Use Put on top of the box again.
Printing in two colours
The letters and the tag can be different colours, even on a printer with one colour of plastic. Here's the trick: the letters start 3 mm up, where the tag ends. A grown-up can tell the slicer to pause and change the plastic at that height. The tag prints in one colour, and the name prints in the other. If your printer has many colours, just use the Download 3MF file.
Questions kids ask
How long does it take to print?
A small keychain like this usually prints in well under an hour. The slicer app shows the exact time before you print.
Can I use lower-case letters?
Yes, but thin letters like "i" and "l" are harder to print. Capitals are stronger.
Why is my tag 3 mm thick?
Thinner tags can bend or break. Thicker tags use more plastic and take longer. 3 mm is a good middle.
Can I make it bigger?
Yes! Pick the tag and change the numbers. Remember to make the letters bigger too, and to move the hole.
For grown-ups
A name keychain packs the key ideas of 3D design into ten minutes: exact sizes, stacking, text and subtracting with a hole. It also invites good questions. Why must the hole be at least 2 mm from the edge? What happens if the letters are 0.5 mm thick? Let your child print two versions with one change, like a thicker tag, and compare them. That small experiment is real engineering. If you don't have a printer, many libraries and schools will print small items for free. See How Holes Work for more ways to use holes.
Keep reading
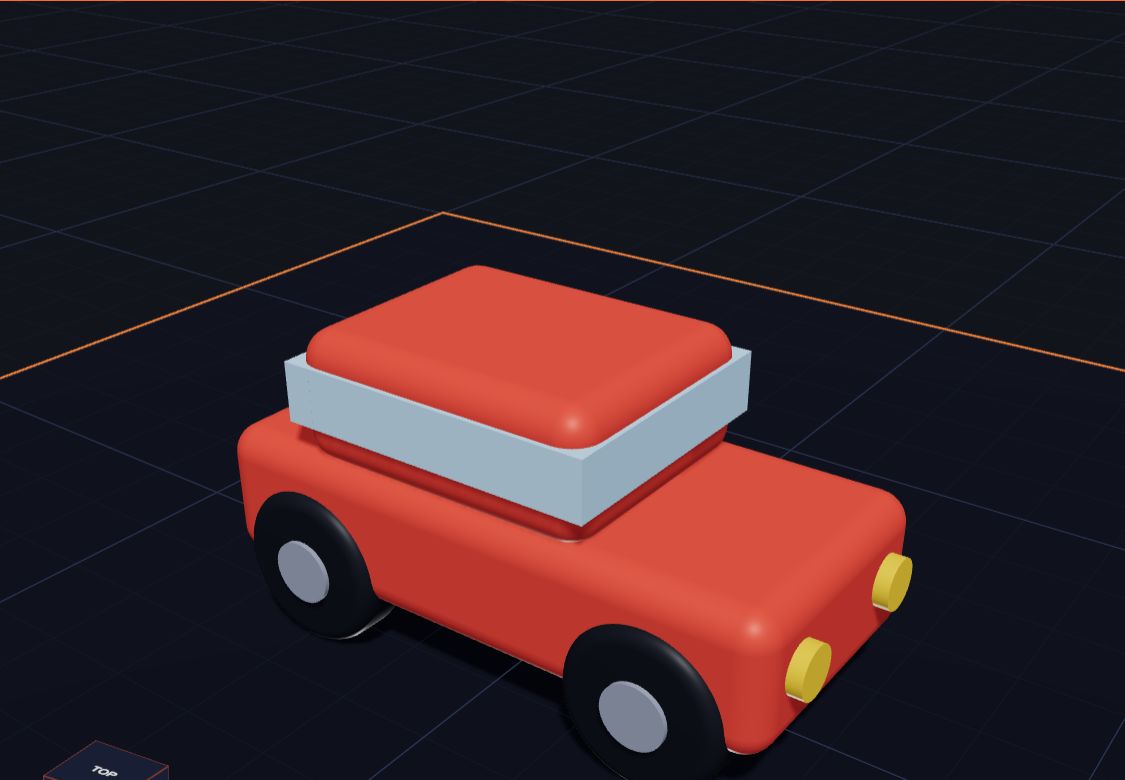 Design Your Own Toy Car
Build a toy car in Kids 3D Lab from boxes and cylinders — a body, a roof, windows, lights and four wheels — and learn to turn and copy shapes.
6 min read
Design Your Own Toy Car
Build a toy car in Kids 3D Lab from boxes and cylinders — a body, a roof, windows, lights and four wheels — and learn to turn and copy shapes.
6 min read
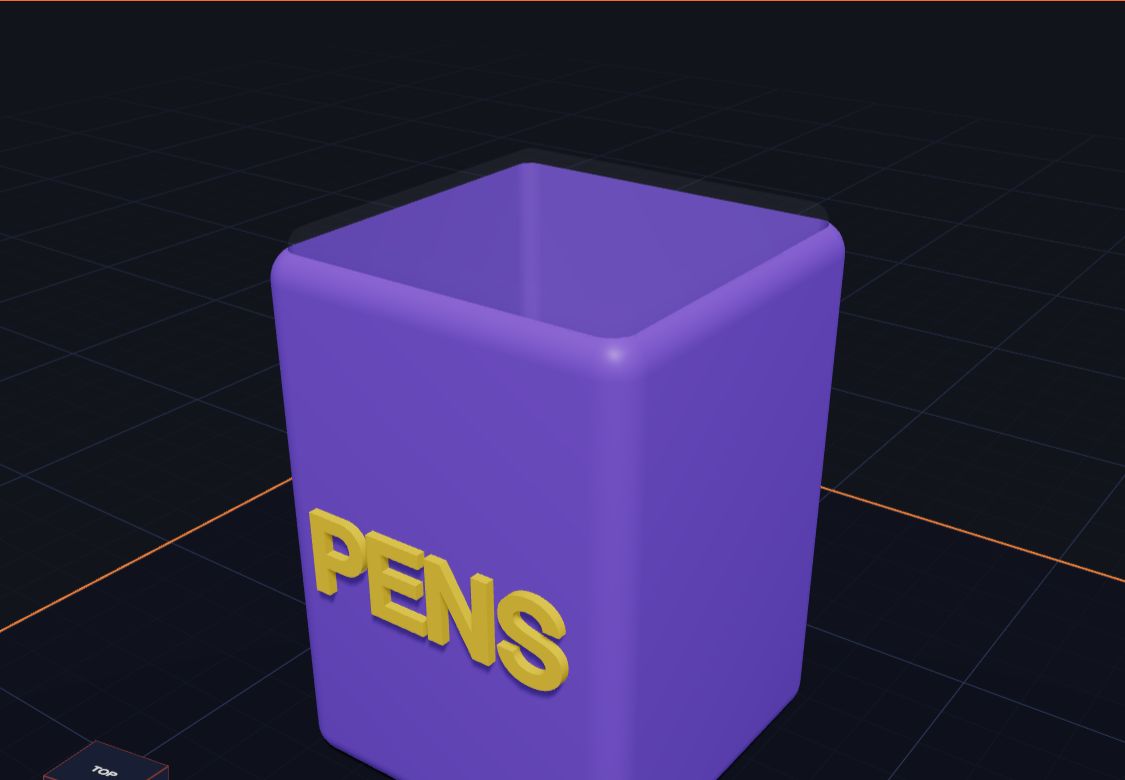 Make a Pencil Holder for Your Desk
Design a pencil holder (a pen pot) in Kids 3D Lab using a box and a hole, add your name on the front, and learn about walls and floors.
6 min read
Make a Pencil Holder for Your Desk
Design a pencil holder (a pen pot) in Kids 3D Lab using a box and a hole, add your name on the front, and learn about walls and floors.
6 min read
 Choosing a First 3D Printer for Your Family
What to look for in a first 3D printer for a family with kids — size, safety, ease of use and plastic — explained in plain words, with questions to ask before you buy.
6 min read
Choosing a First 3D Printer for Your Family
What to look for in a first 3D printer for a family with kids — size, safety, ease of use and plastic — explained in plain words, with questions to ask before you buy.
6 min read