Blog ›
Design Your Own Toy Car
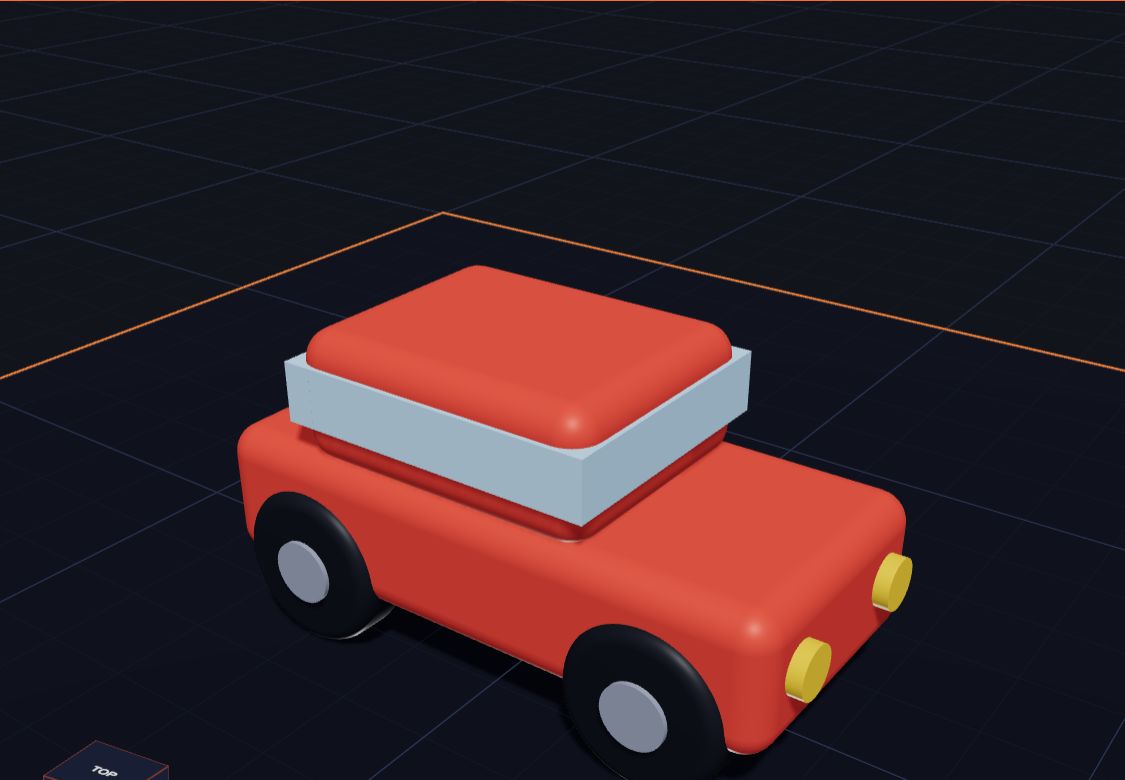
Vroom! In this lesson you will design a little red car. You will learn three useful tricks: stacking a shape on another, turning a shape on its side, and copying shapes so you don't have to make them again.
The car is made of just three kinds of shapes: boxes, cylinders and one light-blue window. That's it!
Step 1: The body
- Click New build.
- Add a Box. Make it 60 wide, 28 deep and 14 high.
- Set Soft edges to 3. Cars have round edges!
- Pick red in Colour, or any colour you like.
This box is the bottom of the car. Later, the wheels go under it.
Step 2: The roof
- Add another Box. Make it 32 wide, 26 deep and 13 high, with Soft edges 3.
- Make it the same colour as the body.
- Click the body. Hold Shift and click the roof.
- Click Put on top of the box. The roof jumps onto the body.
- Press the left arrow key a few times to slide the roof back a little. Real cars have a longer front, for the engine.
Step 3: The windows
Here's a clever trick. Instead of making four windows, make one light-blue box that pokes out of the roof on every side.
- Add a Box. Make it 33 wide, 27 deep and 6 high. That's 1 mm bigger than the roof each way.
- Pick light blue.
- Move it so it sits in the roof, a little below the top. Use the blue arrow to lift it, or type its Z lift.
Now you can see a band of blue all the way round the roof. Those are the windows!
Step 4: The wheels
Wheels are cylinders. But a cylinder stands up, like a can. A wheel has to stand on its edge. So we turn it.
- Add a Cylinder. Make it 16 wide (that's the Diameter) and 6 high.
- Pick a dark grey or black colour.
- In the panel, find Turn, and click ↻ 90° next to X. The cylinder rolls onto its side. Now it looks like a wheel!
- Move it next to the body, near the front, so it touches the side of the car.
Now copy it:
- With the wheel picked, press Ctrl + D (on a Mac, ⌘ + D). A copy appears.
- Move the copy to the back of the car.
- Copy again for the other side. You need four wheels in all.
Step 5: Lift the body
The wheels are 16 mm tall, so the body needs to sit up off the plate, or the wheels will poke through it.
- Click the body. Hold Shift and click the roof and the windows.
- Press Ctrl + the up arrow a few times to lift them. Stop when the wheels look right. The body should sit on the wheels, touching them.
Step 6: The lights
- Add a Cylinder, 5 wide and 2 high. Make it yellow.
- Turn it with ↻ 90° next to Y, so it faces forward.
- Push it onto the front of the car.
- Copy it with Ctrl + D and put the copy on the other side of the front.
Your car is done! Press F to fit it in the view and turn around it with the right mouse button.
Make it your own
- A racing car: make the body longer and lower, and add a flat box on the back for a spoiler.
- A jeep: make the wheels bigger, 20 mm across.
- A police car: add a little blue box and a red box on the roof.
- A number: put a Text "7" on the side. Turn it with ↻ 90° next to X to stand it up.
You can also open the Truck, Bus and Train examples to see how they are built.
Getting it ready to print
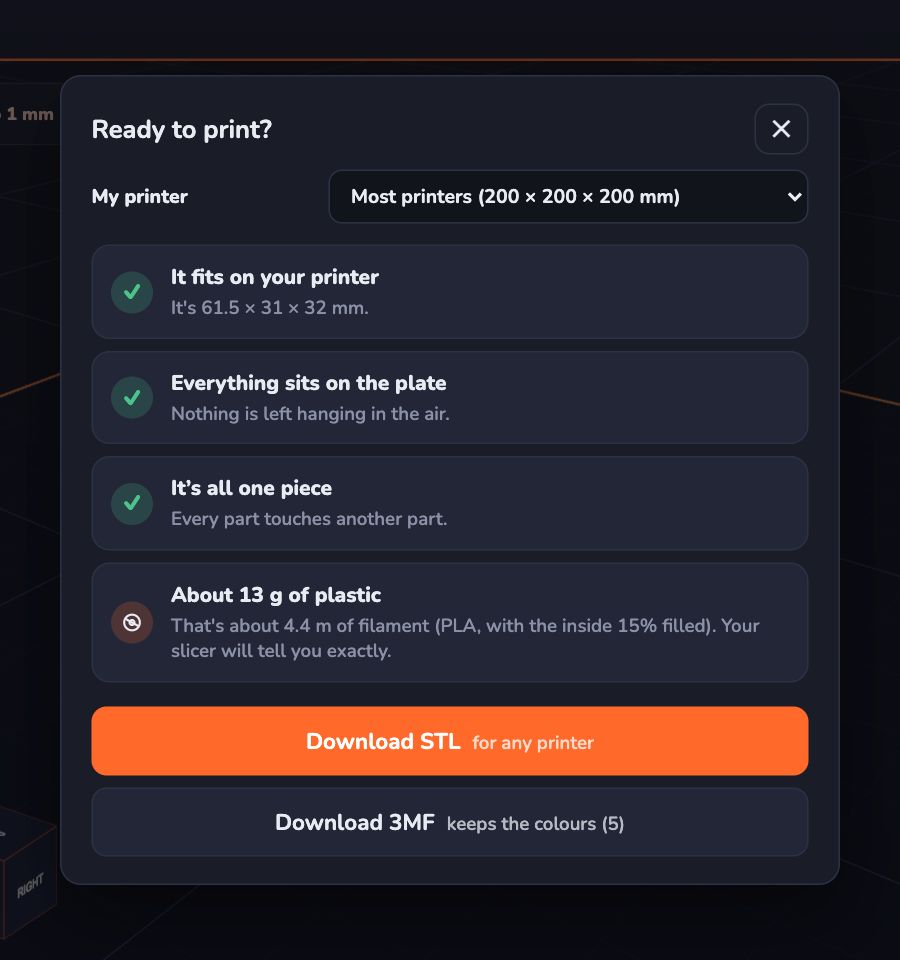
Click Export and read the checks.
- Everything sits on the plate. The wheels touch the plate, so the car stands up.
- It's all one piece. Every part should touch another part. If a wheel isn't touching the body, the check will tell you.
Common mistakes
- The wheels are inside the body. Lift the body up so it sits on top of the wheels.
- A wheel is floating. Make sure every wheel touches the plate and the body.
- The windows cover the roof. Make the window box a little lower, so the red roof shows on top.
- The wheel is standing up like a can. Turn it with ↻ 90° next to X.
Questions kids ask
Why do we turn the cylinder?
A cylinder starts standing up, like a drink can. Turning it a quarter turn lays it on its side, like a wheel.
Can I make the wheels different colours?
Yes. Pick a wheel and click any colour. Use Download 3MF to keep the colours for a printer that prints in many colours.
How big is my car?
About 6 centimetres long, like a real toy car. The label under a picked shape always shows its size.
Can I make it bigger?
Yes! Pick everything with Ctrl + A. A box goes around the whole car. Drag one of its corners, and the whole car gets bigger or smaller together, keeping its shape.
For grown-ups
This project introduces rotation, copying and alignment, three skills children will use in almost every build. The body-and-wheels problem is also a good lesson in reference points: the body must be lifted by the wheel's height, not guessed. Ask your child to predict how high the body should go before they move it. If they want spinning wheels, that's a wonderful next challenge about tolerances: an axle hole needs to be a little bigger than the axle. Millimetres Made Easy is a good next read.
Keep reading
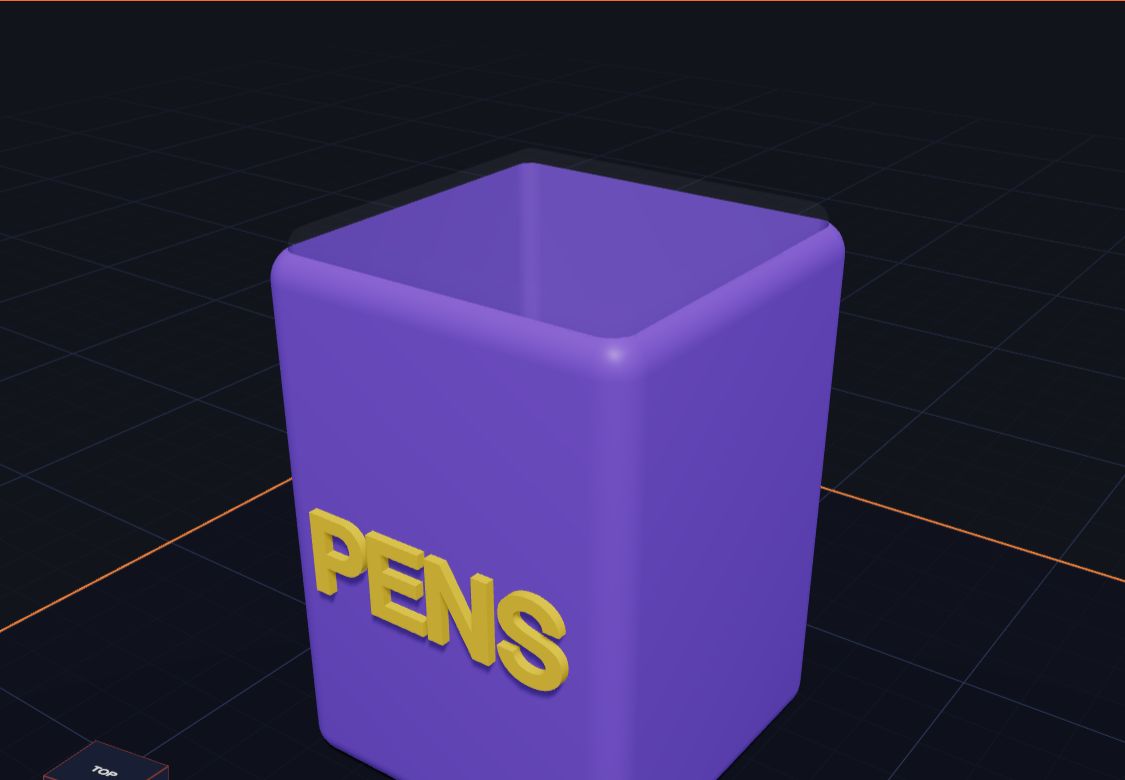 Make a Pencil Holder for Your Desk
Design a pencil holder (a pen pot) in Kids 3D Lab using a box and a hole, add your name on the front, and learn about walls and floors.
6 min read
Choosing a First 3D Printer for Your Family
What to look for in a first 3D printer for a family with kids — size, safety, ease of use and plastic — explained in plain words, with questions to ask before you buy.
6 min read
Make a Pencil Holder for Your Desk
Design a pencil holder (a pen pot) in Kids 3D Lab using a box and a hole, add your name on the front, and learn about walls and floors.
6 min read
Choosing a First 3D Printer for Your Family
What to look for in a first 3D printer for a family with kids — size, safety, ease of use and plastic — explained in plain words, with questions to ask before you buy.
6 min read
 Is 3D Printing Safe for Kids?
A clear, calm guide to 3D printing safety for families and classrooms — hot parts, moving parts, fumes, small pieces and food — and simple rules that keep kids safe.
5 min read
Is 3D Printing Safe for Kids?
A clear, calm guide to 3D printing safety for families and classrooms — hot parts, moving parts, fumes, small pieces and food — and simple rules that keep kids safe.
5 min read