Let's build in 3D!
You can make real things with Kids 3D Lab. Snap shapes together like blocks. Then a 3D printer can make your idea real!
- 10 short lessons
- 2 fun projects
- No sign-up
- Mouse words
- 1Say hello
- 2Add a shape
- 3Move it
- 4Make it big or small
- 5Look around
- 6Colours
- 7Stack shapes
- 8Make a hole
- 9Write your name
- 10Oops! Undo
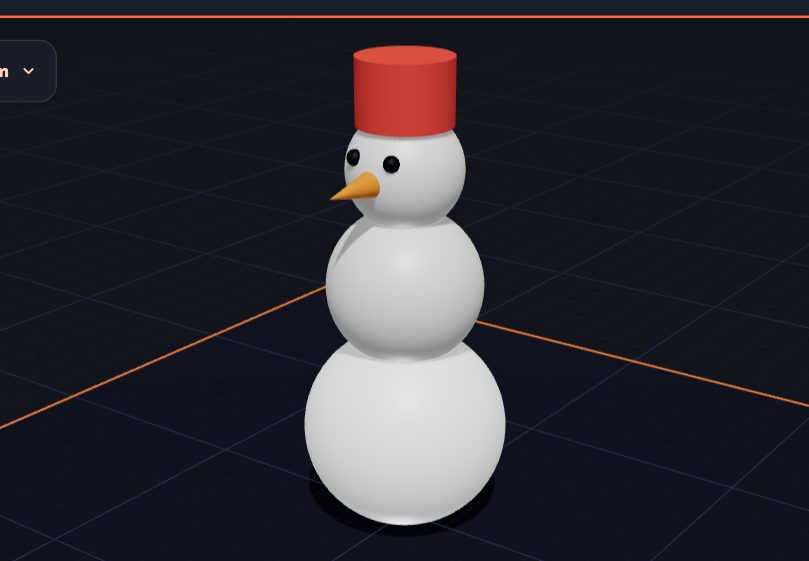
- Build a snowman
- Name tag
Mouse words
These four words are used a lot. Learn them first!
Say hello to Kids 3D Lab
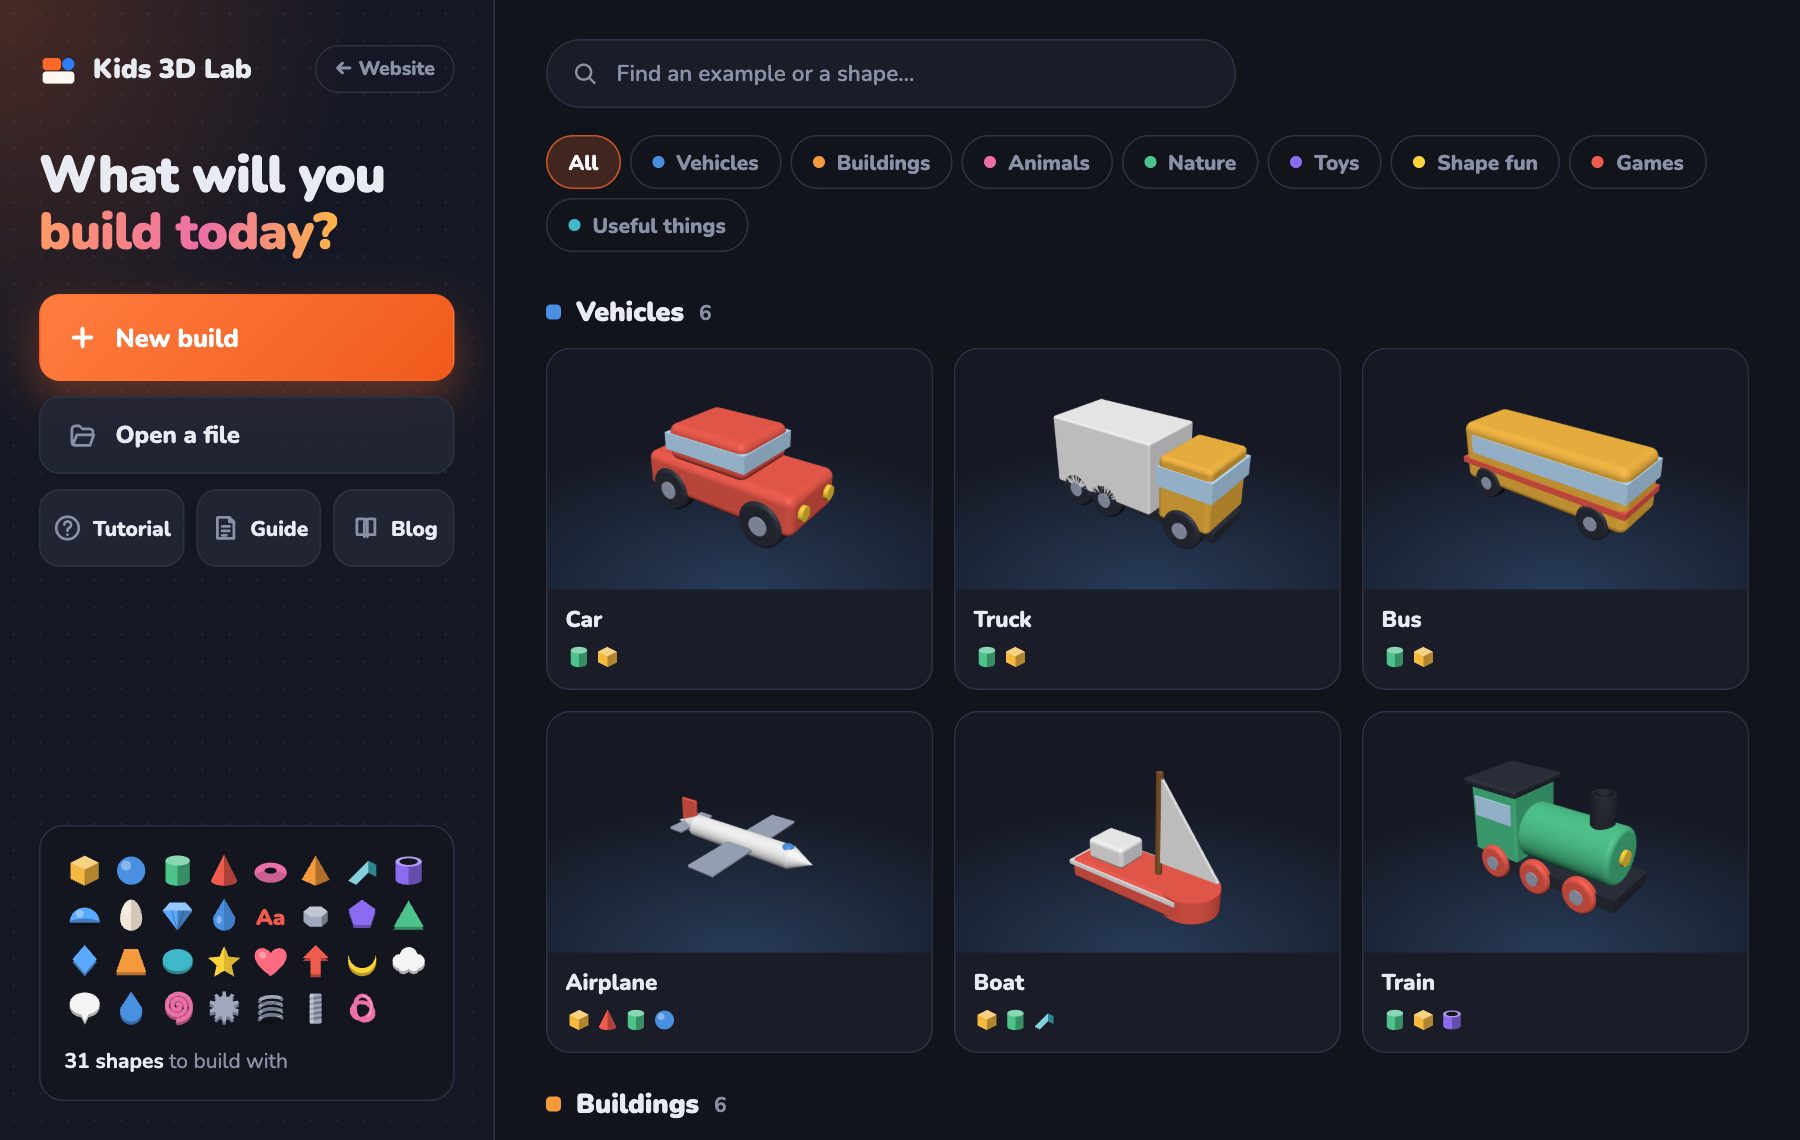
When Kids 3D Lab opens, you see the start page. Click New build.
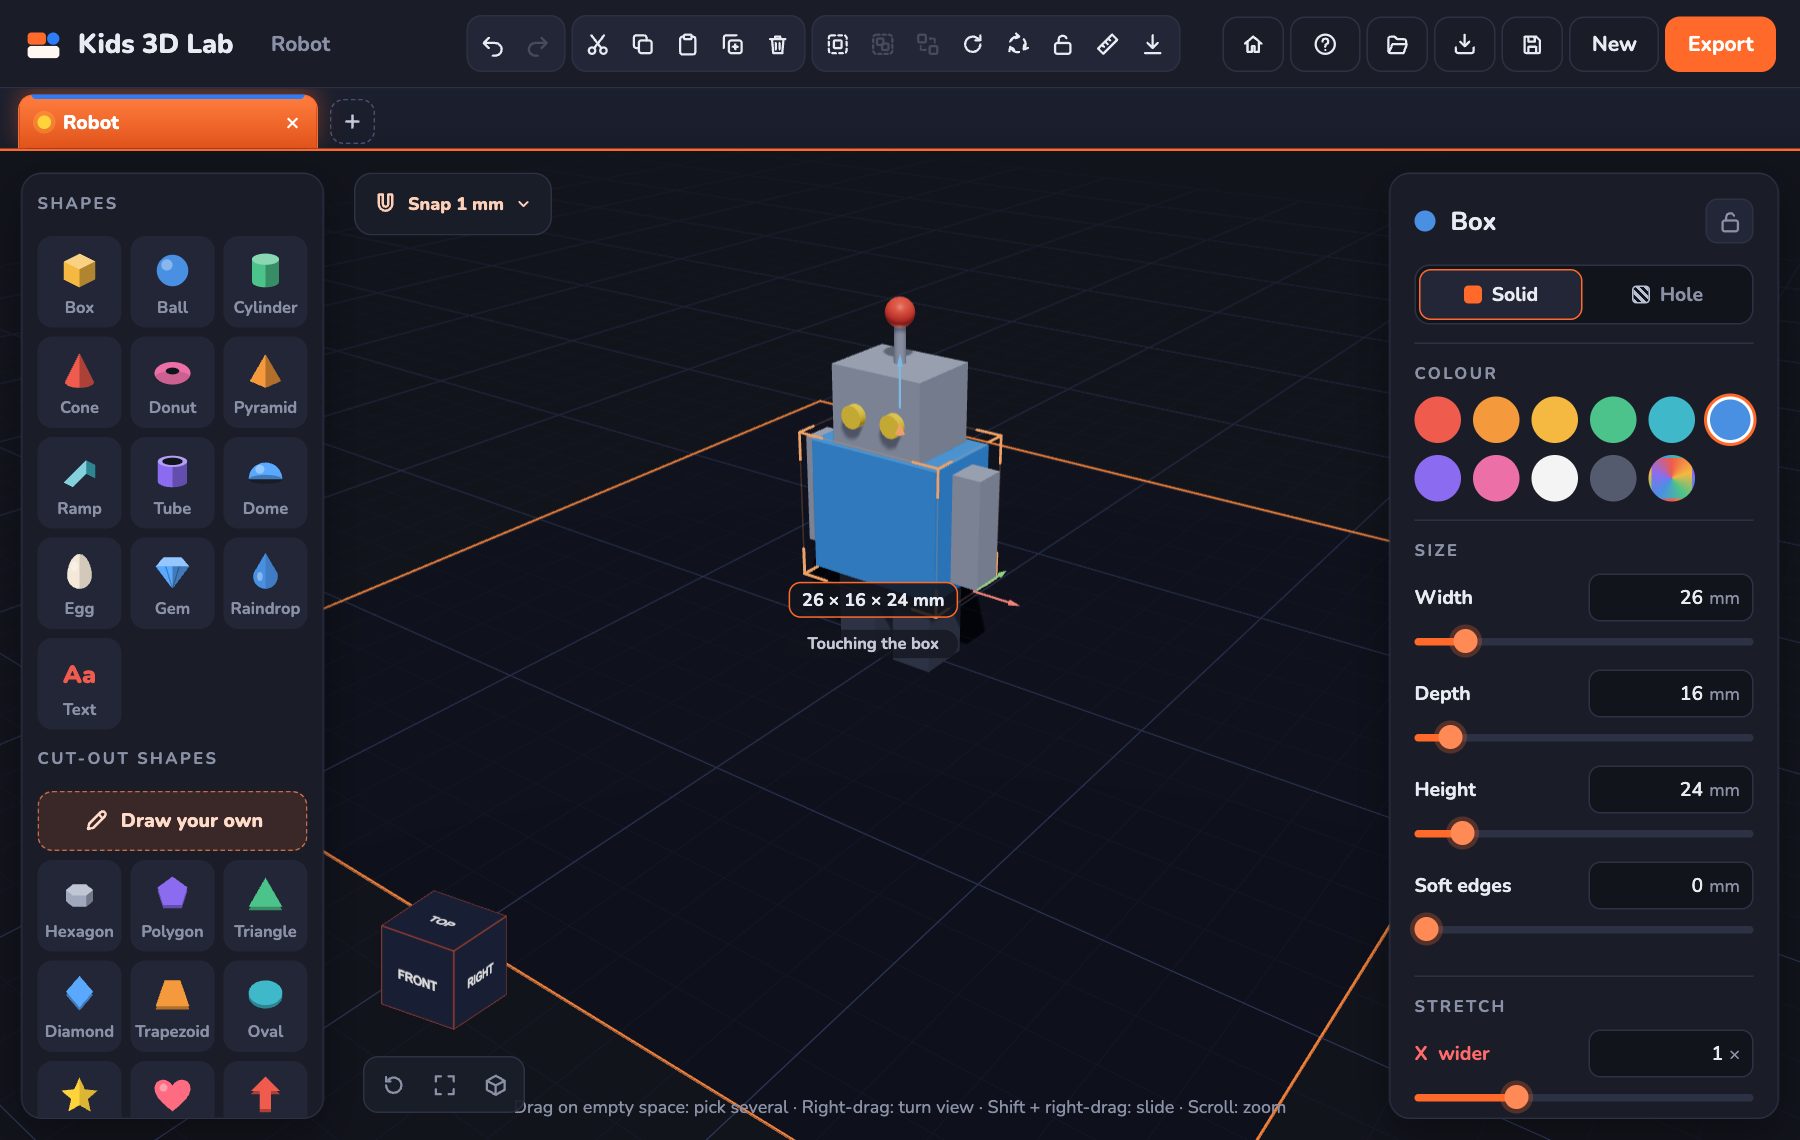
Now look at the screen. It has three parts:
- Left: the shapes. These are your building blocks.
- Middle: the plate. The purple square is where you build.
- Right: the panel. It shows the size and colour of the shape you picked.
Click the Kids 3D Lab logo at the top left to see the start page again.
Add a shape
- Click Box in the shapes list. A yellow box appears!
- Click Ball. A blue ball appears next to the box.
- Try more shapes: Cone, Star, Heart… There are 31 to try!
New shapes find an empty spot by themselves. They never land on top of each other.
Move it
- Click the box. A purple frame goes around it. That means it is picked.
- Drag the box. It slides on the plate.
- Or drag one of the coloured arrows. The red arrow moves it left and right. The green arrow moves it back and front. The blue arrow lifts it up!
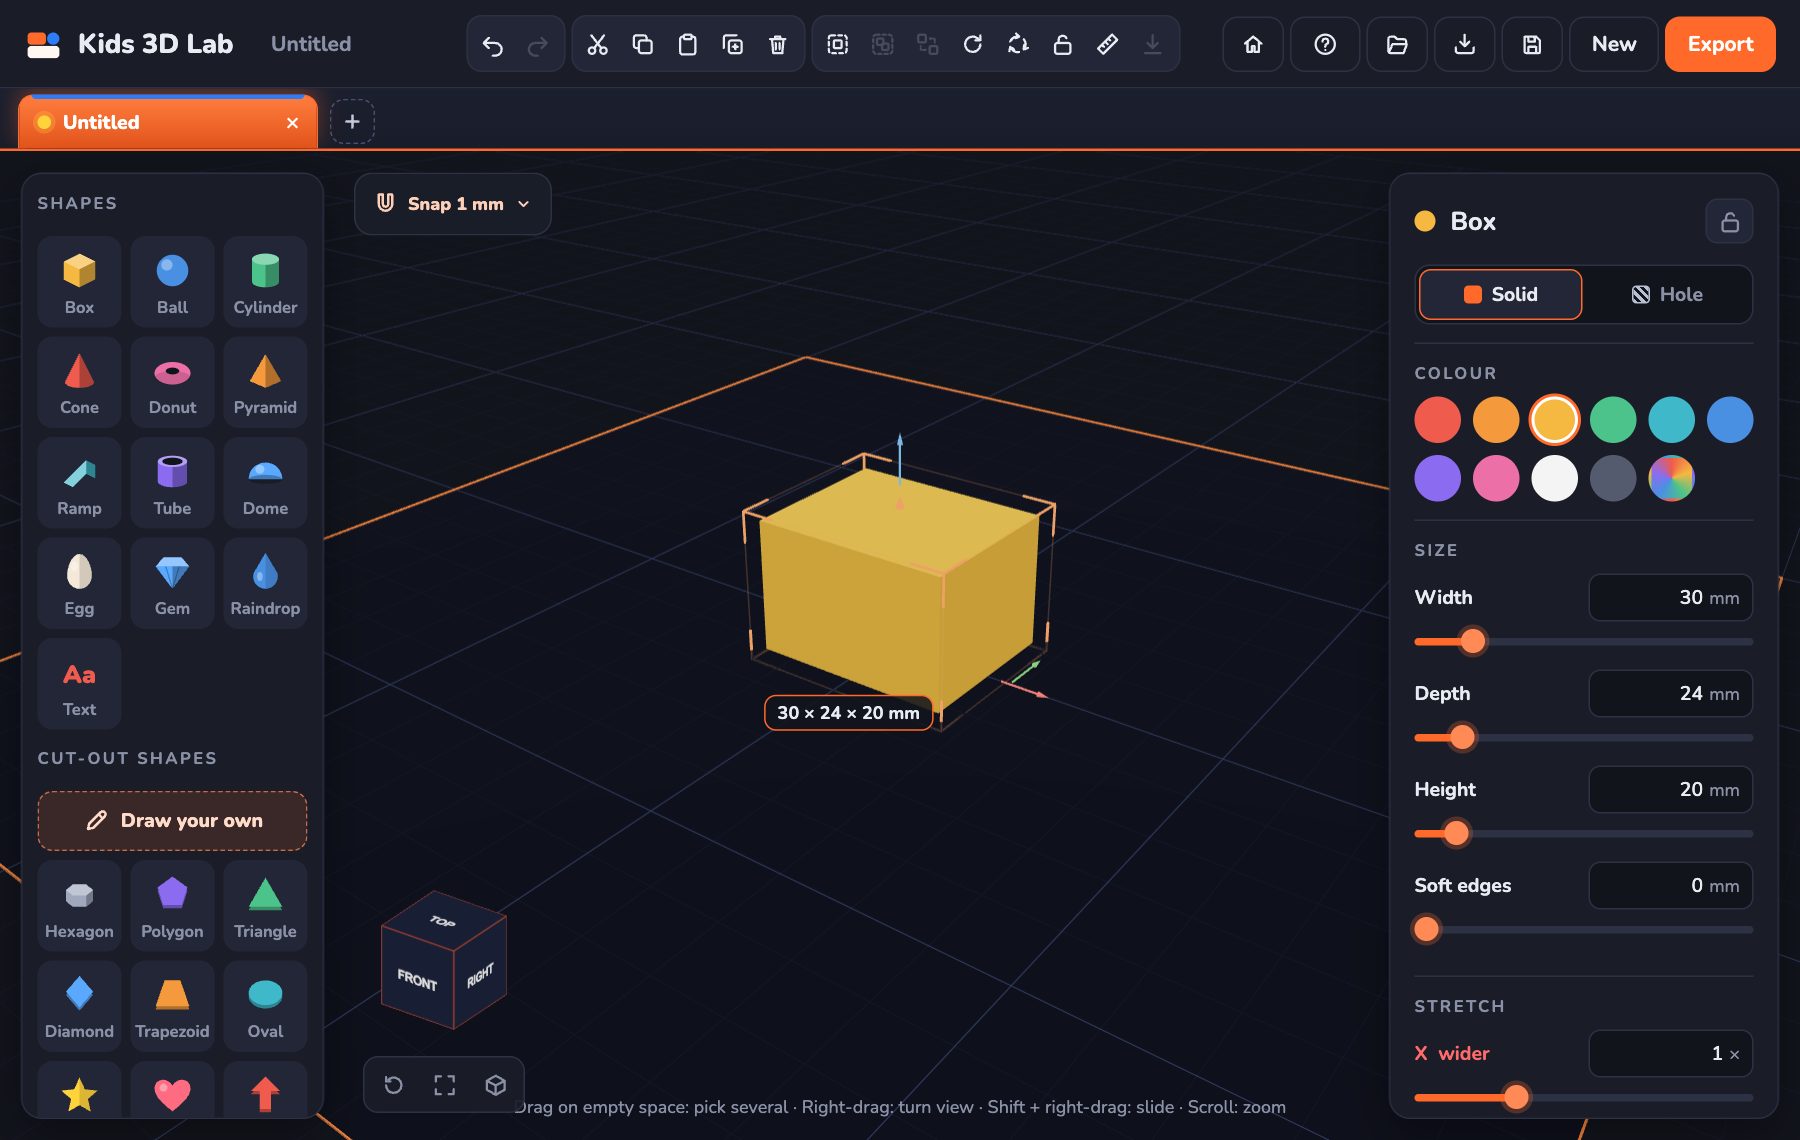
Is your shape floating in the air? Click Drop to plate in the panel.
Make it big or small
- Pick the box.
- Drag a purple corner at the bottom. The box gets wider or smaller.
- Drag the little purple arrow on top. The box gets taller or shorter.
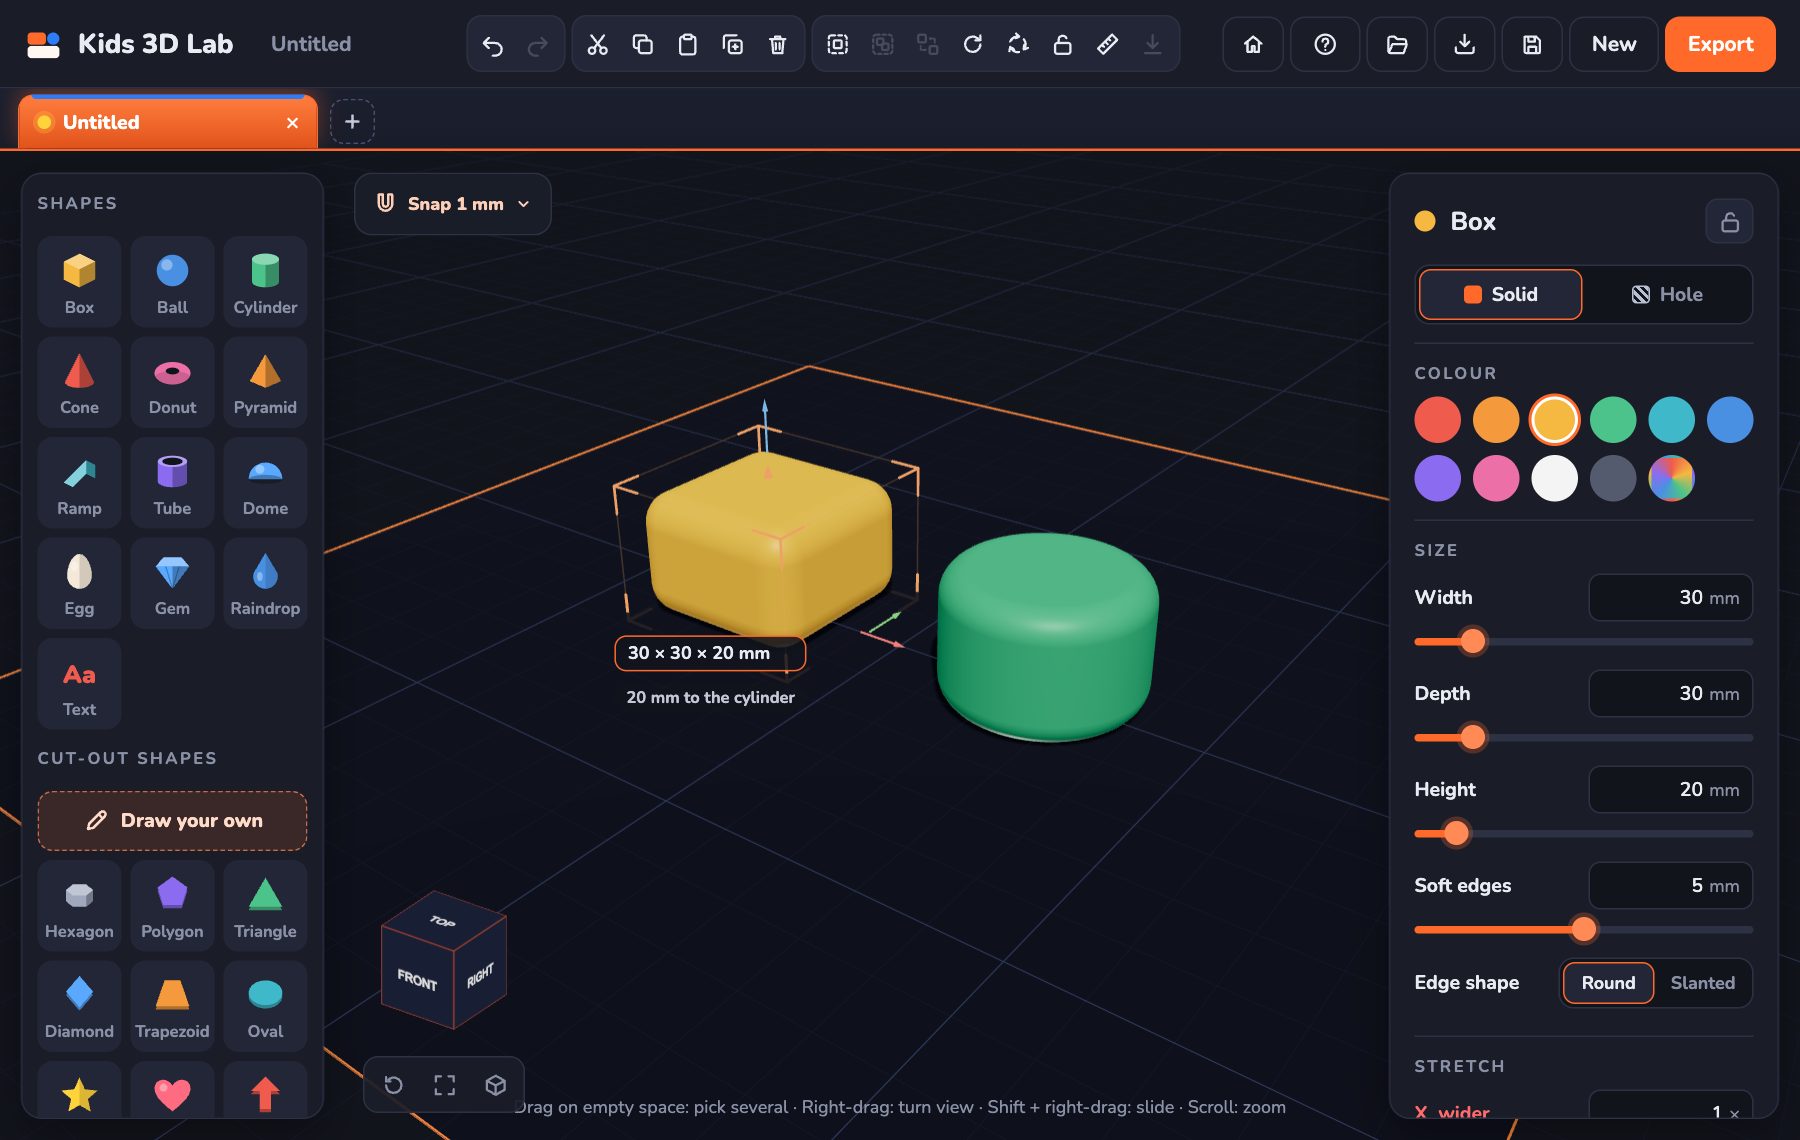
- You can also type a number in the panel. Try Width = 40, then press Enter.
All sizes are in millimetres (mm). 10 mm is about as wide as your fingernail.
Look around
- Right-drag on the plate. The whole view turns around. You can even look from below!
- Scroll to zoom in close, or zoom out far.
- Lost? Click TOP or FRONT on the little cube at the bottom left.
Turning the view does not move your shapes. It only moves your eyes.
Colours
- Pick the ball.
- In the panel, click a colour circle under Colour.
- The last circle has all the colours. Click it to pick any colour you like.
Colours are just for the screen. Your printed thing will be the colour of the printer's plastic.
Stack shapes
- Click the box first. (The first one you pick stays still.)
- Hold down Shift and click the ball. Now both are picked.
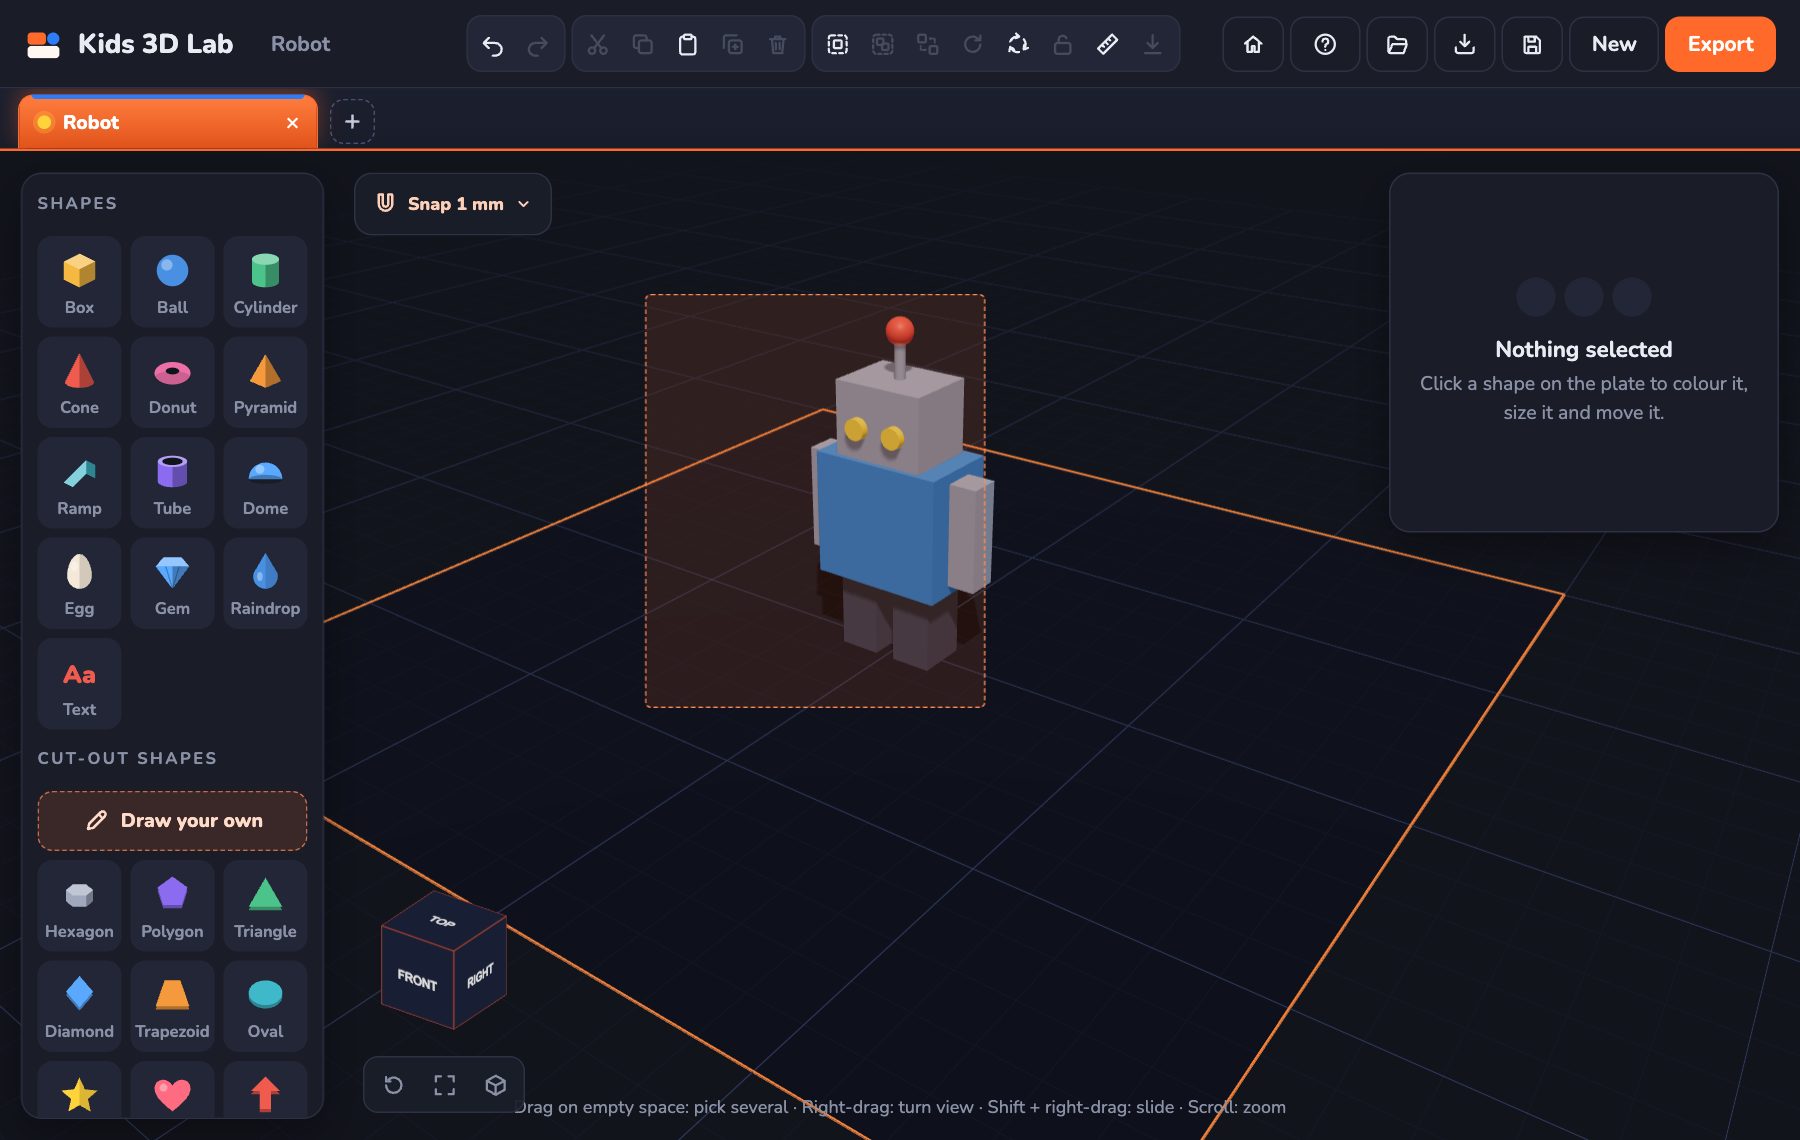
- In the panel, click Put on top of the box.
The ball jumps up and sits right in the middle of the box!
Make a hole
A hole is like a magic eraser. It takes its own shape out of anything it goes into.
- Add a Box. Make it flat: Height = 6.
- Add a Cylinder. In the panel, click Hole. It turns see-through grey.
- Click the box. Hold Shift and click the cylinder.
- Click Cut through the box.
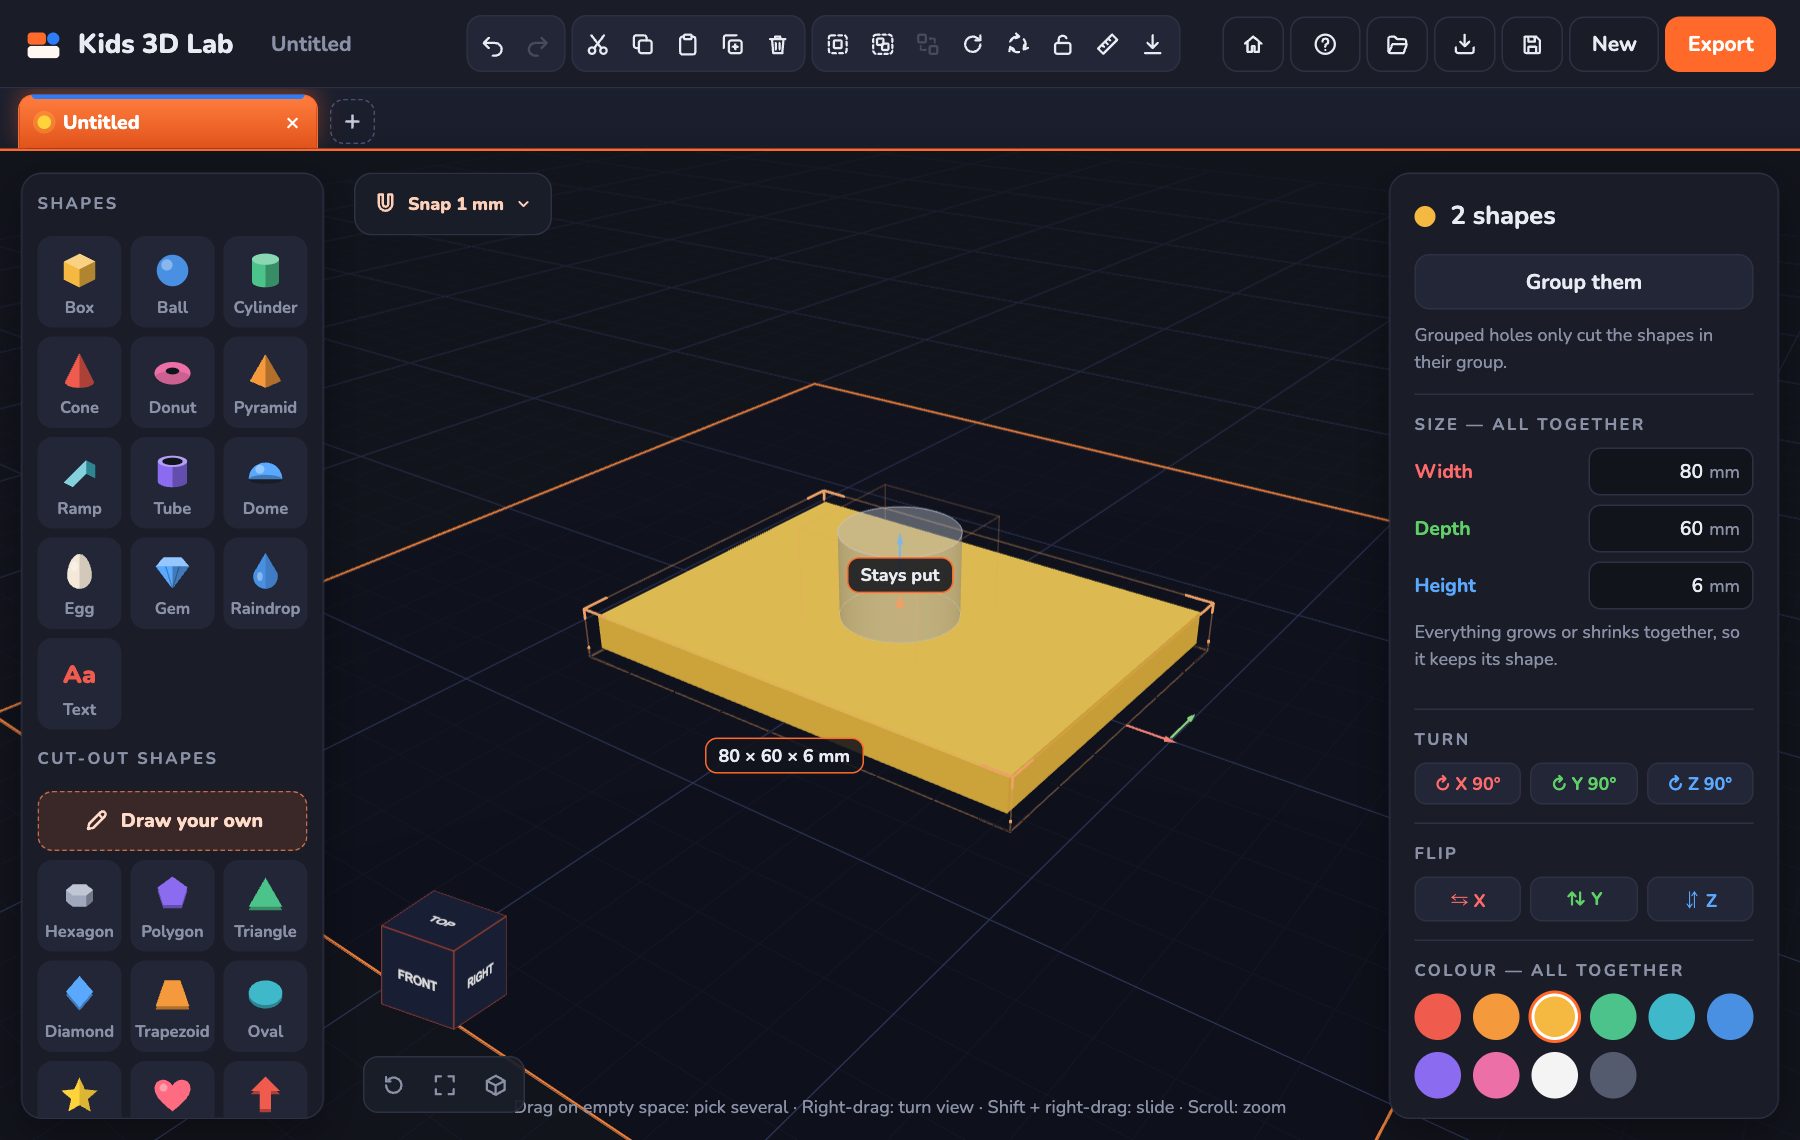
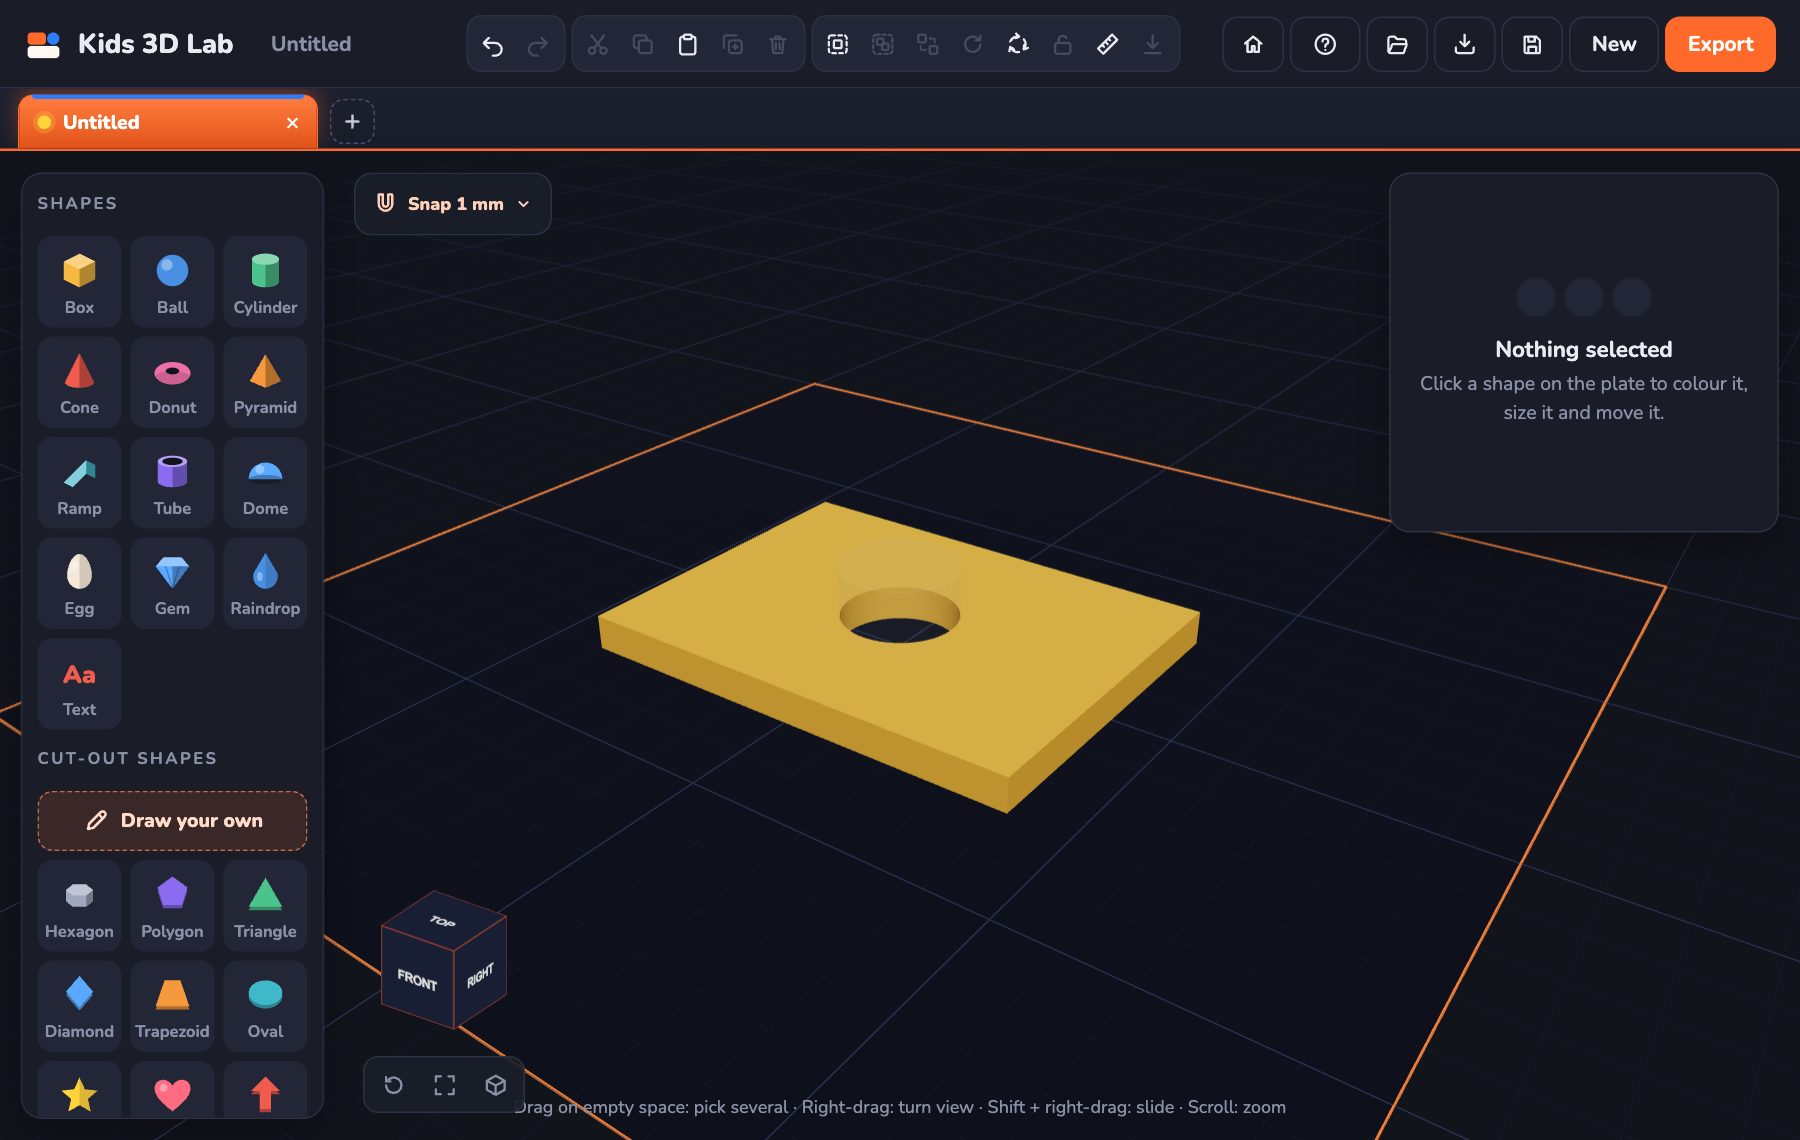
Oops, nothing happened? The hole must go inside the box. If it only sits on top, it cuts nothing. A yellow note in the panel tells you when this happens.
Write your name
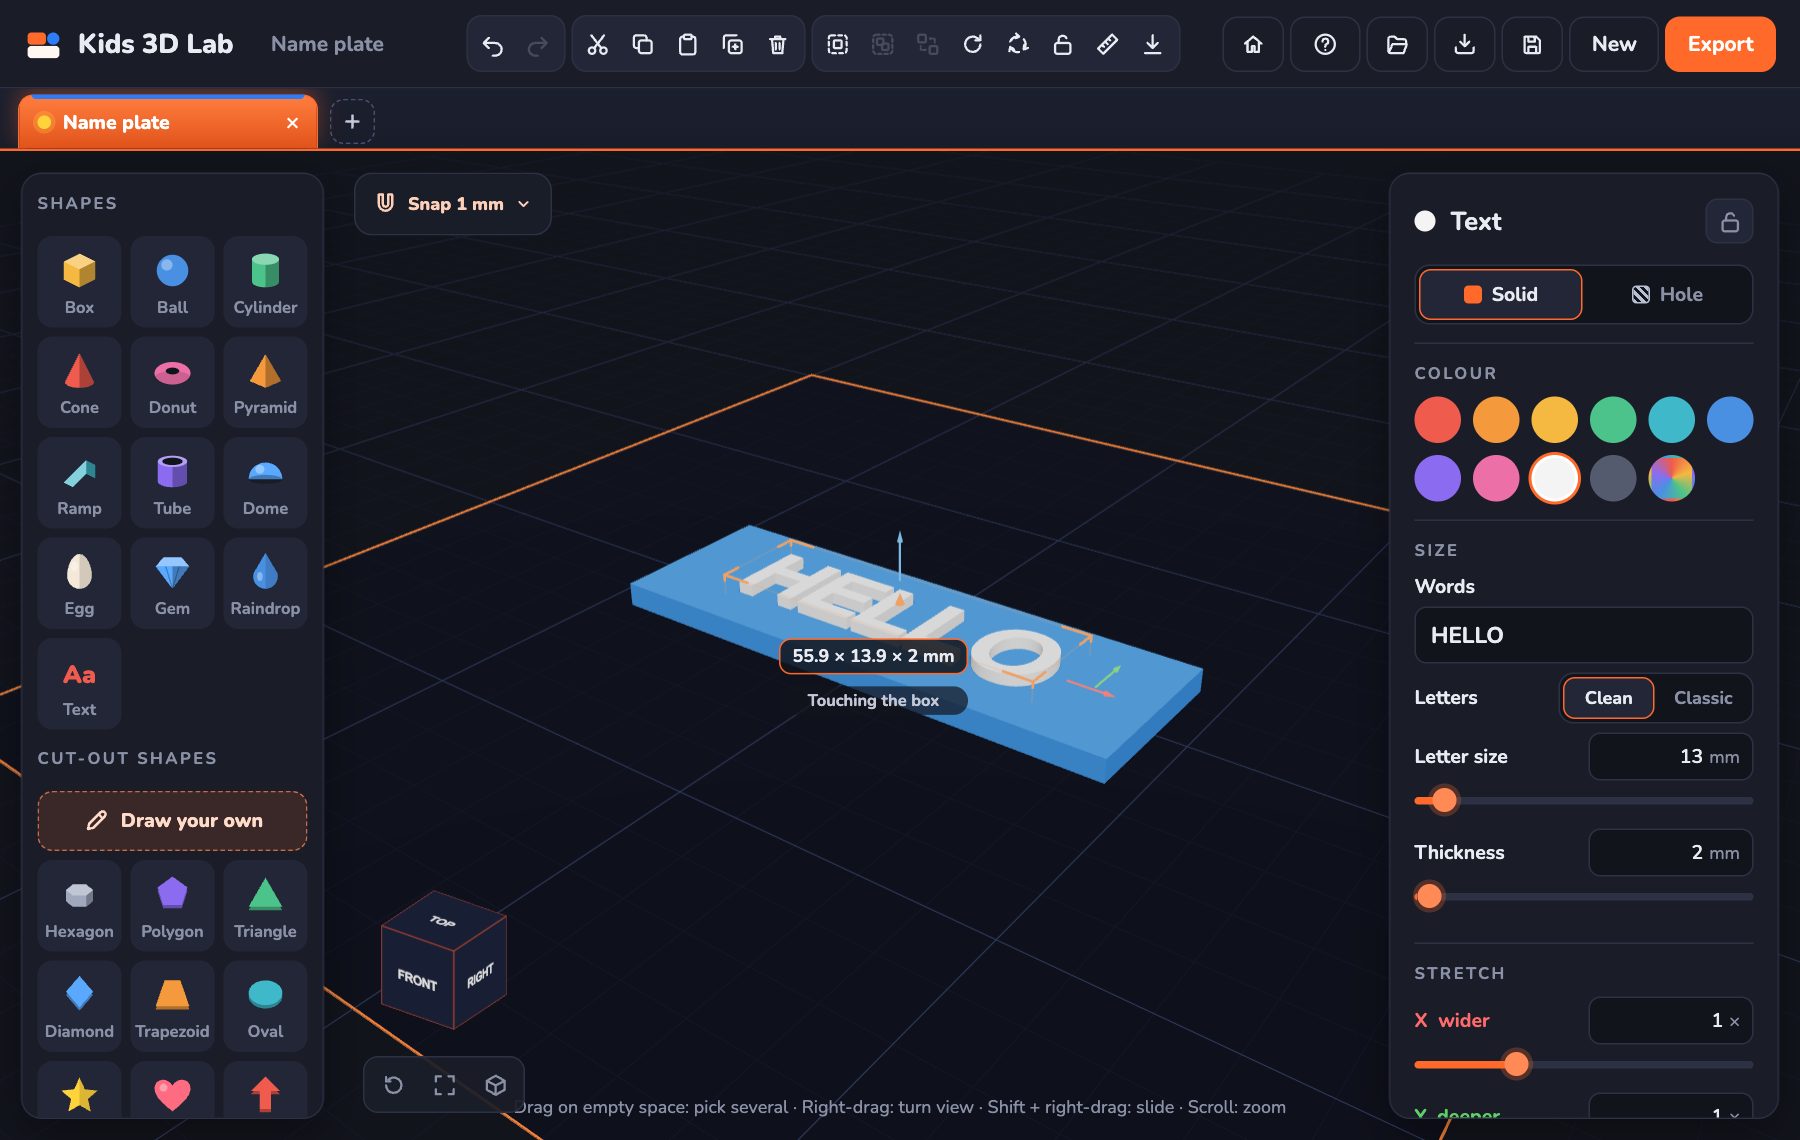
- Click Text (the Aa button). The word "Hello" appears.
- In the panel, find Words. Type your name there.
- Change Letter size to make the letters bigger or smaller.
- Pick Clean or Classic to change how the letters look.
Oops! Undo
- Pick a shape and press Delete. It is gone!
- Press Ctrl + Z. It comes back! (On a Mac: ⌘ + Z.)
- You can also click the curvy back arrow at the top.
Undo is your best friend. Try anything! You can always go back.
Build a snowman
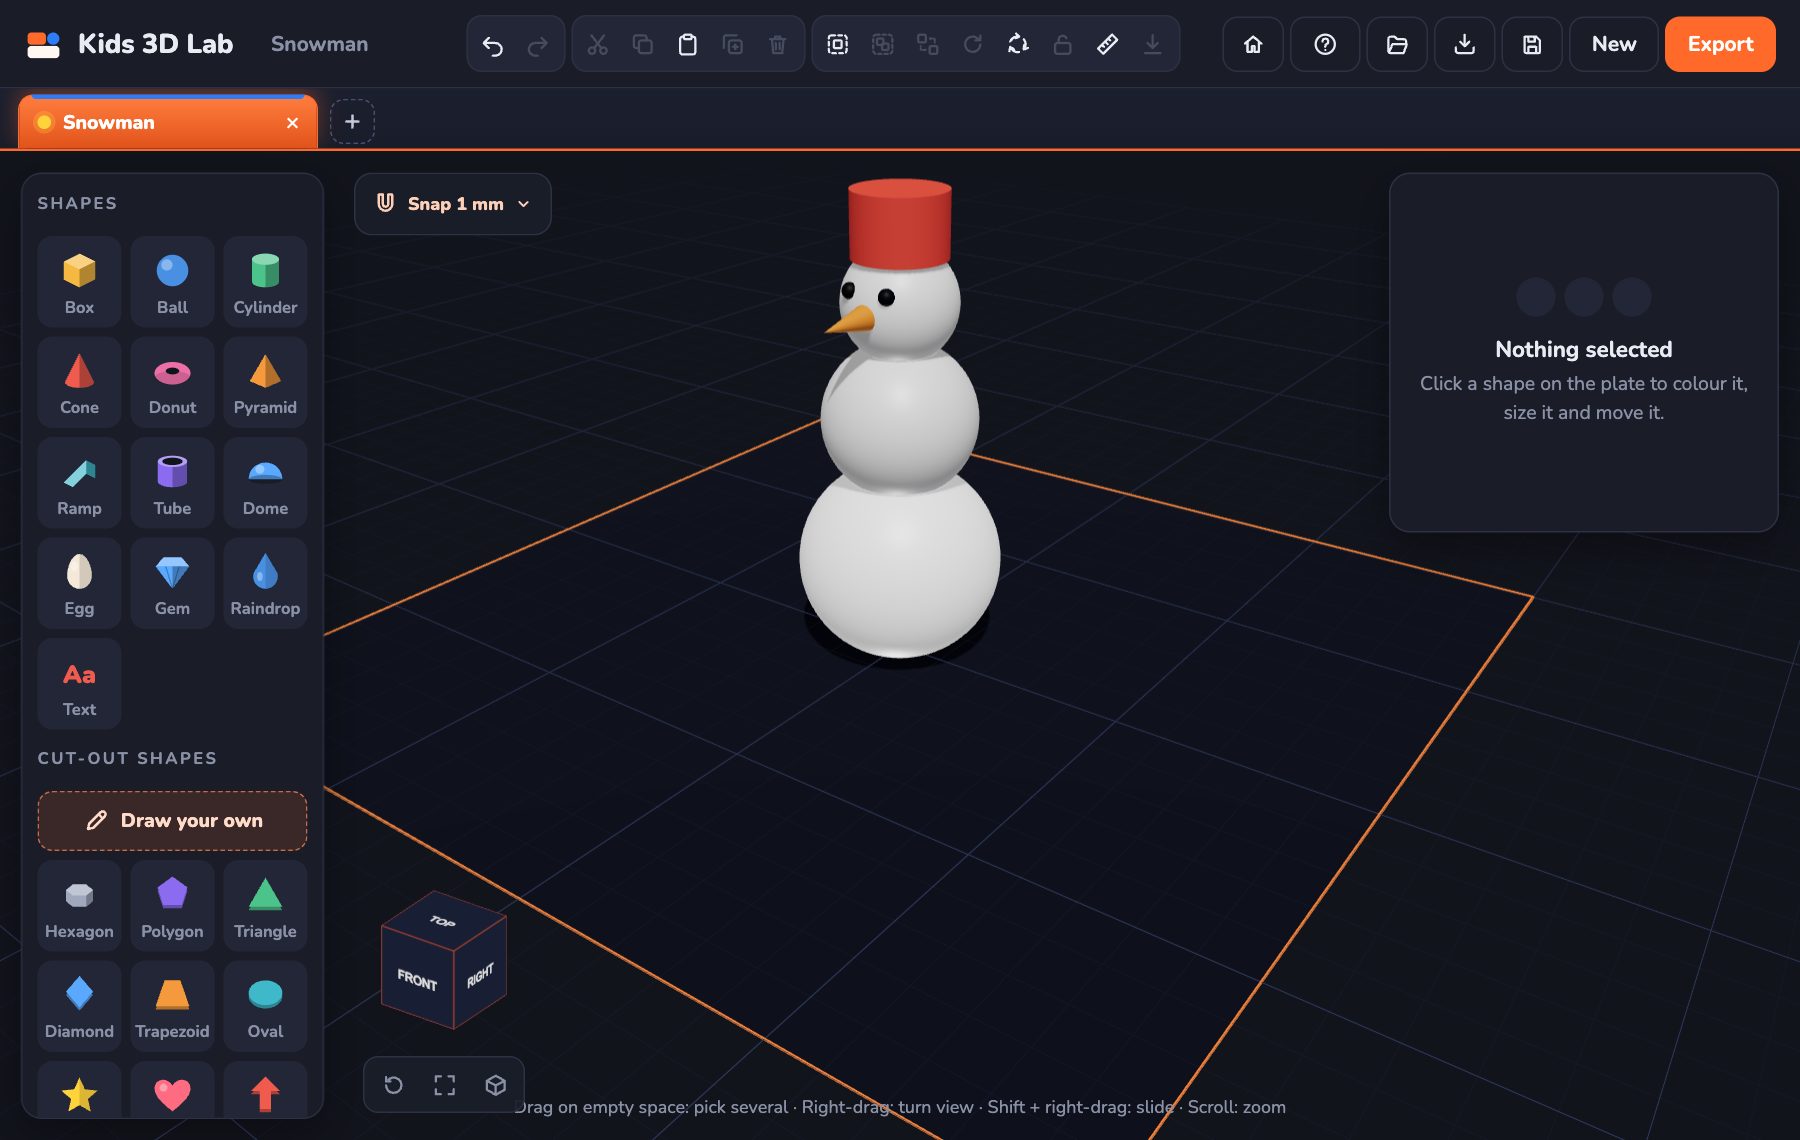
- Click New to get an empty plate.
- Add a Ball. Make it big: Diameter = 40. Paint it white.
- Add another Ball: Diameter = 30. Paint it white.
- Click the big ball. Hold Shift and click the middle ball. Click Put on top of the ball.
- Press Ctrl + ↓ five times. The middle ball sinks a little, so the balls stick together.
- Add a small Ball for the head: Diameter = 22. Put it on top of the middle ball the same way.
- Add a Cone for the nose. Make it thin: Diameter = 5, Height = 12. Paint it orange.
- Next to X under Turn, click ↻ 90°. The nose now points forward.
- Drag the nose onto the face. Use the blue arrow to lift it up.
- Add a Cylinder for a hat. Paint it red and put it on top of the head.
Add two tiny black balls for eyes! Try Diameter = 3.
Want to turn a shape any way you like? Click the button with three arrows in a circle at the top. Little curved arrows show up on your shape. Drag one round!
A name tag for your keys
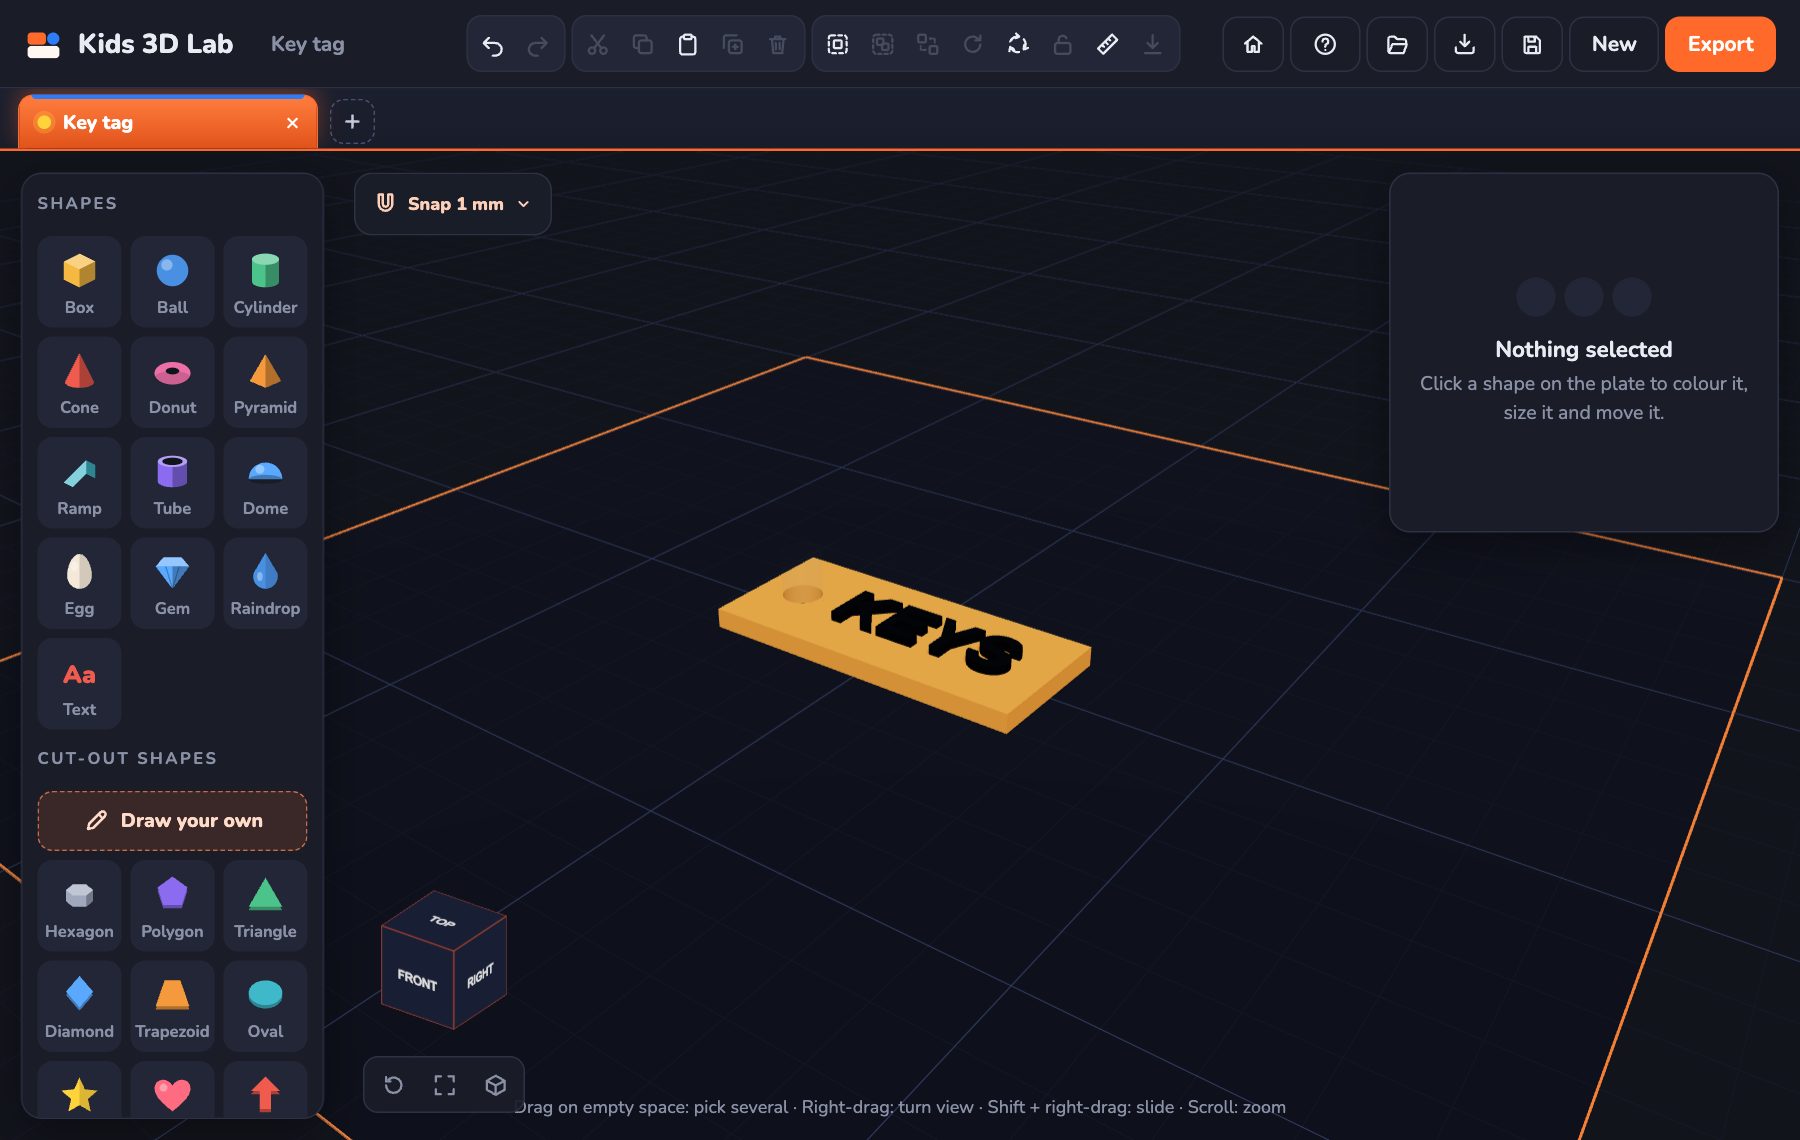
- Add a Box: Width 50, Depth 20, Height 3.
- Add Text. Type your name. Make Letter size = 8.
- Click the box, Shift-click the name, then click Put on top of the box.
- Press → a few times to slide the name to the right.
- Add a Cylinder: Diameter 5. Click Hole.
- Click the box, Shift-click the cylinder, then click Cut through the box.
- Press Shift + ← to slide the hole to the left end.
Now ask a grown-up to help you print it!
Magic keys
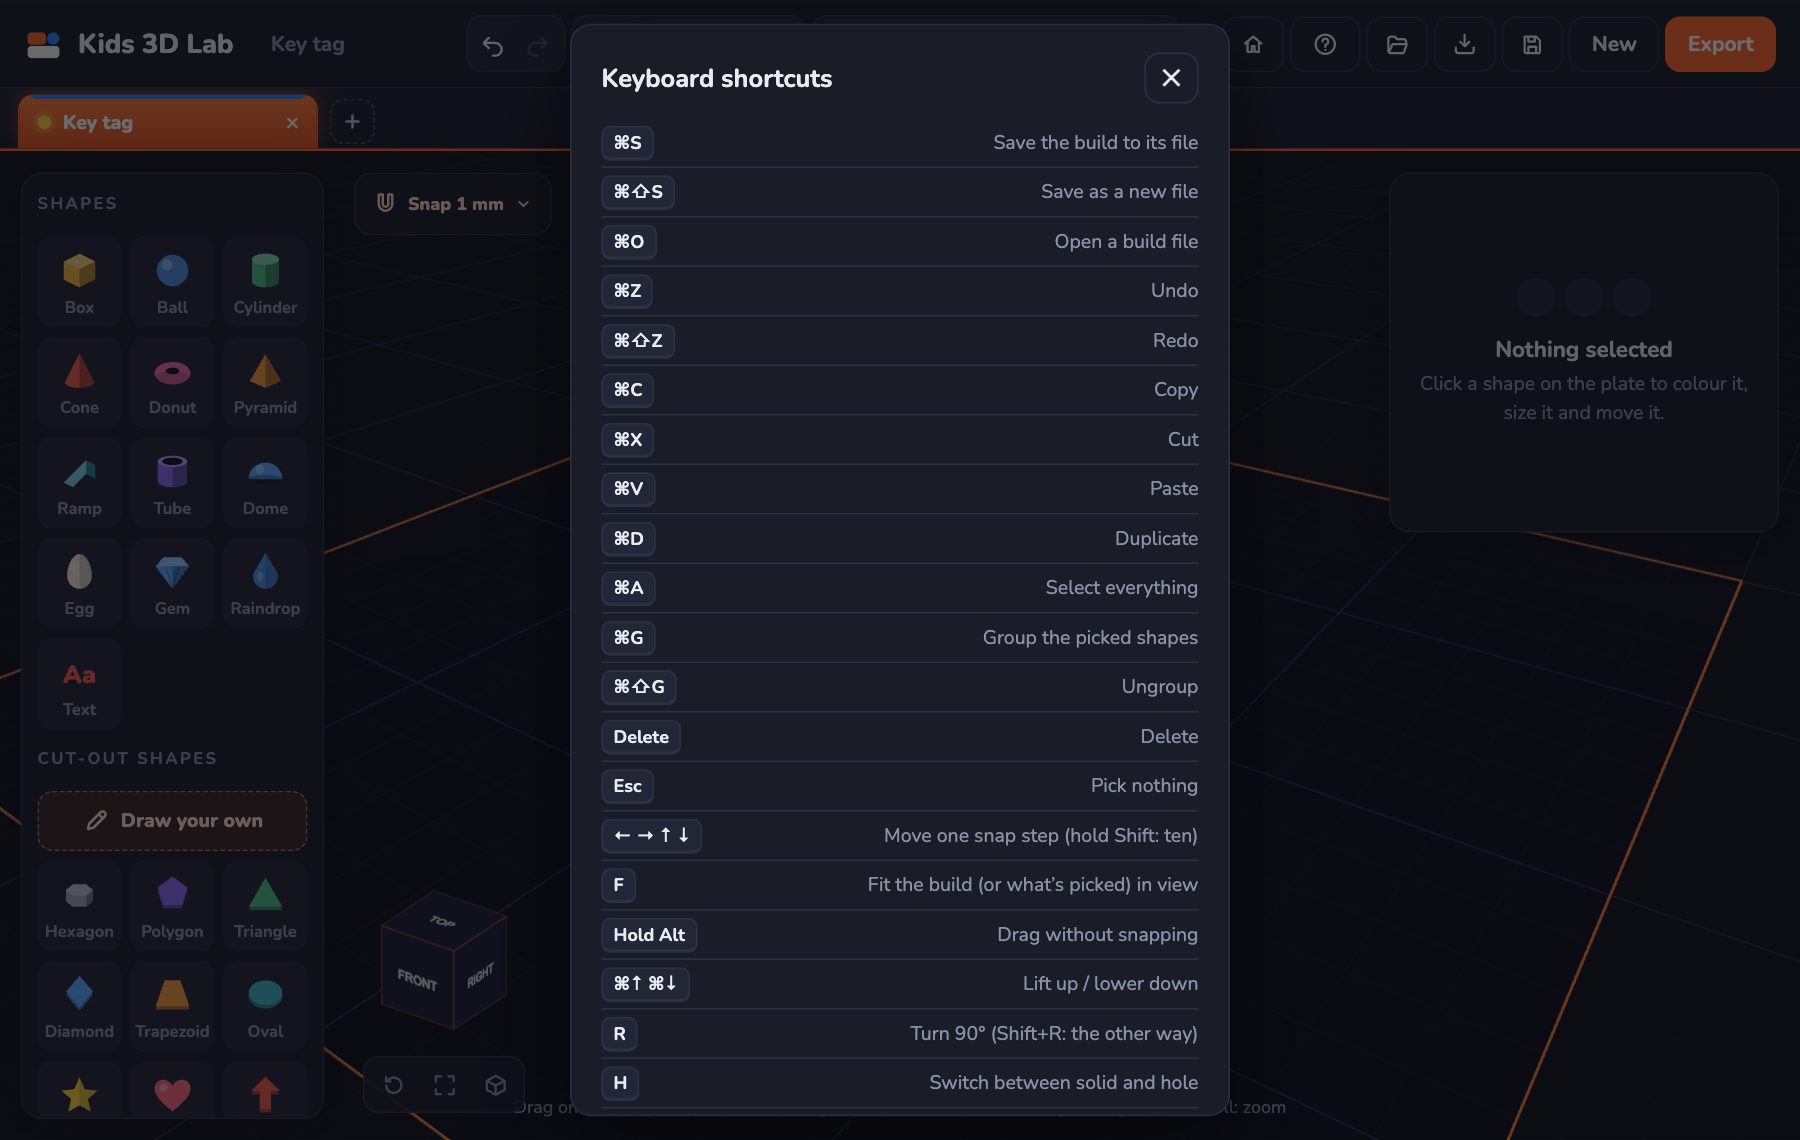
These keys make building faster. On a Mac, use ⌘ instead of Ctrl.
Saving and printing
- Save keeps the build as a
.kids3dfile to open and edit later. Open brings it back. Builds are also kept in the browser automatically. - Export makes an
.stlfile for a 3D printer: all solids are joined into one piece and the holes are cut. Open it in your printer's slicer (Cura, PrusaSlicer, Bambu Studio…) to print. - Give the build a name in the top bar first — the files are named after it.
- Good prints: keep a flat bottom on the plate, walls at least 1.2–2 mm thick, and overlap parts by about 1 mm so they print as one piece.
- Nothing is uploaded: Kids 3D Lab runs entirely in the browser and needs no account.