Blog ›
Kids 3D Lab for Parents and Teachers
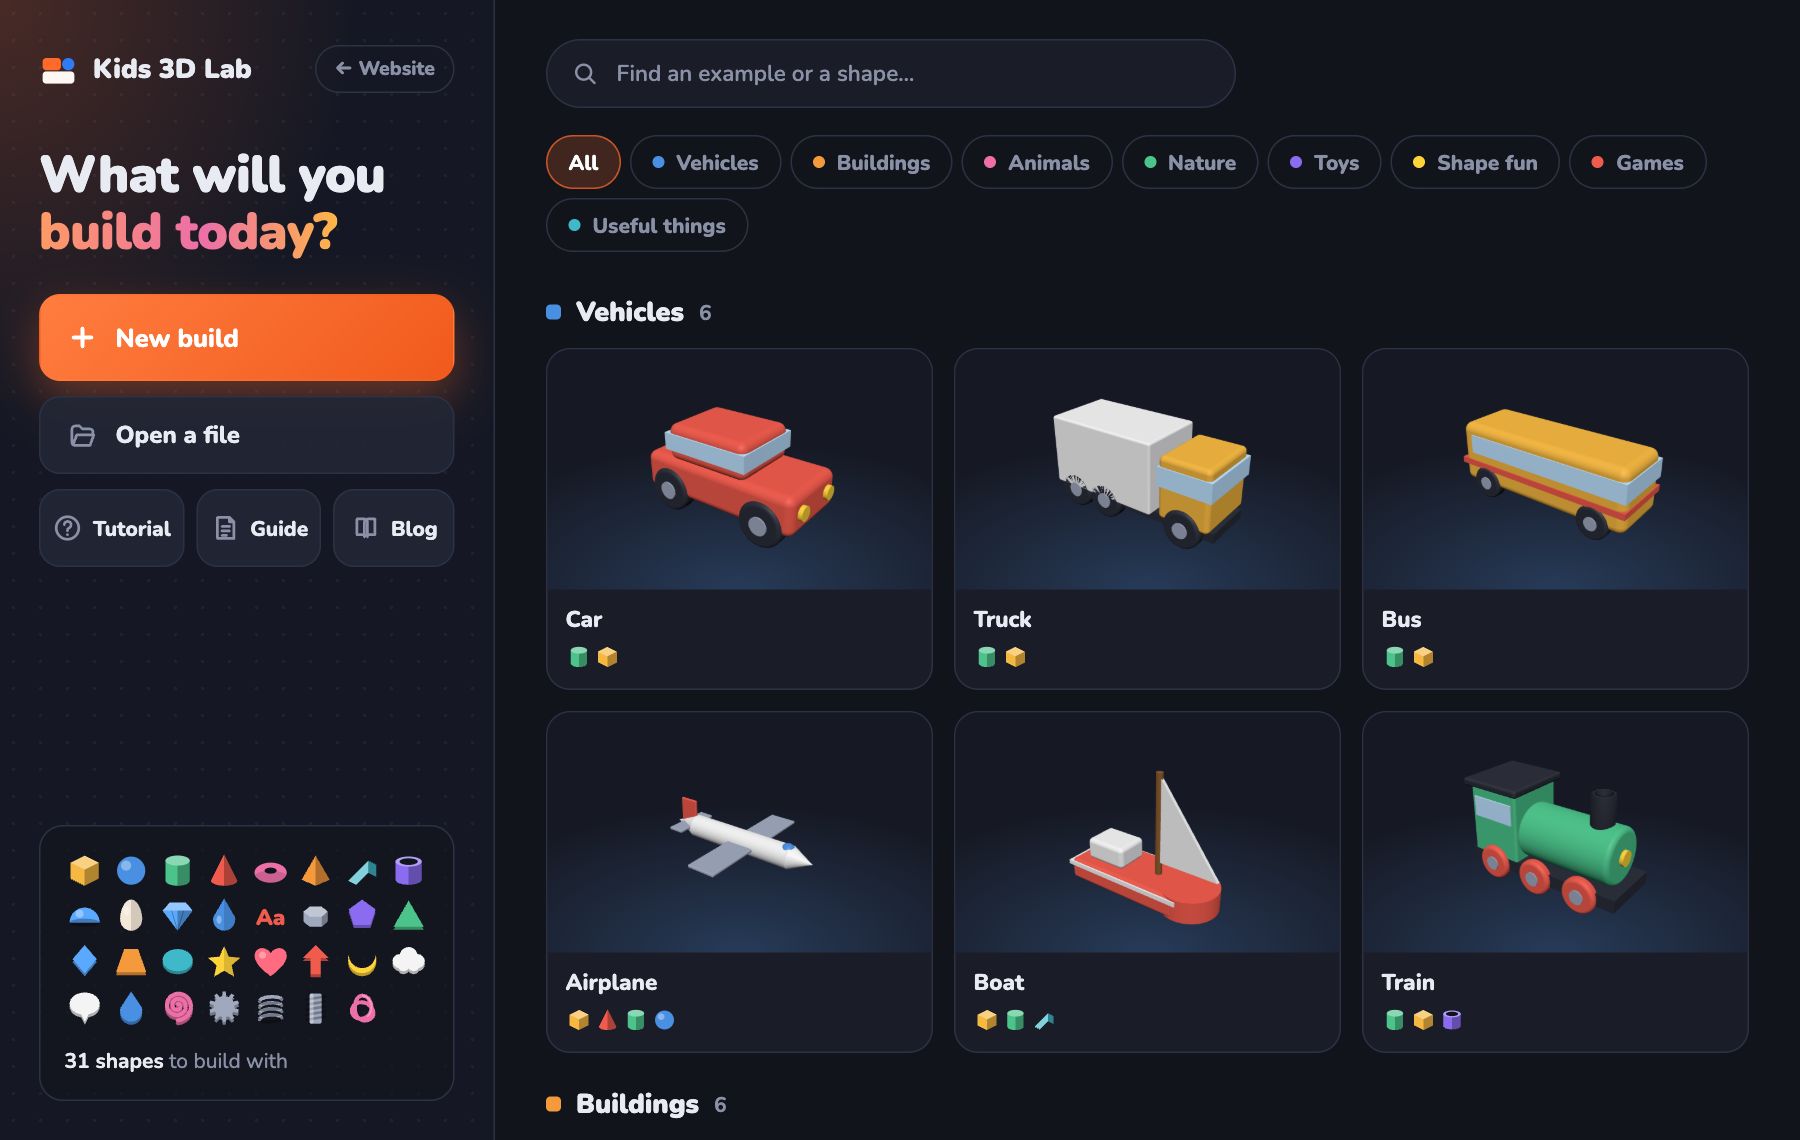
Kids 3D Lab is a free 3D design app for beginners, made for children from about 5 to 11. Five- to seven-year-olds build best with a grown-up beside them; older children can follow the tutorial on their own. It runs in the web browser, so there is nothing to install and no account to create. Builds are saved in the browser and as files you keep.
What children learn
- Measuring and numbers: every size is in millimetres, so children practise reading, estimating and comparing sizes.
- Shapes and space: they turn, flip and stack 3D shapes, and learn words like width, depth, height, diameter and angle.
- Planning: to build a snowman or a house, they break a big idea into simple parts.
- Problem solving: when something floats or a hole doesn't cut, they find out why and fix it.
- Making real things: with a 3D printer, the design becomes something they can hold, use or give away.
How Kids 3D Lab keeps it simple
- Build with ready-made shapes: boxes, balls, cylinders, stars, hearts and more.
- Every shape can be solid or a hole. Holes cut into other shapes.
- Handles on the shape move, size and turn it, and the numbers update as you drag.
- A drawing board lets children draw their own outline and make it 3D.
- 60 example builds to open, take apart and change.
- A kids' tutorial and this blog, written in easy English.
Lesson ideas
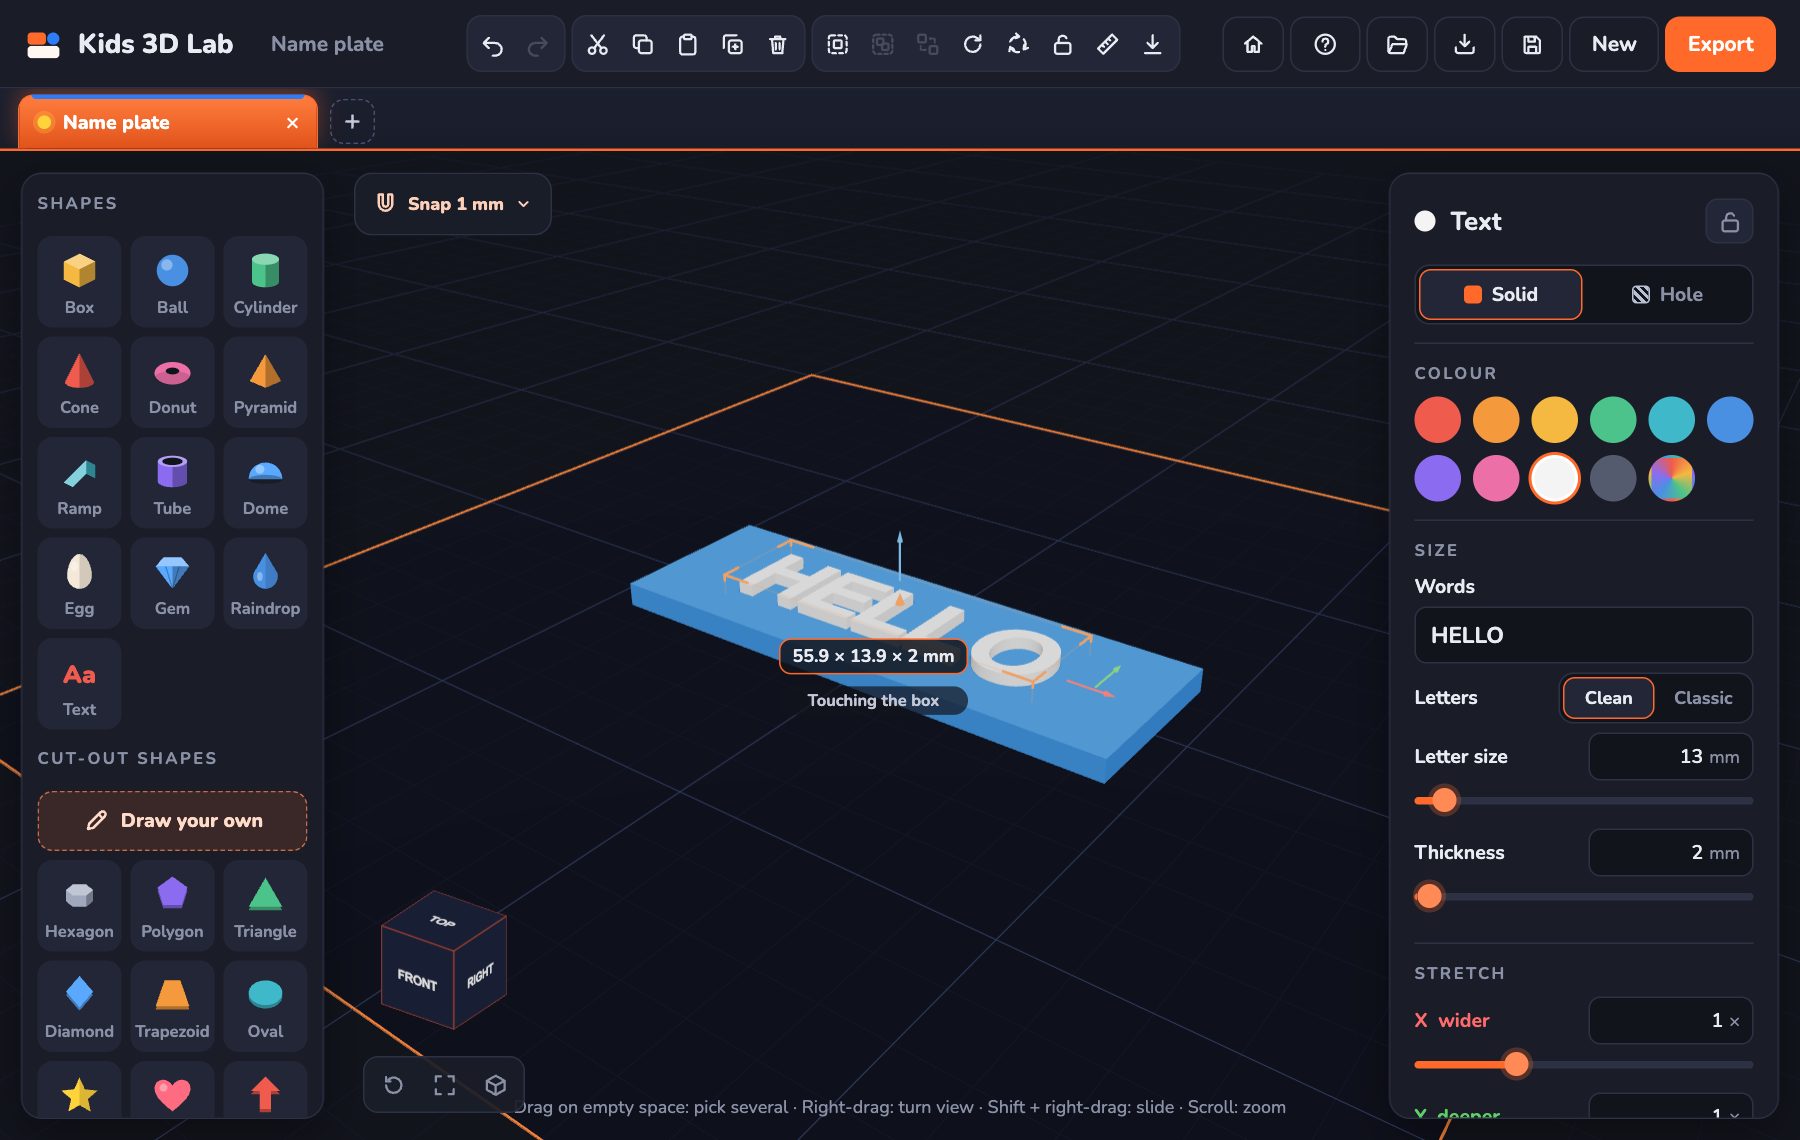
- My name tag (30 minutes): add a box and text, stack them, and export. A great first lesson.
- Measure and copy (45 minutes): measure a real object with a ruler, then build it at the same size.
- Hole hunters (30 minutes): open the Dice, House and Pen pot examples. Find every hole. How many are there?
- Snow family (45 minutes): build three snowmen of different sizes. Talk about bigger, smaller and half the size.
- Design a cookie cutter (45 minutes): draw a shape on the drawing board. Give it a thin wall with a hole inside.
- Fix it! (20 minutes): give children a build with a floating part or a hole that doesn't cut. Can they find the problem?
Printing tips for grown-ups
- Use PLA plastic. It is easy to print and doesn't need a heated room.
- Keep models small at first, about 40–60 mm, so prints take under an hour.
- Stay near the printer, and keep little hands away from the hot nozzle and moving parts.
- Export gives an STL file. Open it in your printer's slicer.
Privacy
Kids 3D Lab does not need an account and does not upload children's builds. Everything stays on your computer.
Links to the curriculum
Kids 3D Lab fits naturally into several subjects for children aged 5 to 11:
- Maths: measuring in millimetres and centimetres, reading scales, estimating, angles in degrees (90° quarter turns, 180° half turns), 3D shapes and their properties, symmetry and reflection with Flip, and scaling with Stretch.
- Design and technology: designing for a purpose and a user, making a prototype, testing it and improving it.
- Science: how materials behave, why thin parts break, and why a model needs a flat base to stand.
- Computing: working with files, saving and opening, and following steps in order.
- Art: colour, pattern and form, and drawing an outline freehand on the drawing board.
Getting a class started
- Before the lesson, open Kids 3D Lab once on each computer. It works in any modern browser, including Chromebooks. Nothing needs installing and there are no logins.
- Start with the tour. The first time a child starts an empty plate, a short six-step tour shows the basics.
- Use the tutorial. The kids' tutorial has ten short lessons with clear missions. Children can work through it at their own pace.
- Keep the guide handy. The Kids 3D Lab Guide explains every button in easy English. Older children can look things up for themselves.
- Save the work. Builds are kept in the browser, but on shared computers ask children to click Save and keep their .kids3d file in their own folder.
Common questions from teachers
Does it work on school Chromebooks and tablets?
Yes. It runs in the browser. A mouse gives the most control, but touch works: one finger turns the view, two fingers zoom.
Is student data collected?
No. There are no accounts, no tracking and no adverts, and builds are never uploaded. See our privacy page.
We don't have a 3D printer. Is it still worth it?
Yes. Designing is where the learning happens: measuring, planning, problem solving and spatial thinking. Many libraries and makerspaces will print files for schools, and children can still share and change each other's designs.
How long should a first session be?
Thirty to forty-five minutes is plenty. A name tag makes a satisfying first result in that time.
Assessing the work
Some simple questions to ask as children finish a project:
- What shapes is your model made from?
- Which measurement was hardest to get right, and why?
- Is there anything floating, or any part too thin to print?
- What would you change if you made it again?
These questions encourage children to explain their thinking, not just show the result.
Working together
Building side by side is a great way to learn. Pair children up: one "designer" uses the mouse, and one "engineer" checks the measurements and reads the steps. Swap roles halfway. Pairs talk through their ideas, spot each other's mistakes, and are more likely to finish.
Keep reading
 What Is 3D Printing?
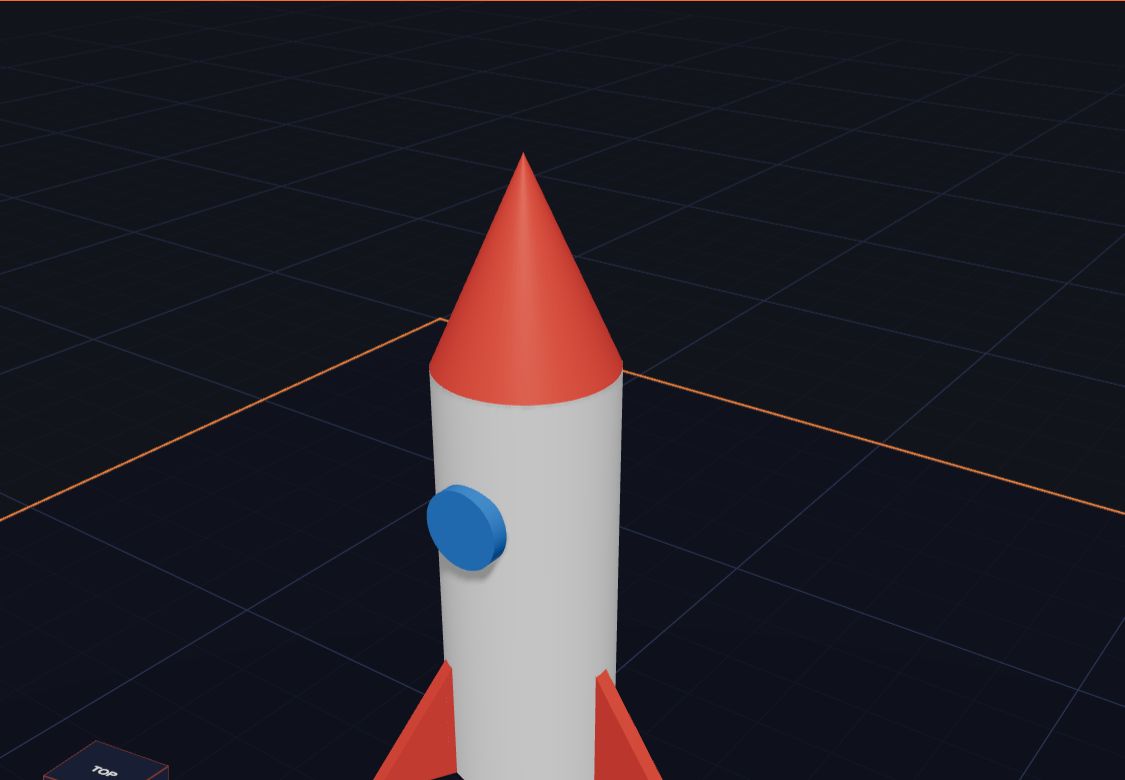
A 3D printer makes real things you can hold, one thin layer at a time. Here is how it works, in simple words.
5 min read
What Is 3D Printing?
A 3D printer makes real things you can hold, one thin layer at a time. Here is how it works, in simple words.
5 min read
 Make Your First 3D Model in 10 Minutes
A step-by-step guide to your very first 3D model — a name tag with your own name on it.
5 min read
Make Your First 3D Model in 10 Minutes
A step-by-step guide to your very first 3D model — a name tag with your own name on it.
5 min read
 Millimetres Made Easy: How Big Is Your Model?
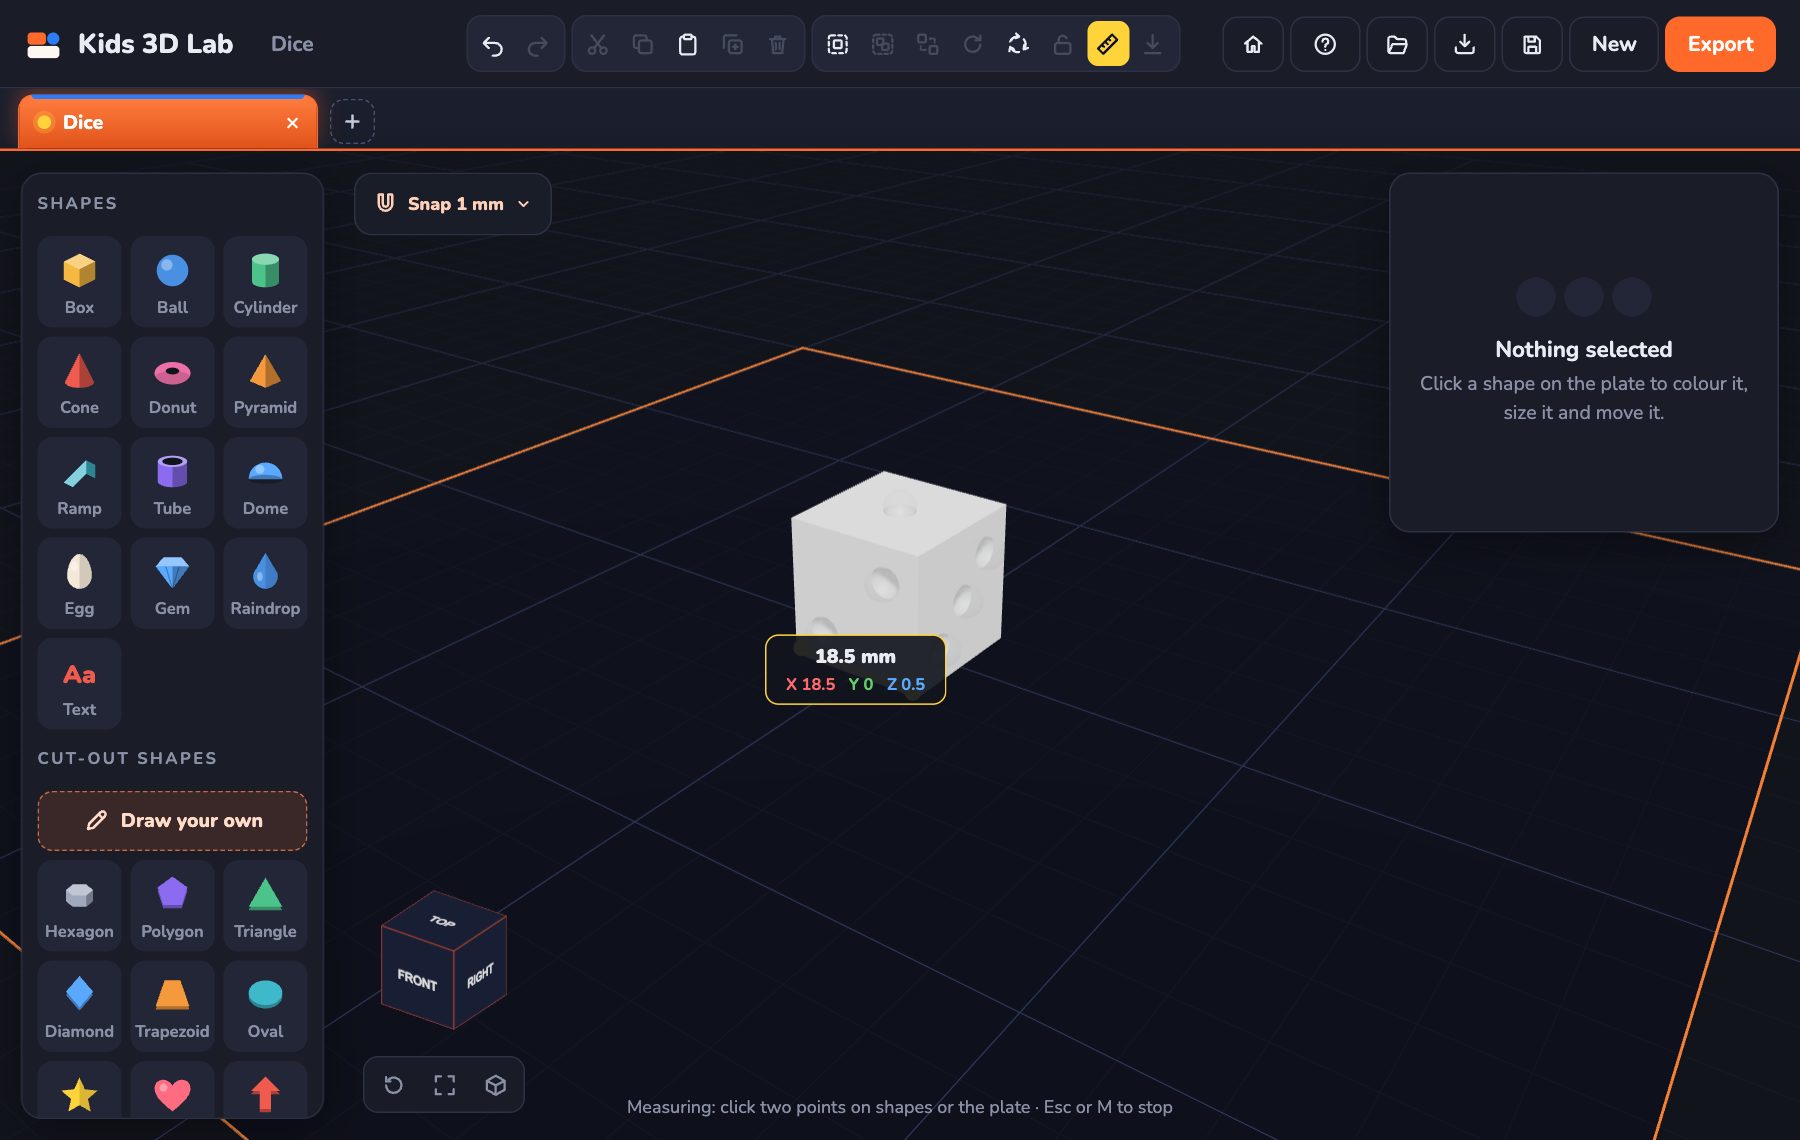
Every number in Kids 3D Lab is in millimetres. Learn how big a millimetre is, and how to make your model just the right size.
5 min read
Millimetres Made Easy: How Big Is Your Model?
Every number in Kids 3D Lab is in millimetres. Learn how big a millimetre is, and how to make your model just the right size.
5 min read