Blog ›
Make Your First 3D Model in 10 Minutes
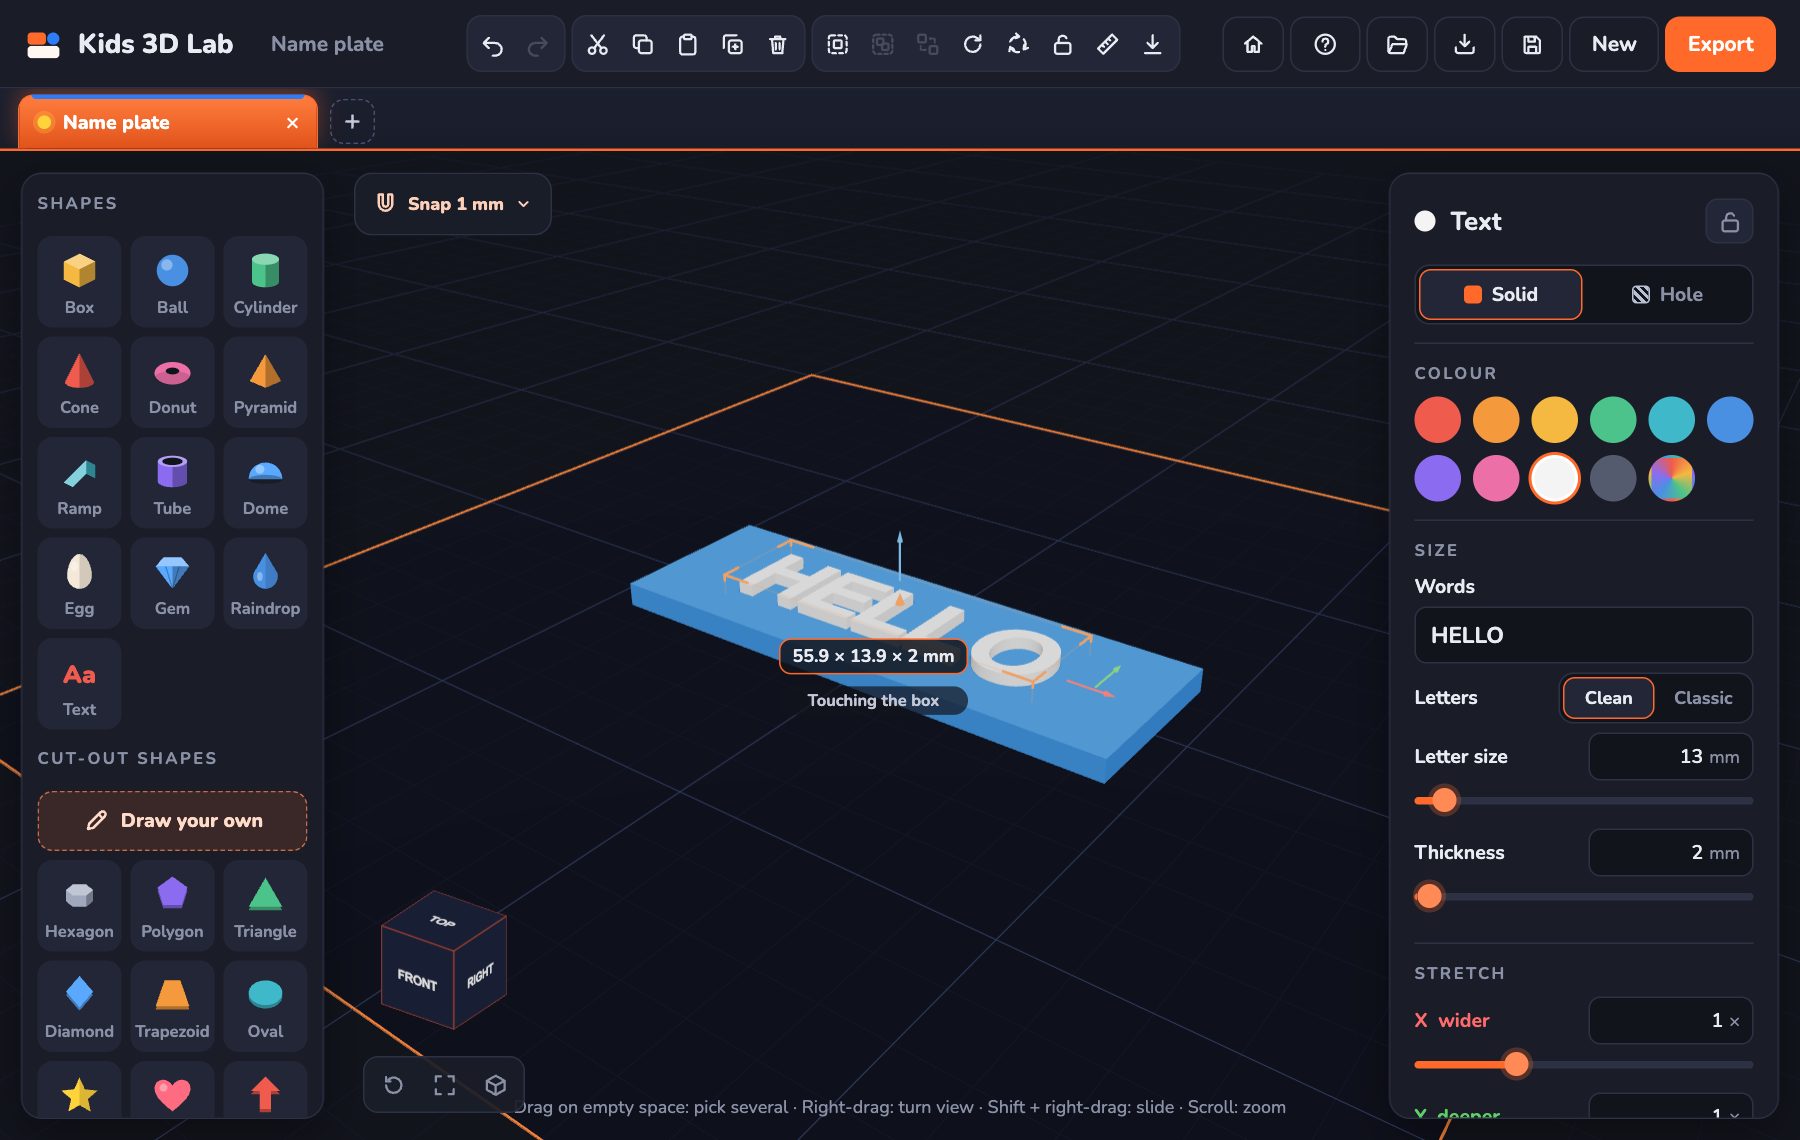
Let's make something real: a name tag with your name on it. It only takes a few minutes, and you will learn the most important tricks in Kids 3D Lab.
Step 1: Start a new build
Open Kids 3D Lab. On the start page, click the big purple New build button. You will see an empty plate. The plate is where you build, like a table for your model.
Step 2: Add a box
Look at the Shapes list on the left. Click Box. A yellow box pops onto the plate.
A box is 20 millimetres on every side. That is about as wide as your thumbnail is long... times two!
Step 3: Make it flat
We want a flat tag, not a cube. On the right is the panel with the box's numbers. Change them to:
- Width: 60
- Depth: 25
- Height: 4
You can type the numbers, or drag the little purple slider under each one. Now your box is a flat plate.
Step 4: Add your name
Click Text in the Shapes list. The word "Hello" appears. In the panel, find Words and type your own name.
Make the letters 3 mm thick, so they stand up from the tag.
Step 5: Put the name on the tag
Now the name needs to sit on top of the tag. Here is the trick:
- Click the tag.
- Hold Shift and click your name. Now both are picked.
- In the panel, click Put on top of the box.
Your name jumps up and sits right on top of the tag, in the middle. Neat!
Step 6: Pick colours
Click the tag and pick a colour. Click the name and pick a different one. The colours help you see your model. (Most printers print one colour, but you can change the plastic halfway to get two!)
Step 7: Save it
Click the Export button at the top right. Kids 3D Lab saves a file called an STL. That is the file a 3D printer understands.
You did it!
You just made your first 3D model. You learned how to add shapes, change their size, stack one on another and save for printing. That is most of what 3D design is!
Make your tag even better
Now that you have a tag, try these upgrades:
- Soft edges. Pick the tag and set Soft edges to 1 or 2 mm. The corners become smooth and nice to hold.
- A hole for a ring. Add a small Cylinder, click Hole, and push it through one end. Now it can hang on a bag or keys.
- A border. Add a slightly bigger, thinner box under your tag in a different colour. It looks like a frame.
- A symbol. Add a small Star or Heart next to your name.
- Pick a font. Under Letters, choose Clean or Classic.
Common mistakes
- The name is floating. If the letters are above the tag, pick the tag first, then the name, and click Put on top of the box again.
- The letters are too thin. Tiny letters are hard to print. Make Letter size at least 8 mm and Thickness at least 1.5 mm.
- The name is too long for the tag. Make the tag wider, or make the letters smaller. Or use a nickname!
- I closed it by mistake. Look on the start page under My builds, or press Ctrl + Z if it's still open.
Keys that save time
| Key | What it does |
|---|---|
| Ctrl + Z | Undo |
| Ctrl + D | Make a copy |
| Delete | Remove the picked shape |
| Arrow keys | Move the picked shape a little |
| F | Fit everything in view |
On a Mac, use ⌘ instead of Ctrl.
Questions kids ask
What is an STL file?
It's a file that describes the outside of your model, like a skin made of tiny triangles. Every 3D printer app can open it.
Can I change my tag after I export it?
Not the STL file, but you can change your build. Click Save to keep a .kids3d file, or keep it in My builds. Open it again, change it, and export a new STL.
How long does it take to print a name tag?
About 20 to 40 minutes, depending on the printer and the size.
For grown-ups
A name tag is the perfect first project: it takes ten minutes, uses the most important skills (adding, sizing, stacking and exporting), and ends with something personal. Children stay motivated when their first print has their own name on it. Next, try How Holes Work to add a key ring hole, or Build a Snowman to practise stacking.
What you learned
In ten minutes, you used the five most important moves in 3D design:
- Adding a shape from the list.
- Sizing it with numbers or sliders.
- Stacking one shape on top of another.
- Colouring each part.
- Exporting a file for a printer.
Almost every model, from a snowman to a rocket, is made with these same five moves. Now you know them all!
Ideas for your next tag
- A door sign that says KNOCK FIRST.
- A bag tag with your name and a heart.
- A pet tag with your pet's name.
- A bookmark: a long thin tag with a word on it.
Keep reading
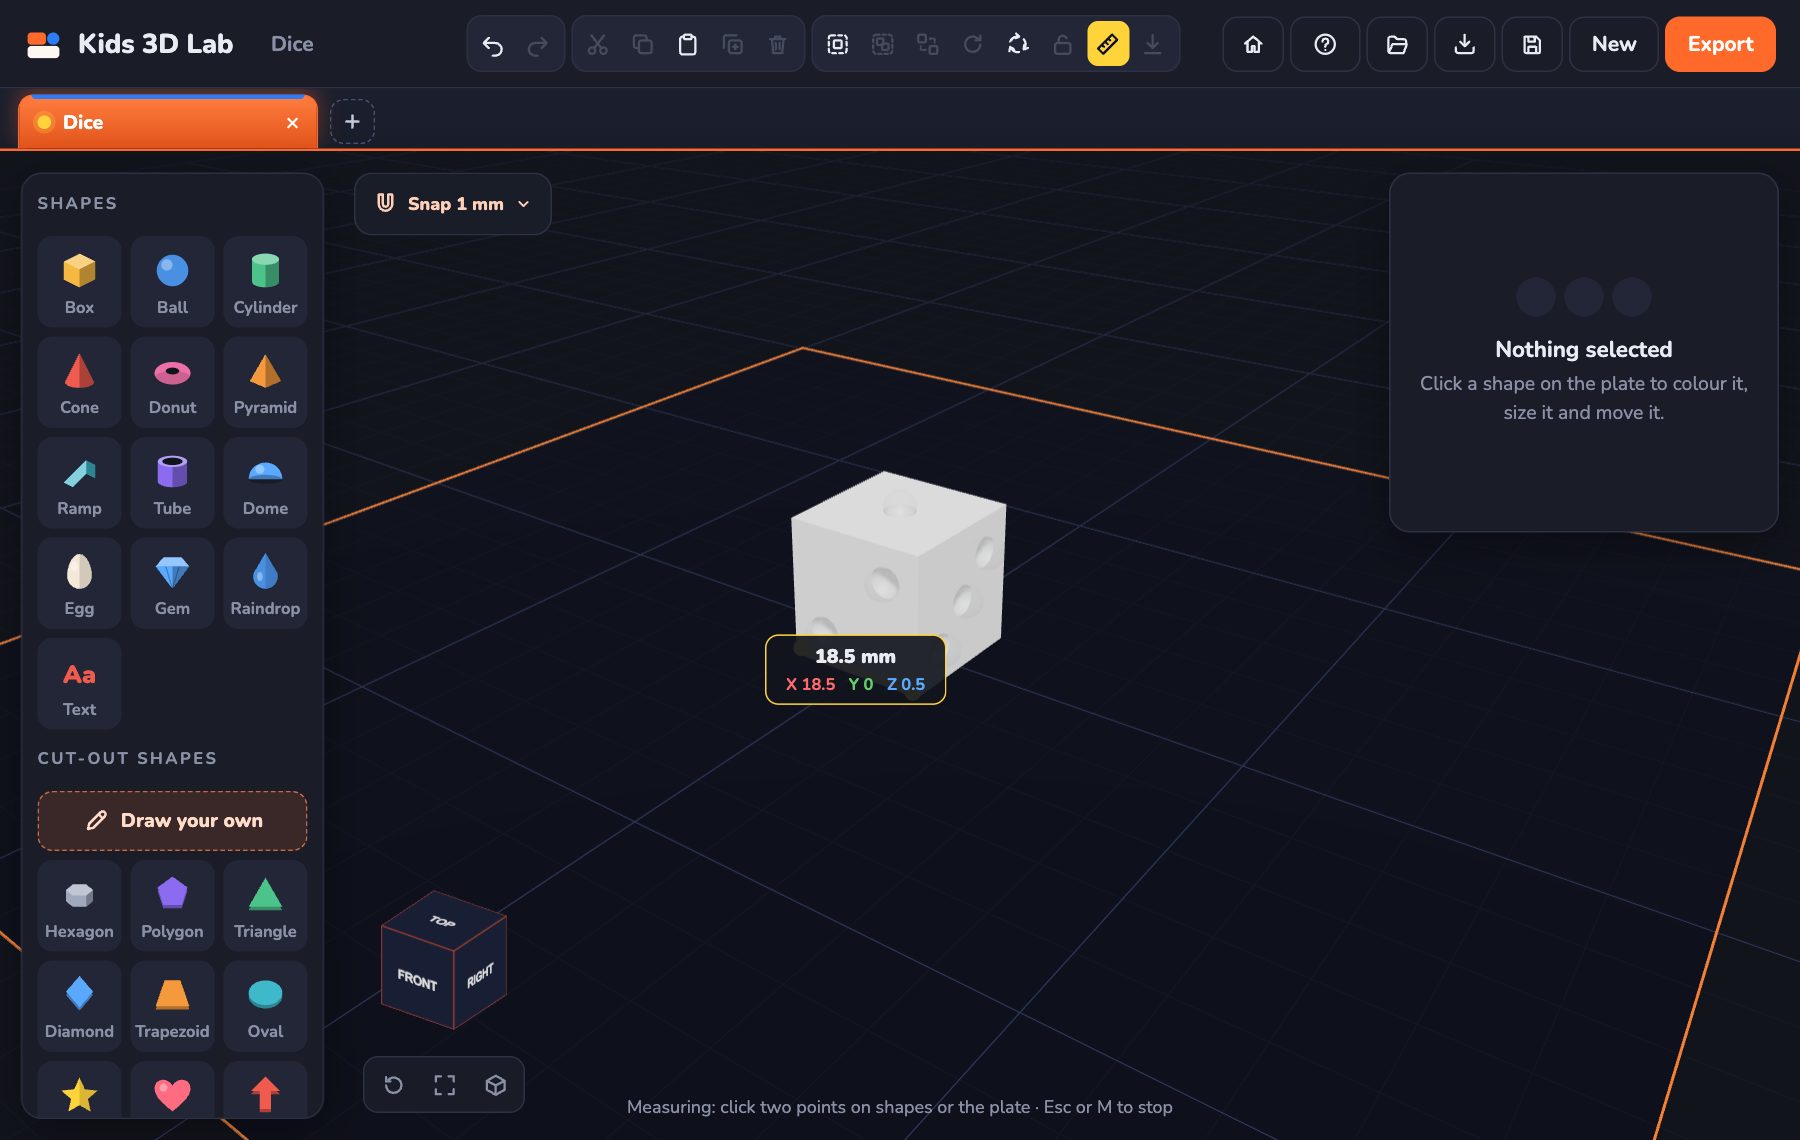 Millimetres Made Easy: How Big Is Your Model?
Every number in Kids 3D Lab is in millimetres. Learn how big a millimetre is, and how to make your model just the right size.
5 min read
Millimetres Made Easy: How Big Is Your Model?
Every number in Kids 3D Lab is in millimetres. Learn how big a millimetre is, and how to make your model just the right size.
5 min read
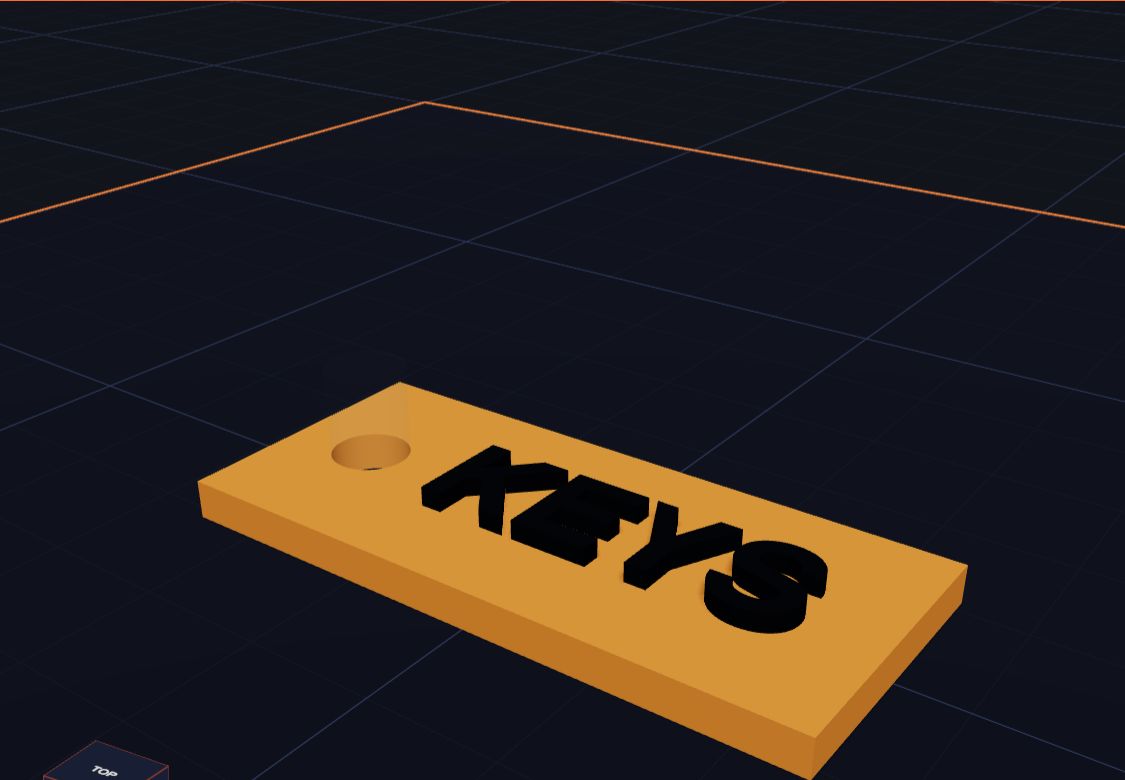 How Holes Work (and How to Make a Key Tag)
In Kids 3D Lab any shape can become a hole. Learn how holes cut into other shapes, and make a key tag with a hole for the ring.
5 min read
How Holes Work (and How to Make a Key Tag)
In Kids 3D Lab any shape can become a hole. Learn how holes cut into other shapes, and make a key tag with a hole for the ring.
5 min read
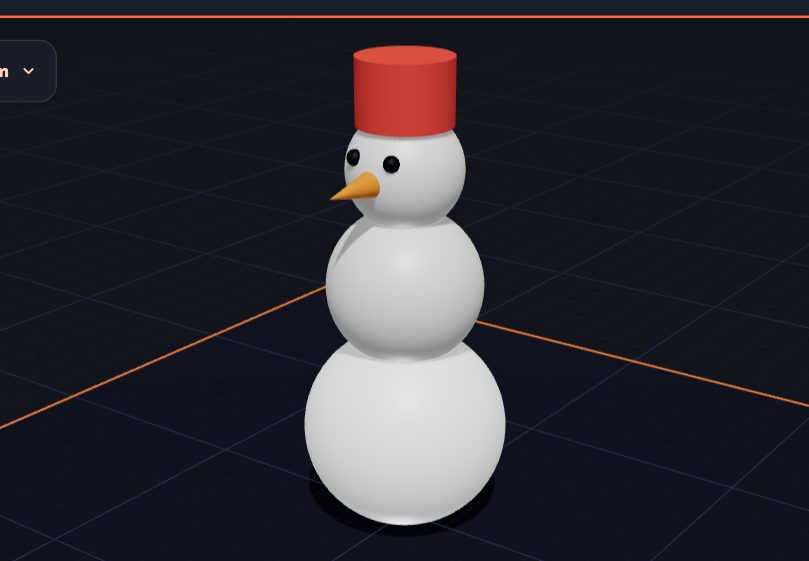 Build a Snowman by Stacking Shapes
Stack three balls, add a carrot nose and a hat. A fun first project that teaches you how to put shapes on top of each other.
5 min read
Build a Snowman by Stacking Shapes
Stack three balls, add a carrot nose and a hat. A fun first project that teaches you how to put shapes on top of each other.
5 min read