Blog ›
Build a Snowman by Stacking Shapes
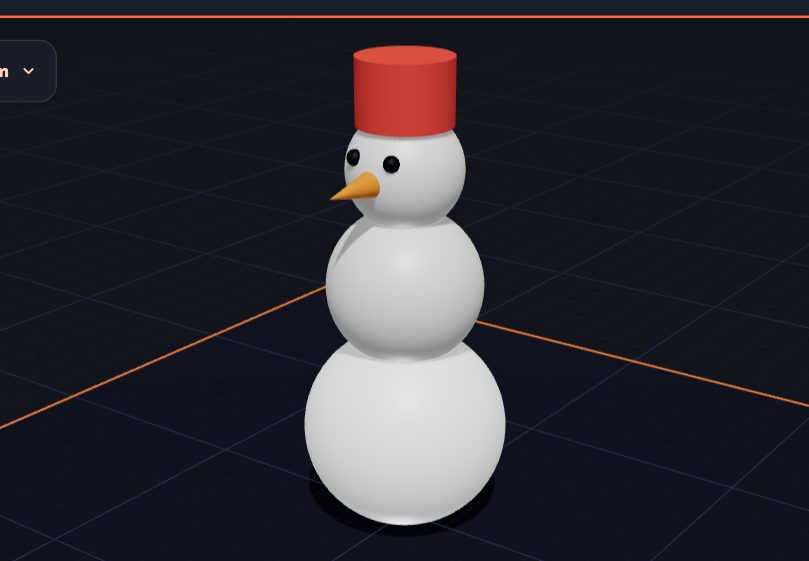
A snowman is a perfect first project. It is just balls stacked on balls! Along the way, you will learn how to put one shape on top of another.
What you need
- 3 Balls for the body
- 1 Cone for the carrot nose
- 2 small Balls for the eyes
- 1 Cylinder for the hat
Step 1: The body
Add a Ball and make its Diameter 40. This is the bottom.
Add another Ball and make it 30. Then add a third one, 22. Colour them all white.
Step 2: Stack them
- Click the big ball.
- Hold Shift and click the middle ball.
- Click Put on top of the ball.
Now do the same with the middle ball and the small ball. Your snowman stands up!
Step 3: The nose
Add a Cone. Make it 5 wide and 12 tall. Colour it orange.
The cone points up, but a nose should point forward. Turn it! Click the turn button in the top bar (three arrows in a circle), then drag the little red curved arrow round. Watch the angle: stop at 90°. Or just click ↻ 90° next to X in the Turn part of the panel.
Now drag the nose to the front of the head. Use the blue arrow to lift it up to the right height.
Step 4: Eyes and hat
Add two tiny balls (3 mm) and colour them black. Put them above the nose.
Add a Cylinder for the hat. Put it on top of the head with Put on top.
Step 5: Check it
Turn the view around with the right mouse button. Look from the side, from the back, from below. Is everything touching? Floating parts will fall off when you print!
Make it your own
- Add stick arms with thin cylinders.
- Give it a scarf with a Donut.
- Make a whole snow family in different sizes.
Common mistakes (and how to fix them)
Every snowman builder runs into one of these. Don't worry, they are all easy to fix.
- The balls are floating. If you moved a ball with the blue arrow, it might be hanging in the air. Pick it and click Drop to plate, or stack it again with Put on top.
- The balls only just touch. Balls touch at one tiny point. On a printer, that point is too weak and the snowman can snap in half. Pick the middle ball and press Ctrl + down arrow (on a Mac, ⌘ + down arrow) a few times. The ball sinks a little way into the one below, and now they are joined firmly.
- The nose points up. You turned it the wrong way. Press Ctrl + Z to undo and try again. Or type 90 next to X under Turn in the panel.
- The nose is inside the head. You can't see it because it is hidden. Drag the nose forward with the green arrow until the tip pokes out.
- The hat falls off one side. Pick the head first, then Shift-click the hat, then click Put on top. The shape you pick first stays still, so the hat moves to the middle of the head.
Try this next
Once your snowman is finished, try one of these challenges. Each one uses the same tricks you just learned.
- A snow family. Pick your whole snowman (drag a box around it), press Ctrl + D to copy it, and make the copy smaller with Size all together. Now you have a snow baby!
- A scarf. Add a Donut. Make it a little wider than the neck and flat. Stack it where the head meets the body. Colour it red.
- Buttons. Add three tiny black balls down the front of the middle ball.
- Stick arms. Add two thin brown cylinders. Turn them so they stick out to the sides, and push their ends into the middle ball.
- A snowman on a stand. Add a flat round cylinder under the snowman so it can stand up in the wind.
Questions kids ask
Can I 3D print my snowman?
Yes! Click Export, check that everything sits on the plate and that it is one piece, and download the STL file. A grown-up can print it. A small snowman, about 50 mm tall, takes around an hour to print.
Why do my balls need to go into each other?
A 3D printer builds your model in thin layers. If two balls only touch at a point, that point is tiny and weak. Pushing one ball a little way into the other makes a wide, strong join.
Can I make a snowman out of other shapes?
Of course. Try an Egg for the body, a Cone for a party hat, or Gems for eyes. There are 31 shapes to choose from.
For grown-ups
This project teaches stacking, turning and joining, three skills that come up in almost every model. It also brings in simple measuring: the three balls are 40, 30 and 22 mm, so ask your child why each one is smaller than the one below. If you print it, PLA plastic works well, and supports are not needed because the balls sit on each other. For the next step, try our lesson on making your first model or how holes work.
Keep reading
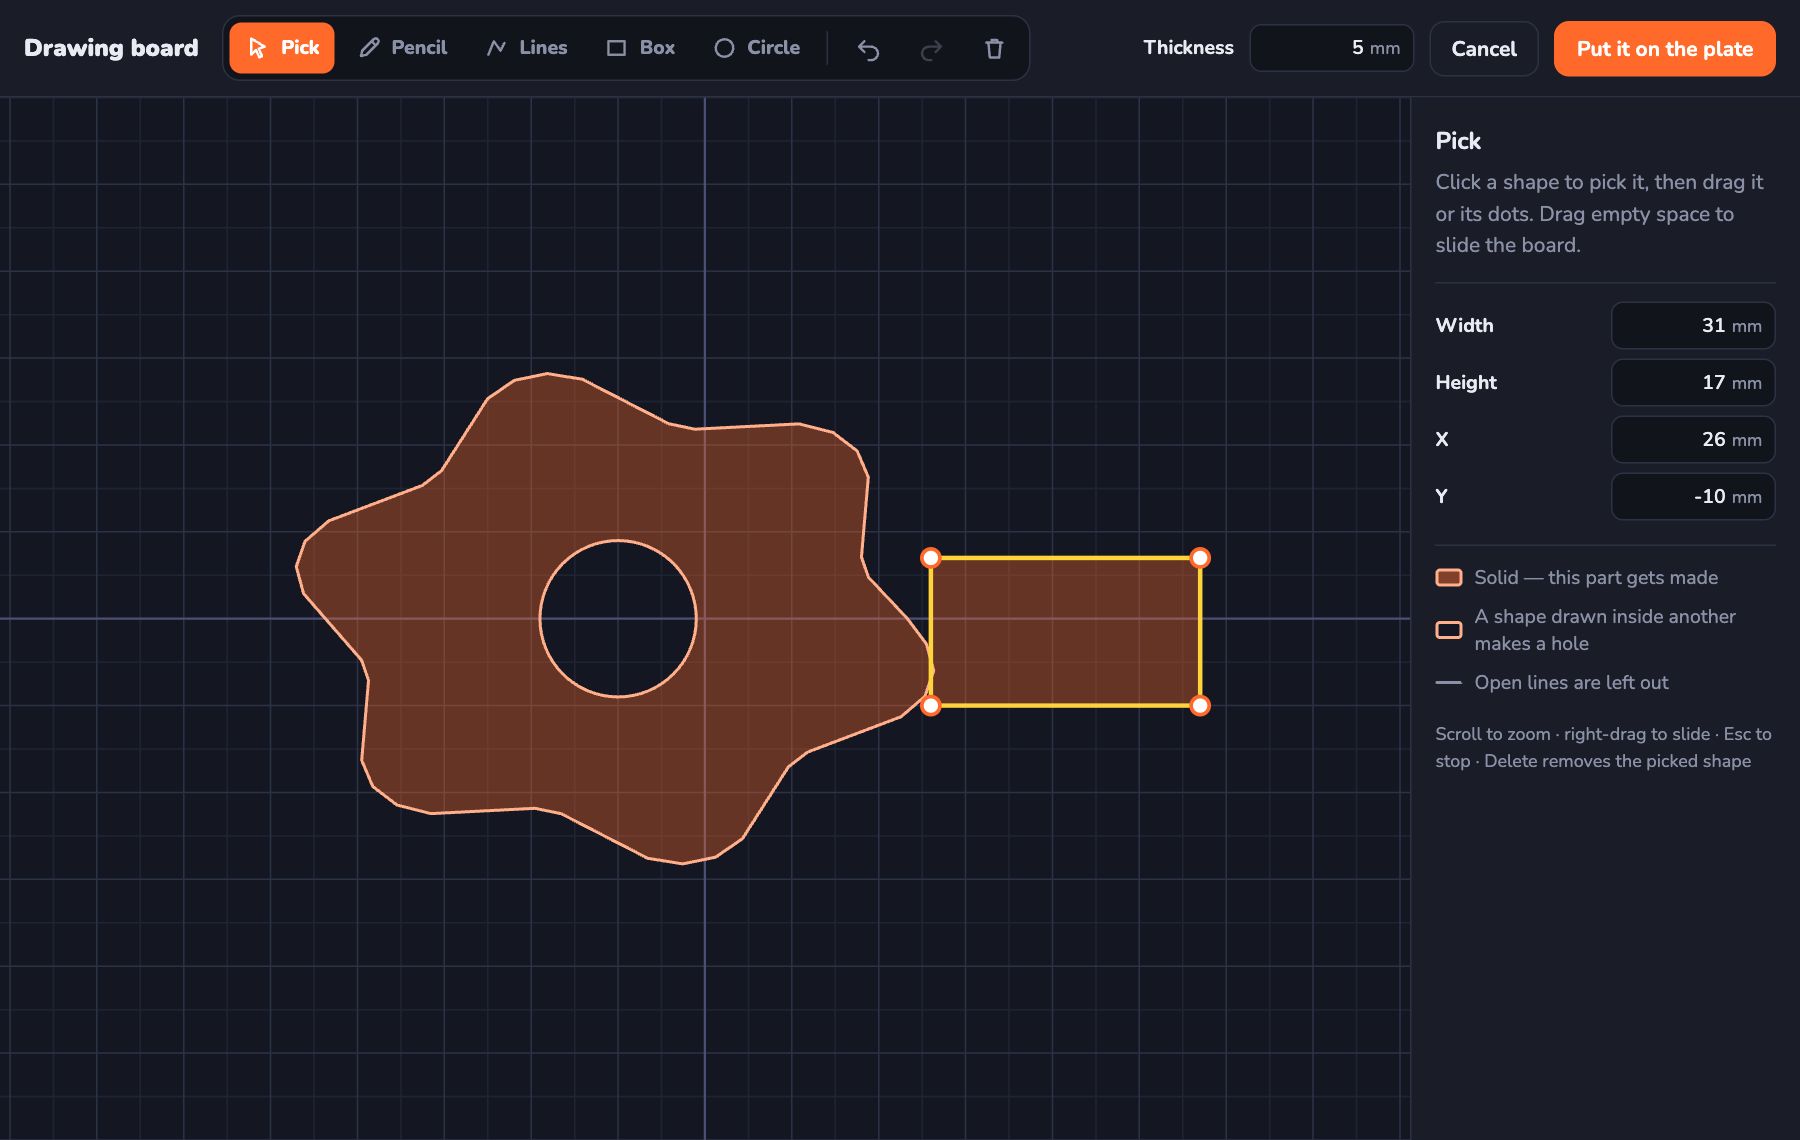 Draw Your Own Shape and Make It 3D
Use the Kids 3D Lab drawing board to draw any shape you like — with a pencil, lines, boxes and circles — and turn it into a 3D model.
5 min read
Draw Your Own Shape and Make It 3D
Use the Kids 3D Lab drawing board to draw any shape you like — with a pencil, lines, boxes and circles — and turn it into a 3D model.
5 min read
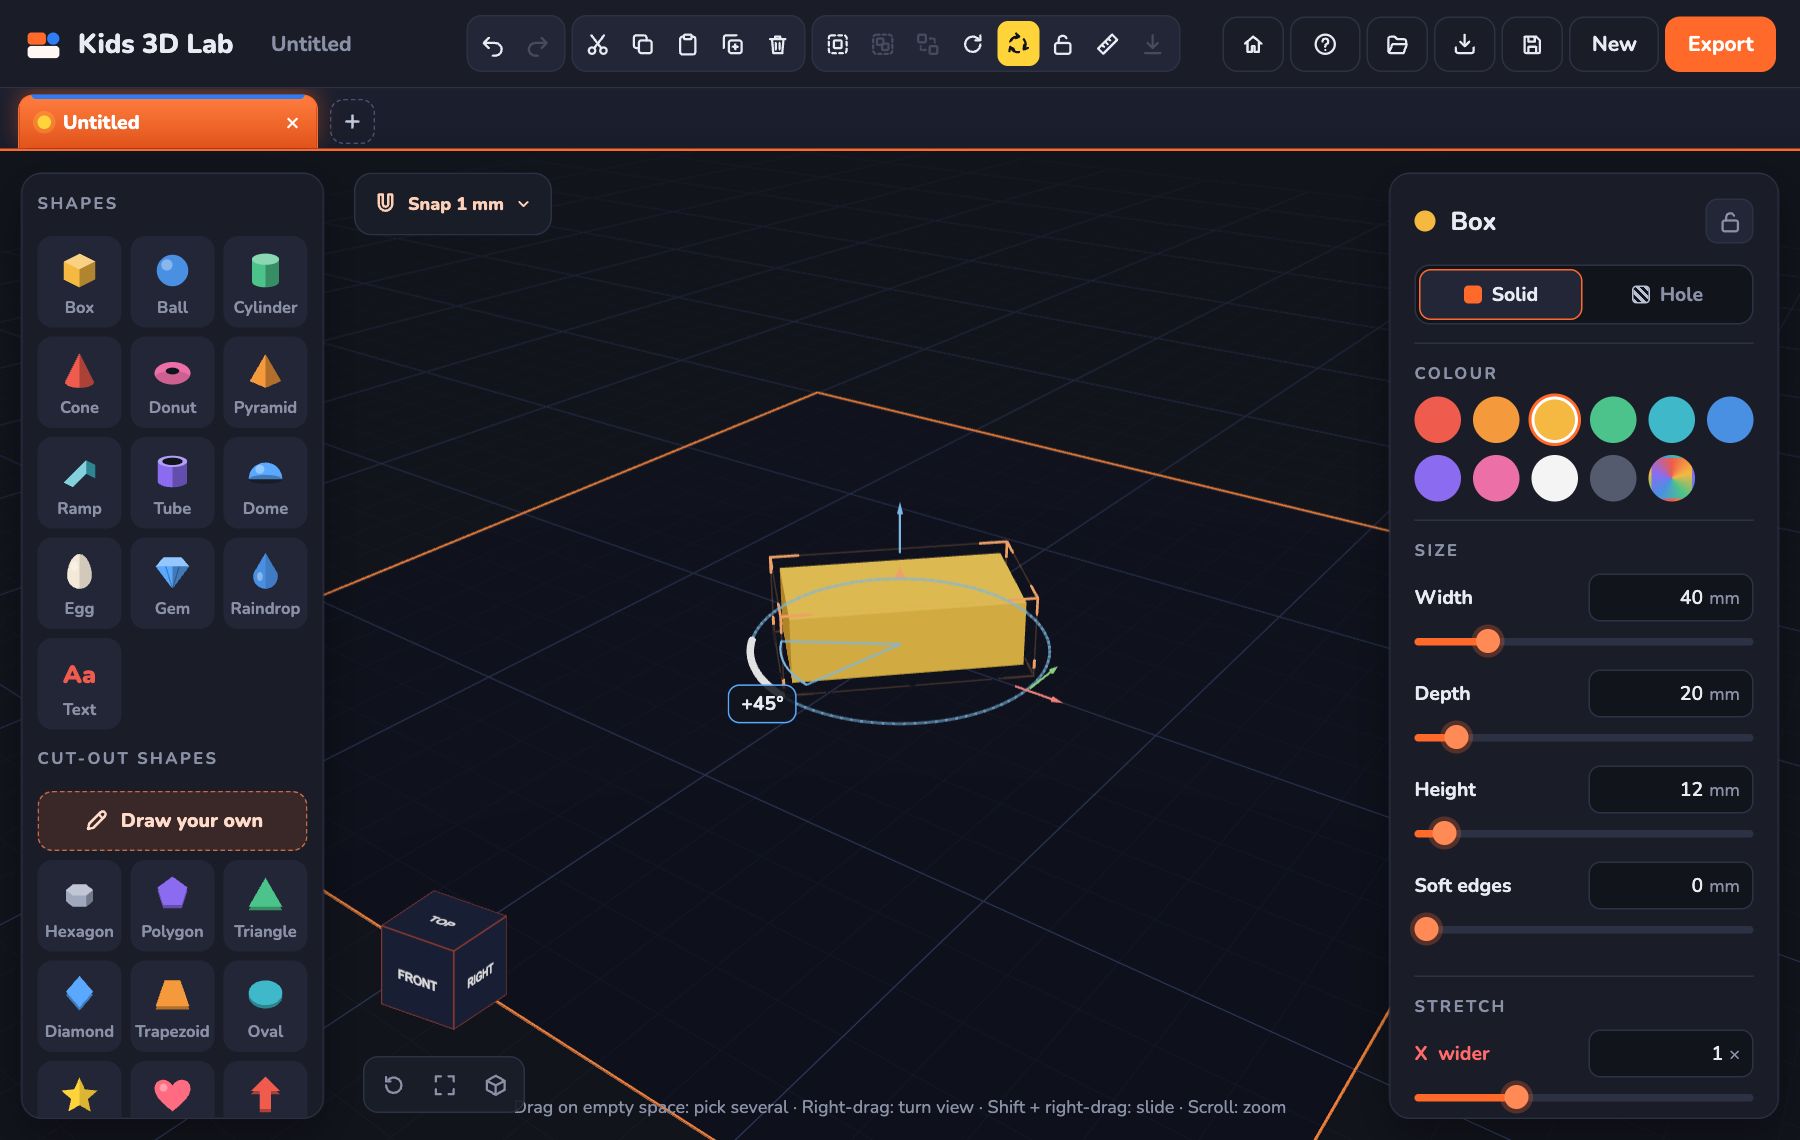 Turn, Flip and Stretch: Change Any Shape
Learn three ways to change a shape in Kids 3D Lab — turn it with the coloured turn arrows, flip it over, and stretch it to make new shapes.
5 min read
Turn, Flip and Stretch: Change Any Shape
Learn three ways to change a shape in Kids 3D Lab — turn it with the coloured turn arrows, flip it over, and stretch it to make new shapes.
5 min read
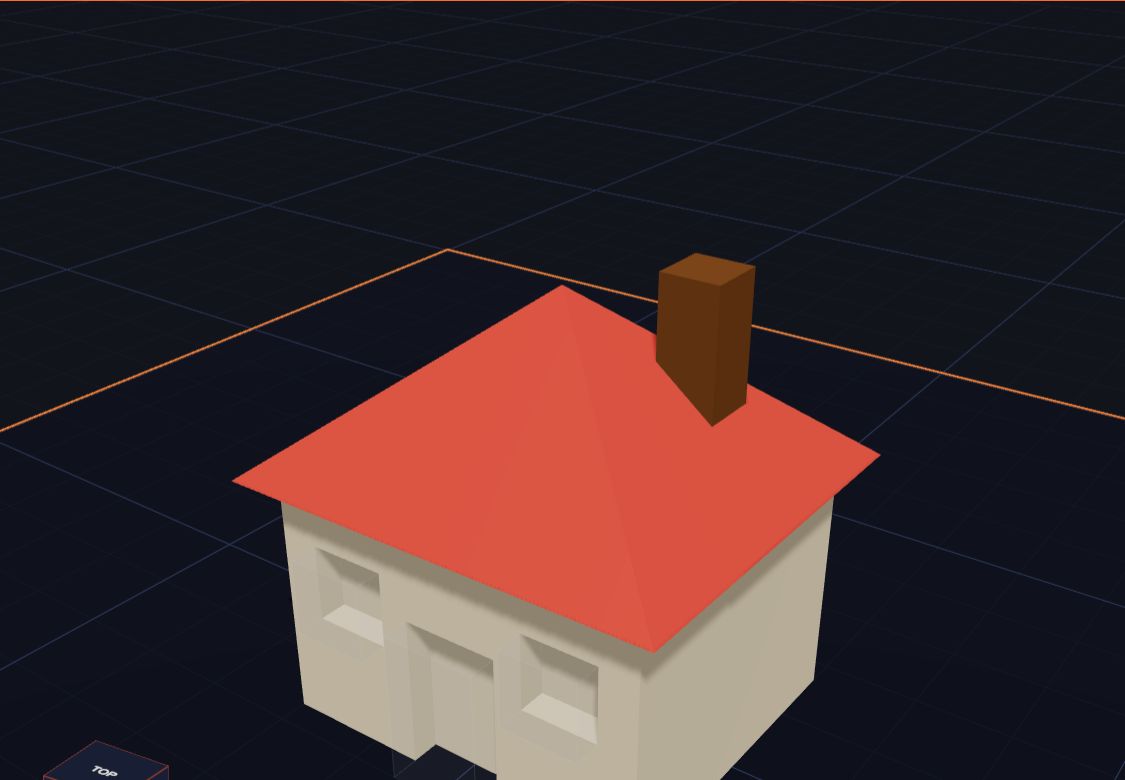 Getting Your Model Ready to Print
Six simple checks before you 3D print — flat bottoms, no floating parts, the right size — plus how to save the file for your printer.
6 min read
Getting Your Model Ready to Print
Six simple checks before you 3D print — flat bottoms, no floating parts, the right size — plus how to save the file for your printer.
6 min read