Blog ›
How Holes Work (and How to Make a Key Tag)
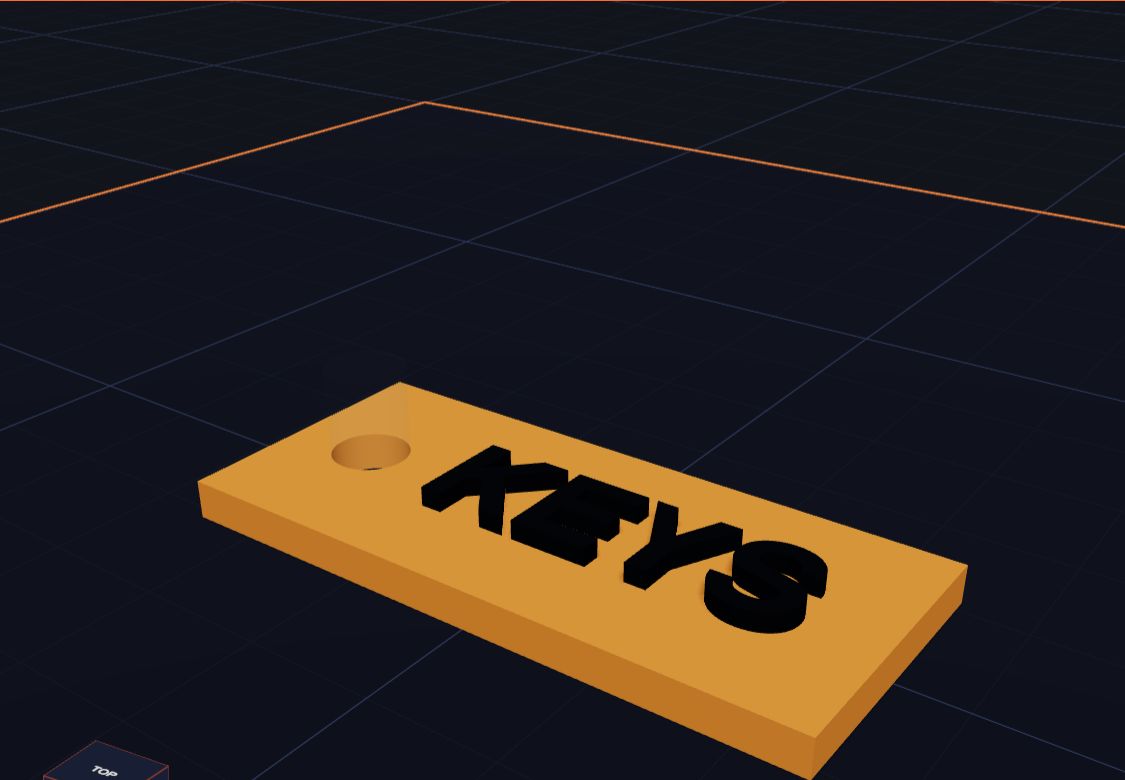
Holes are one of the best tricks in 3D design. With a hole you can make a cup, a bead, a key tag or the windows of a house.
Any shape can be a hole
In Kids 3D Lab, every shape can be solid or a hole.
- A solid shape is made of plastic.
- A hole shape is like an invisible cutter. Wherever it goes into a solid, it cuts that part away.
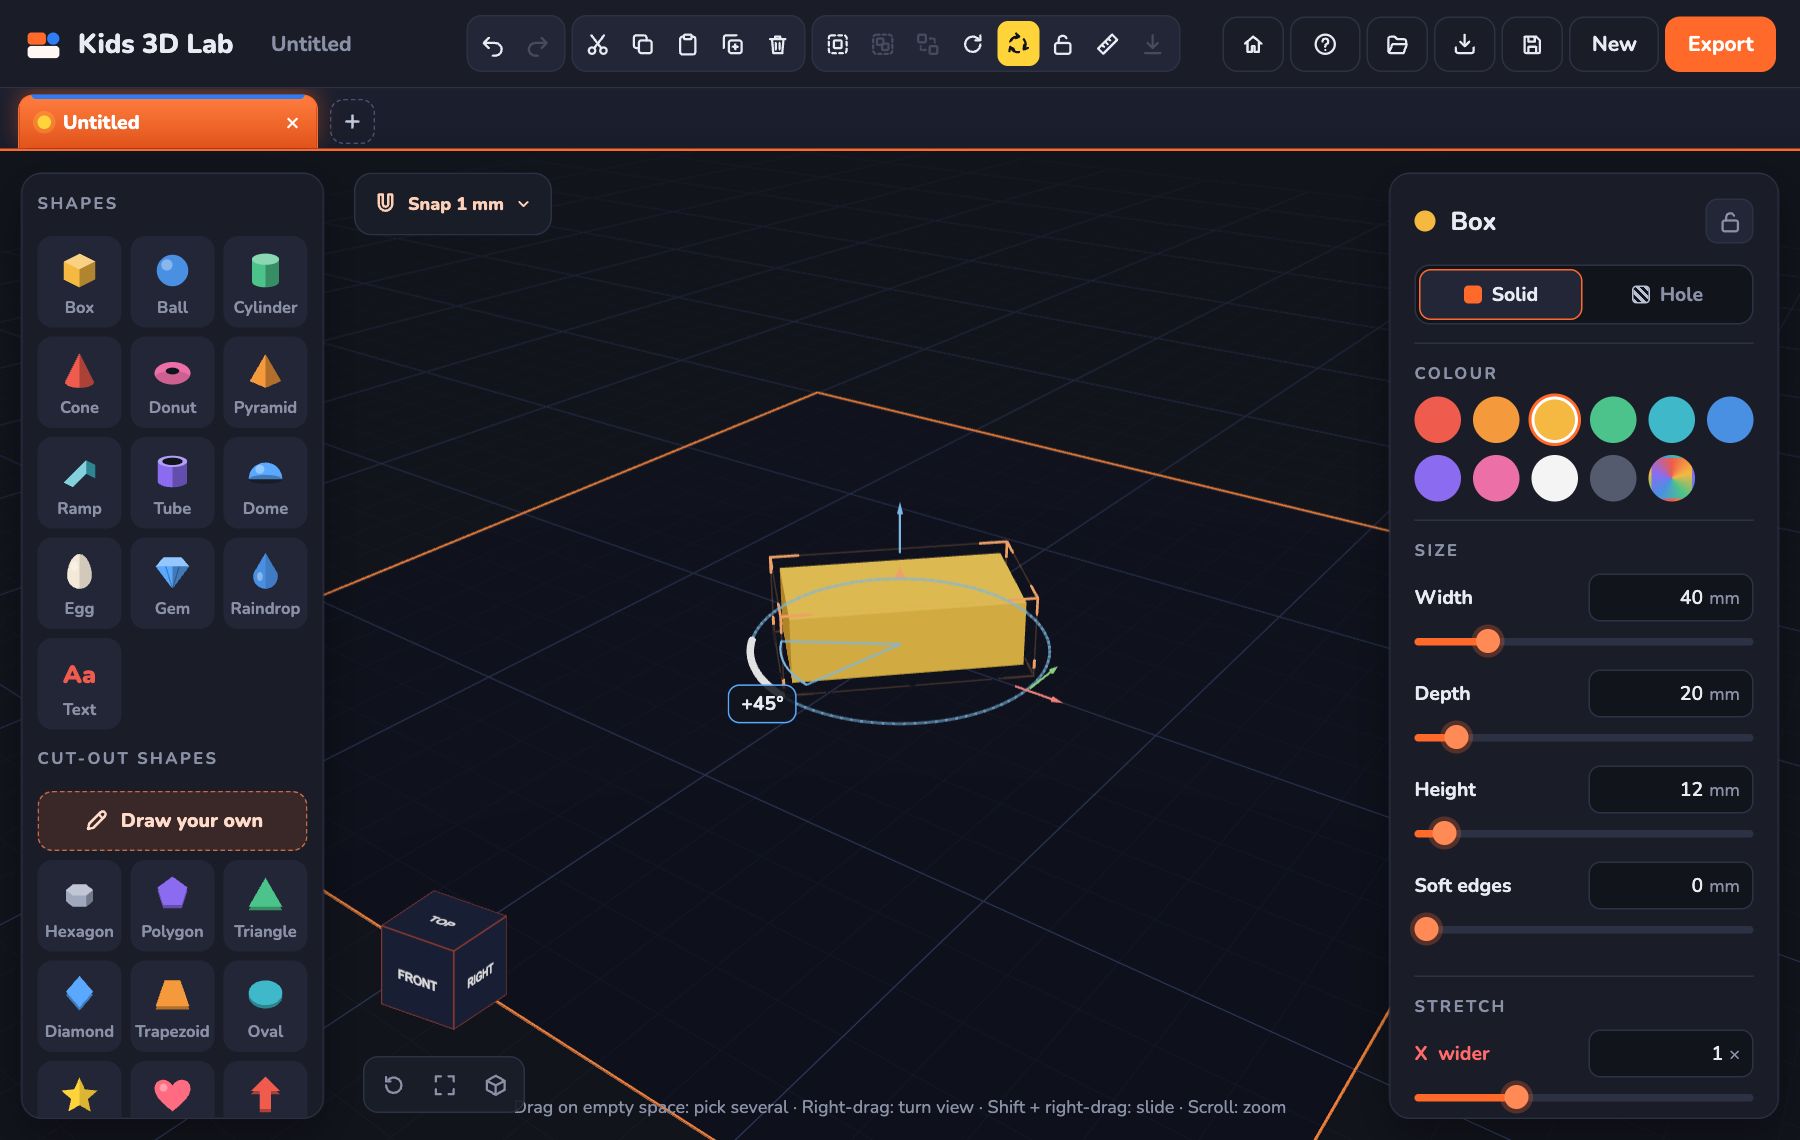
To make a hole, pick a shape and click Hole at the top of the panel. Or press H. The shape turns see-through and grey.
Make a key tag
- Add a Box. Make it 50 wide, 22 deep and 3 high. This is your tag.
- Add a Cylinder. Make it 6 wide (that's the Diameter) and 10 high.
- With the cylinder picked, click Hole.
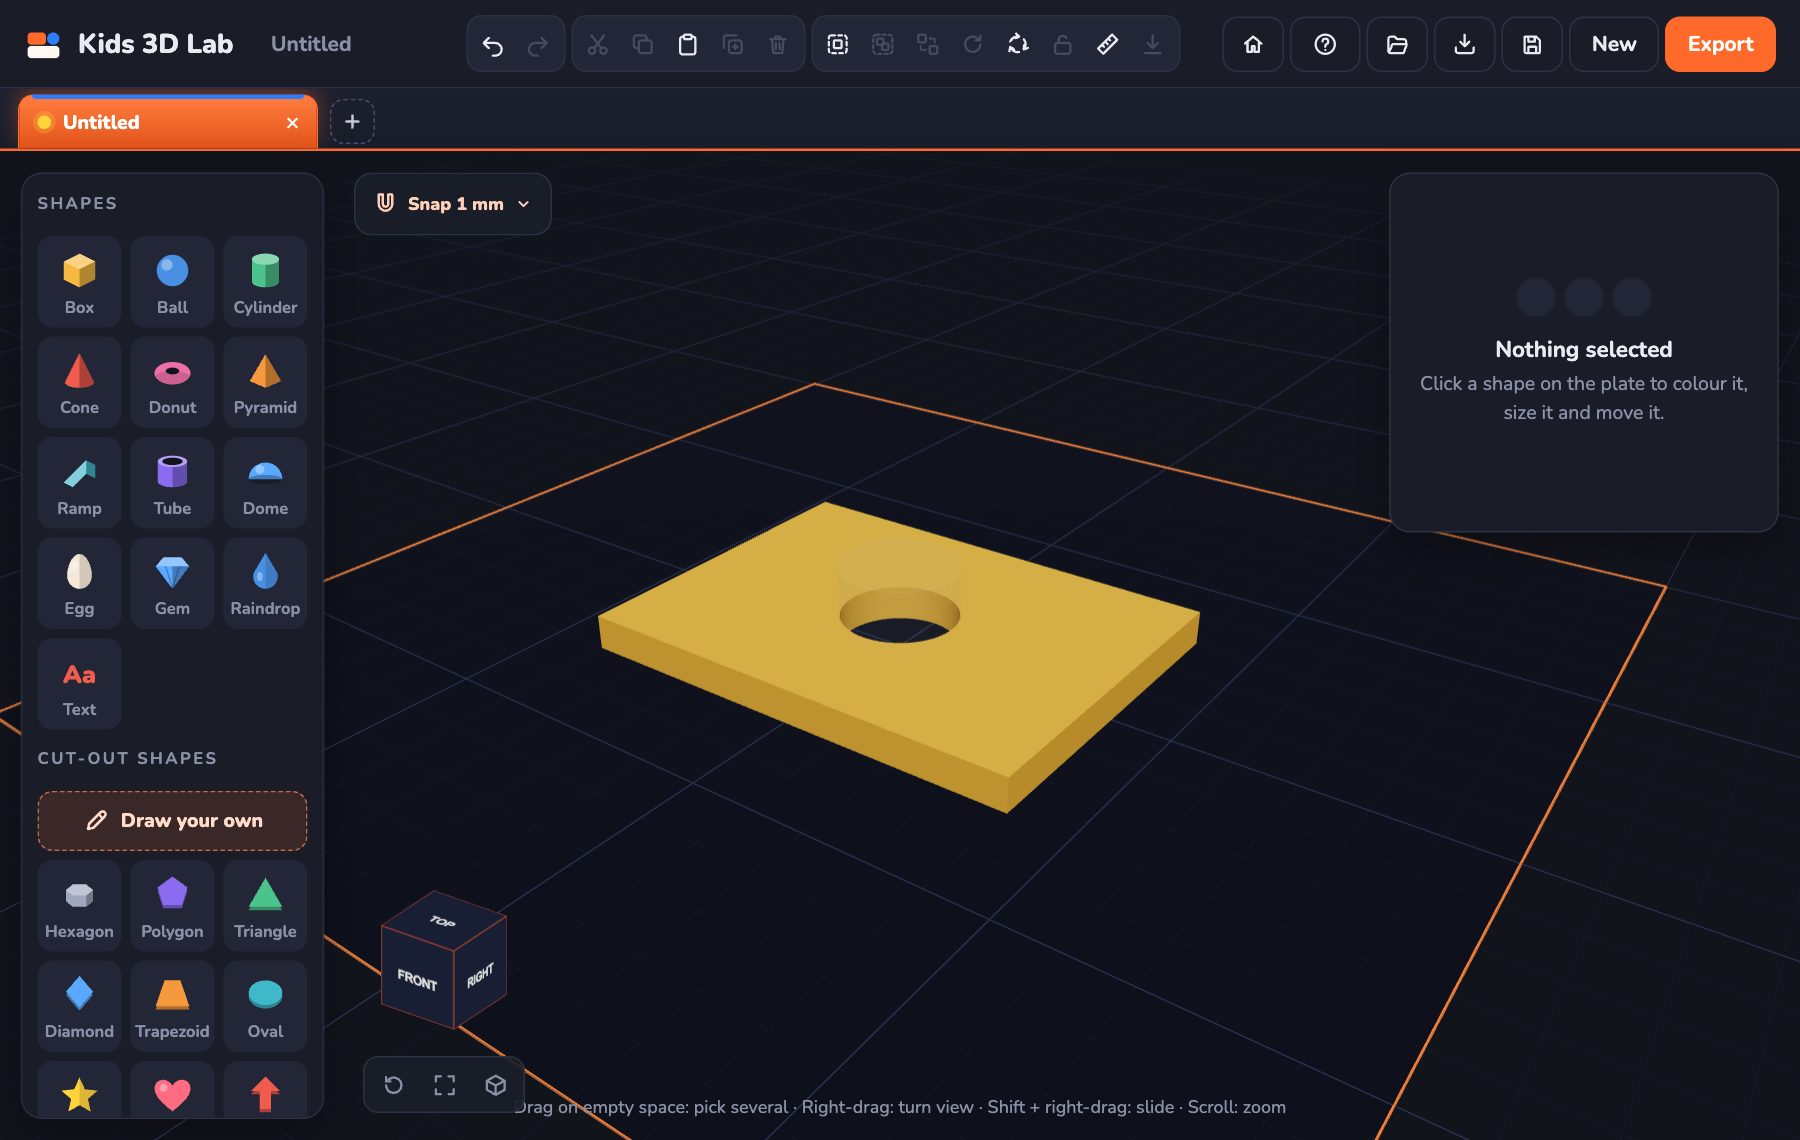
- Drag the cylinder to one end of the tag. You will see a round hole appear!
The hole must go into the tag to cut it. If the hole just sits on top, it cuts nothing. Kids 3D Lab will warn you if that happens.
The "Cut through" button
Here is an easy way to push a hole all the way through:
- Click the solid shape first (the tag).
- Hold Shift and click the hole.
- Click Cut through the box.
The hole moves down so it goes right through the tag.
Holes can be any shape
A star hole makes a star-shaped window. A heart hole makes a heart cookie cutter. A text hole writes your name into the shape instead of on top of it.
More ideas with holes
- A pencil pot: a big cylinder, with a slightly smaller cylinder hole inside it.
- A dice: a cube with little ball holes for the dots.
- A house: box holes make the door and windows.
You can find all of these as examples on the Kids 3D Lab start page. Open one and click the grey shapes to see how the holes are made.
Three kinds of holes
Holes can do different jobs. Here are the three you will use most:
- A hole all the way through. Like the hole in a key tag or a bead. The hole is taller than the shape and pokes out of both the top and the bottom. The Cut through button makes this kind for you.
- A pocket. Like the inside of a cup. The hole starts a little above the bottom, so a floor is left. For a cup with a 3 mm floor, set the hole's Z lift to 3.
- A dent. Like the dots on a dice, or a star pressed into a coaster. Only a little bit of the hole goes into the shape.
Common mistakes
- The hole sits on top. A hole only cuts where it goes into a solid. Sitting on top does nothing. Kids 3D Lab shows a yellow note in the panel when a hole cuts nothing.
- The hole is not tall enough. For a hole all the way through, make it taller than the shape. A few extra millimetres is fine.
- I can't find my hole. When a hole is cutting, it becomes almost invisible so you can see the cut. Click where it is to pick it again.
- The wrong shape got cut. A hole cuts every solid it goes into. If you want a hole to cut only one part, pick that part and the hole, and Group them. A hole in a group only cuts the shapes in its group.
Try this next
- A cup. Add a Cylinder 40 wide and 50 tall. Add another cylinder 36 wide and 50 tall, make it a hole, and lift it 3 mm. You have a cup!
- Holes of any shape. Make a flat box, then add a Star hole and a Heart hole. Now it's a stencil!
- Your name, carved in. Add Text on a box, make the text a hole, and push it down a little way into the box. Your name is carved into the top.
- A dice. Open the Dice example and look at how the little ball holes make the dots.
Questions kids ask
Do holes get printed?
No. Holes are only cutters. When you export your model, Kids 3D Lab cuts every hole out, and the hole shapes themselves are thrown away. That's why a hole can even go under the plate.
How big should a key ring hole be?
About 5 or 6 mm across works for most key rings. Leave at least 2 mm of solid around the hole so it is strong.
Can I turn a hole back into a solid?
Yes. Pick it and click Solid, or press H again.
For grown-ups
Holes introduce one of the most important ideas in design: making a shape by taking material away, not only by adding it. Engineers call this subtracting. It's how cups, gears, boxes and buttons are made. A good challenge is to design something that holds a real object, like a pencil holder with holes that fit a child's own pencils. See Millimetres Made Easy for how to measure and leave a little extra room.
Keep reading
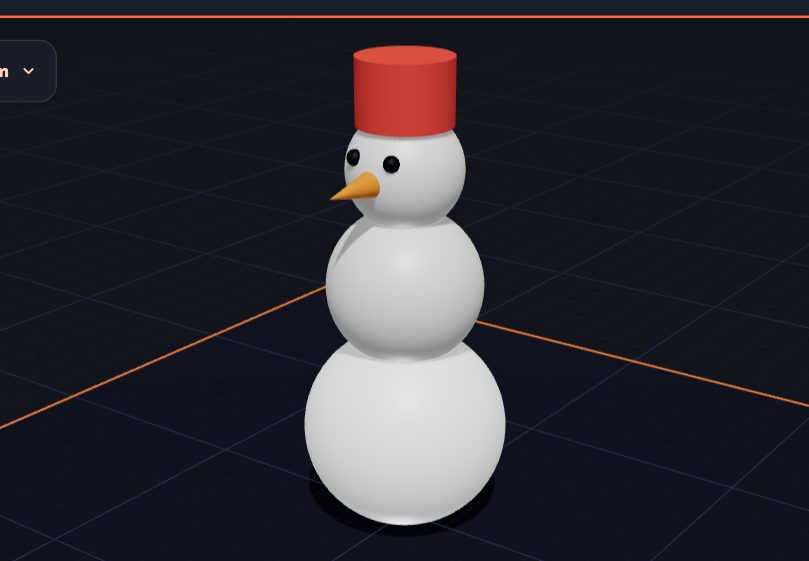 Build a Snowman by Stacking Shapes
Stack three balls, add a carrot nose and a hat. A fun first project that teaches you how to put shapes on top of each other.
5 min read
Build a Snowman by Stacking Shapes
Stack three balls, add a carrot nose and a hat. A fun first project that teaches you how to put shapes on top of each other.
5 min read
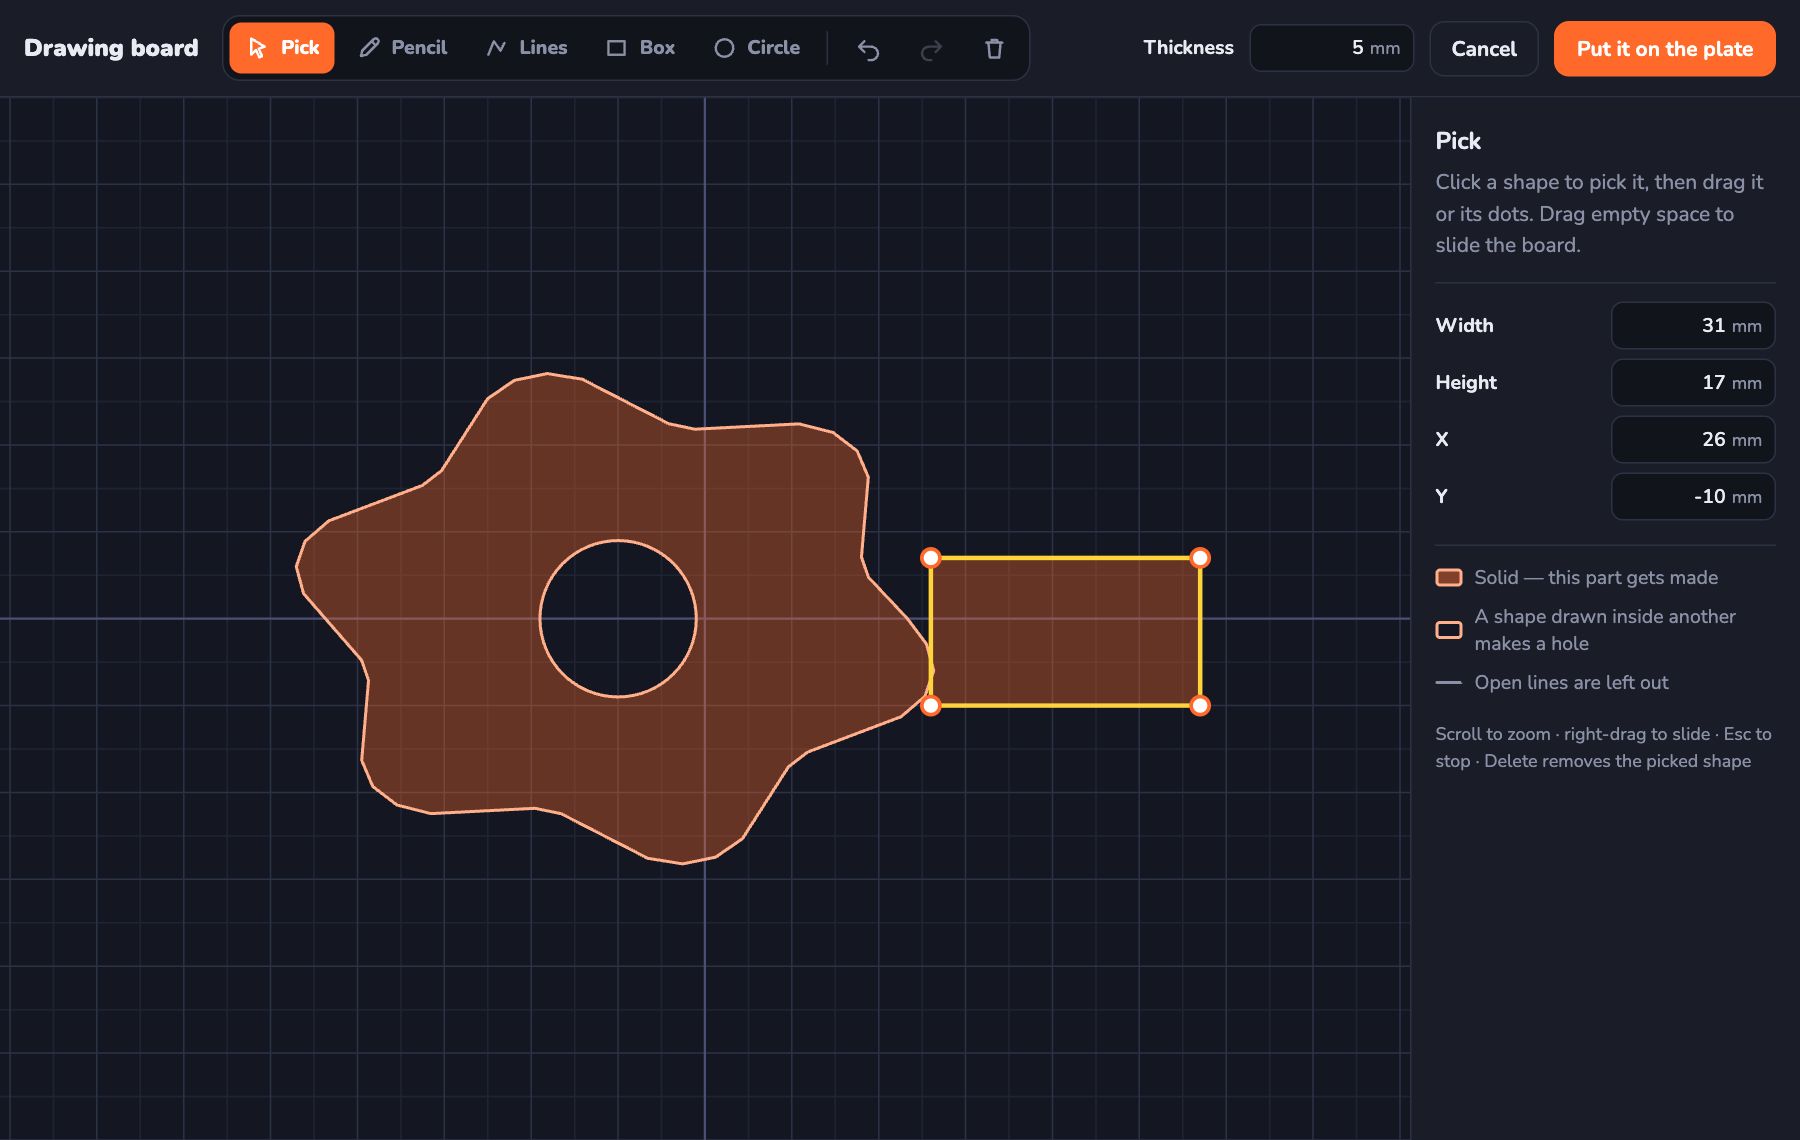 Draw Your Own Shape and Make It 3D
Use the Kids 3D Lab drawing board to draw any shape you like — with a pencil, lines, boxes and circles — and turn it into a 3D model.
5 min read
Draw Your Own Shape and Make It 3D
Use the Kids 3D Lab drawing board to draw any shape you like — with a pencil, lines, boxes and circles — and turn it into a 3D model.
5 min read
 Turn, Flip and Stretch: Change Any Shape
Learn three ways to change a shape in Kids 3D Lab — turn it with the coloured turn arrows, flip it over, and stretch it to make new shapes.
5 min read
Turn, Flip and Stretch: Change Any Shape
Learn three ways to change a shape in Kids 3D Lab — turn it with the coloured turn arrows, flip it over, and stretch it to make new shapes.
5 min read