Make a Jack-o'-Lantern for Halloween in 3D
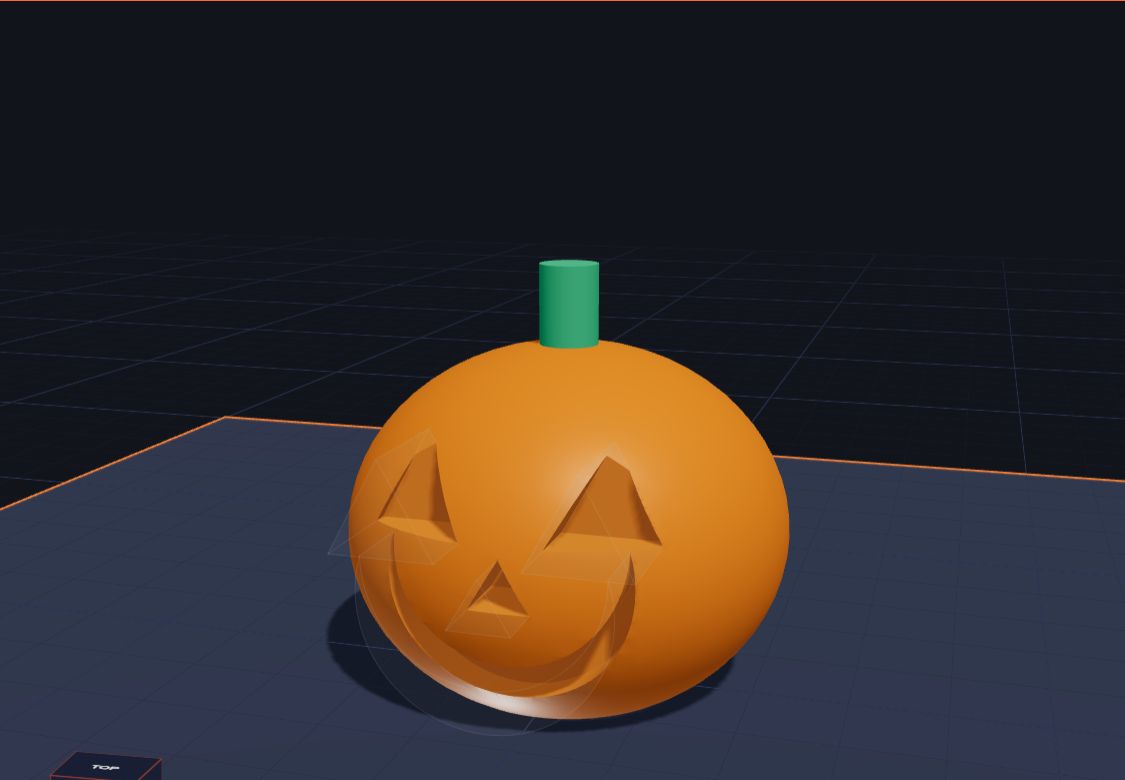
Halloween is coming! Real pumpkins are fun to carve, but they need a sharp knife and they go soft after a week. A 3D pumpkin never goes soft, and you can carve it with just your mouse.
In this project you will make a round orange pumpkin, add a green stalk, and give it a face: two pointy eyes, a little nose and a big grin. The face is made with holes, the best trick in 3D design. It takes about 15 minutes.
What you need
- A computer, Chromebook or tablet with a web browser
- Kids 3D Lab (it's free, and you don't need an account)
- About 15 minutes
Step 1: Make the pumpkin
- Open Kids 3D Lab and click New build.
- Click Ball in the Shapes list.
- In the panel on the right, set Diameter to 46.
- Real pumpkins are a bit squashed. Find Stretch and set Z taller to 0.85. Now the ball is a little shorter than it is wide.
- Pick an orange colour in Colour.
Give it a flat bottom
A round ball only touches the plate at one tiny point, so it would wobble and fall over while it prints. Here's a clever fix: push the pumpkin a little bit into the plate.
Under Position, set Z to -3. The bottom of the pumpkin goes under the plate. That part is hidden, and it won't be printed. Now your pumpkin has a flat bottom about 3 cm wide, and it sits nice and steady.
Step 2: Add the stalk
- Click Cylinder.
- Set Diameter to 6 and Height to 10.
- Pick a green or brown colour.
- Pick the pumpkin, then hold Shift and click the stalk.
- Click Put on top of the ball. The stalk jumps up to the top.
- Now push the stalk a little way into the pumpkin, so the two parts join. Set the stalk's Z to 34.
Step 3: Cut the eyes
Now for the fun part. We will use triangles as holes to carve the face.
- Click Triangle in the Cut-out shapes.
- Under Size, set Width to 10, Depth to 9 and Height to 12.
- Under Turn, set X to 90. The triangle stands up and points at the front.
- Click Hole at the top of the panel, or press H. It turns grey and see-through.
- Under Position, type X -9, Y -22 and Z 21.
The triangle pokes into the front of the pumpkin, and you can see it cut a pointy eye! A hole cuts its shape out of anything it goes into.
For the second eye, press Ctrl + D (on a Mac, ⌘ + D) to make a copy. Set the copy's X to 9. Now there are two eyes.
Step 4: Add a nose and a grin
The nose:
- Copy an eye again with Ctrl + D.
- Make it smaller: Width 6 and Depth 5.
- Set its position to X 0, Y -22 and Z 15.
The grin:
- Click Moon in the Cut-out shapes. A moon is a perfect smile!
- Set Diameter to 24 and Height to 12.
- Under Turn, set X to 90.
- Click Hole.
- Set its position to X 0, Y -21 and Z 5.
Turn the view to look at the front. Your pumpkin is grinning at you!
Step 5: Check it and save it
- Double-click the tab's name at the top and call your build "Jack-o'-lantern".
- Click Save to keep a file of your build.
- Click Export. In the Ready to print? box, pick your printer and read the checks.
- Click Download STL, or Download 3MF to keep the orange and green.
Make it even better
A spookier face
Try different shapes for the eyes. Star eyes look surprised. Heart eyes look happy. Moon eyes, turned to frown, look grumpy. Make three pumpkins with three faces!
Teeth
Add two small Box shapes as solids inside the grin, so they fill part of the hole. Now your pumpkin has a gappy smile, just like a real jack-o'-lantern.
A pumpkin family
Make one pumpkin, then click it, Shift-click its stalk, eyes, nose and mouth, and click Group them. Now copy the group and change the size. A big pumpkin and a baby pumpkin look great together on a shelf.
Ridges
Real pumpkins have lines from top to bottom. Add thin Egg shapes around the pumpkin, all turned a little, so they stick out by 1 mm. It's tricky, but it looks amazing.
Common mistakes
- The face doesn't show. The holes must go into the pumpkin. If a hole is in front of the pumpkin and not touching it, it cuts nothing. Move it closer with the Y number.
- The holes go right through. If a hole is very long, it can cut deep into the pumpkin. That's fine, but a height of 12 is plenty.
- The pumpkin wobbles. Did you set its Z to -3? A flat bottom stops the wobble.
- The stalk falls off when printed. Push the stalk into the pumpkin by about 2 mm.
Questions kids ask
Can I make my pumpkin glow?
This pumpkin is solid, so light can't shine out of it. To make one that glows, you need a hollow pumpkin with a battery tea light inside. A grown-up should help with that, and always use a battery light, never a real candle.
What colour plastic should I use?
Orange, of course! If your printer has only one colour, print it orange and paint the stalk green with a felt-tip pen. Or download the 3MF file for a printer that prints many colours.
How long does it take to print?
A pumpkin this size usually takes one to two hours. The slicer app tells you the exact time before you start.
Why do the holes look grey and see-through?
That's how Kids 3D Lab shows holes, so you can still find them and move them. When you print, the holes are just empty space.
For grown-ups
This project is a great way to meet the most important idea in 3D design: making shapes by taking material away. Your child adds a solid, then uses holes to remove the eyes, nose and mouth, much like carving. It also covers placing things with exact numbers, and a real printing problem: a round object needs a flat base. If you print it, a pumpkin about 4 cm wide works well on any home printer. For more about holes, see How Holes Work, and for more seasonal ideas, look at 3D Printing Projects for Kids.
Keep reading
 App skills
See Inside Your Build: X-ray, Outline, Layers and Flat Views
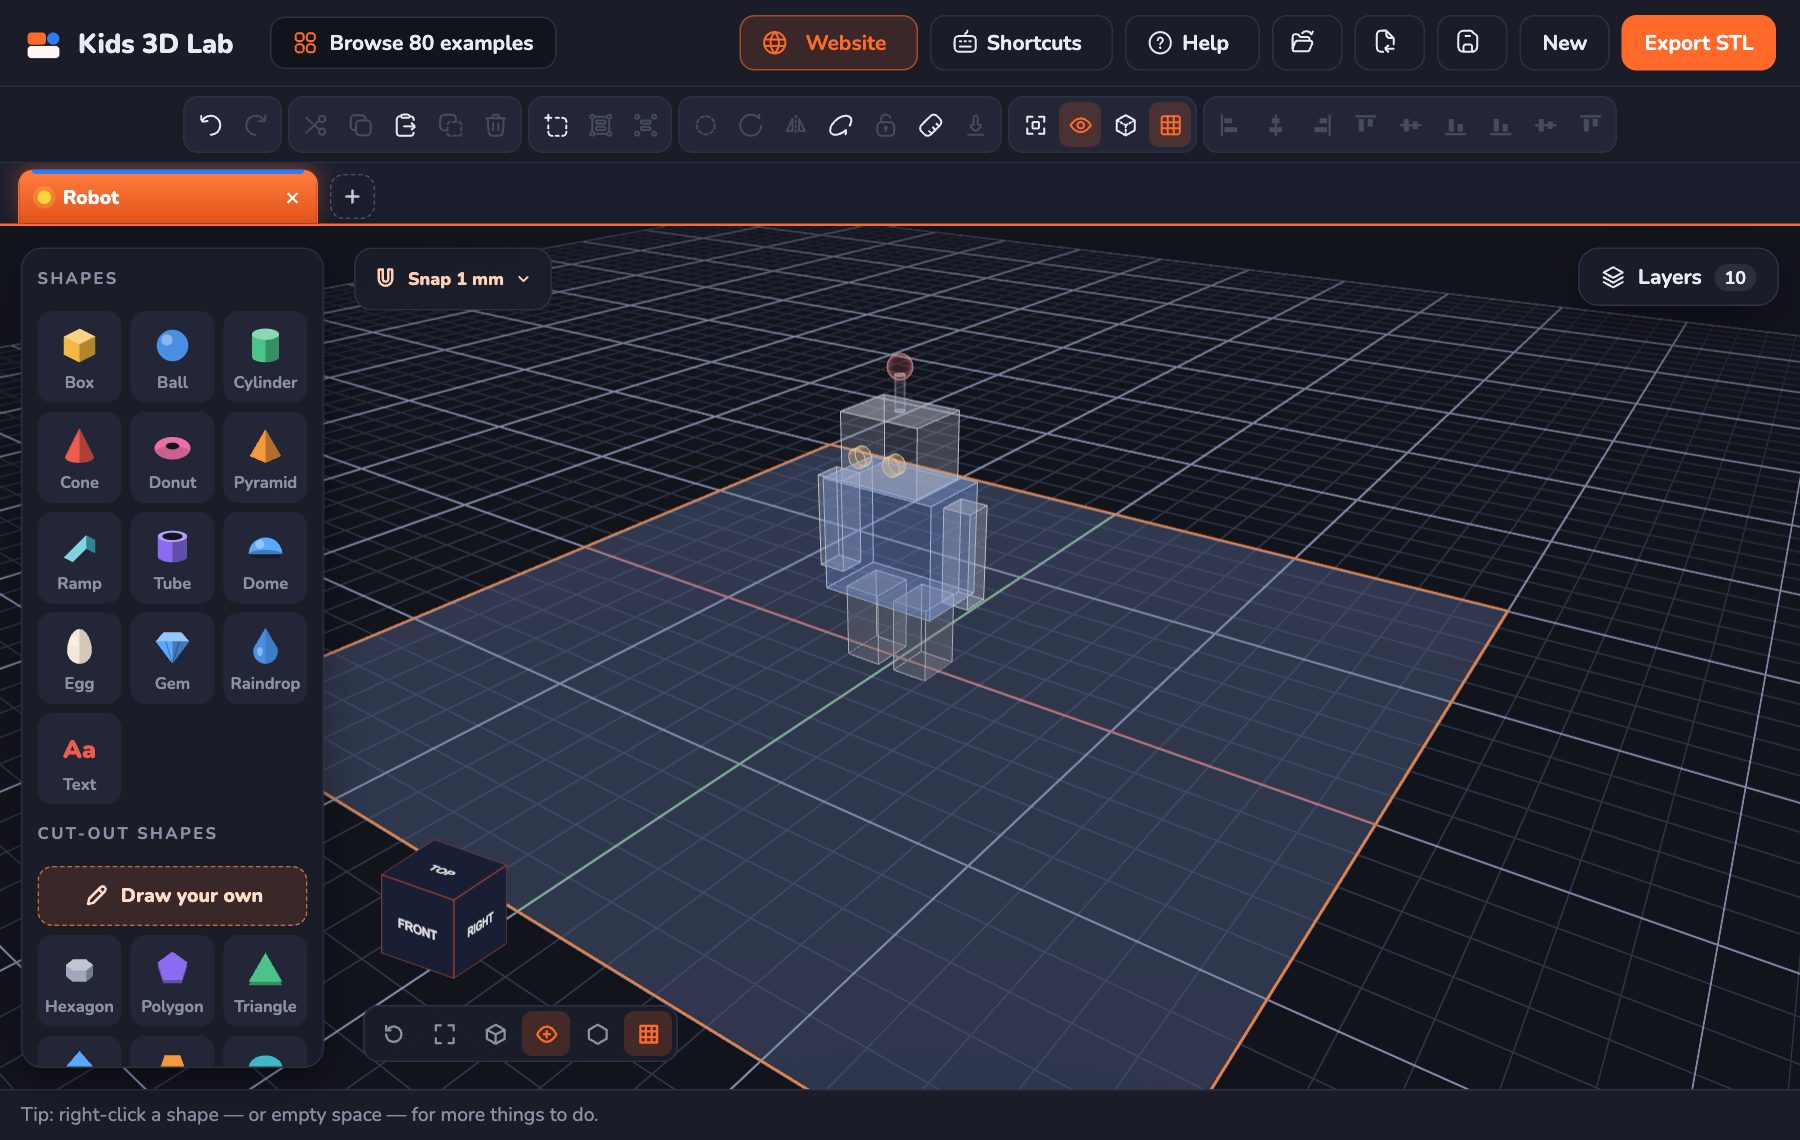
New in Kids 3D Lab — flat Top, Front and Side views like real CAD, X-ray and Outline to see inside your build, a Layers list to pick any shape, and a right-click menu.
5 min read
App skills
See Inside Your Build: X-ray, Outline, Layers and Flat Views
New in Kids 3D Lab — flat Top, Front and Side views like real CAD, X-ray and Outline to see inside your build, a Layers list to pick any shape, and a right-click menu.
5 min read
 3D printing
What Is 3D Printing?
A 3D printer makes real things you can hold, one thin layer at a time. Here is how it works, in simple words.
5 min read
3D printing
What Is 3D Printing?
A 3D printer makes real things you can hold, one thin layer at a time. Here is how it works, in simple words.
5 min read
 App skills
Make Your First 3D Model in 10 Minutes
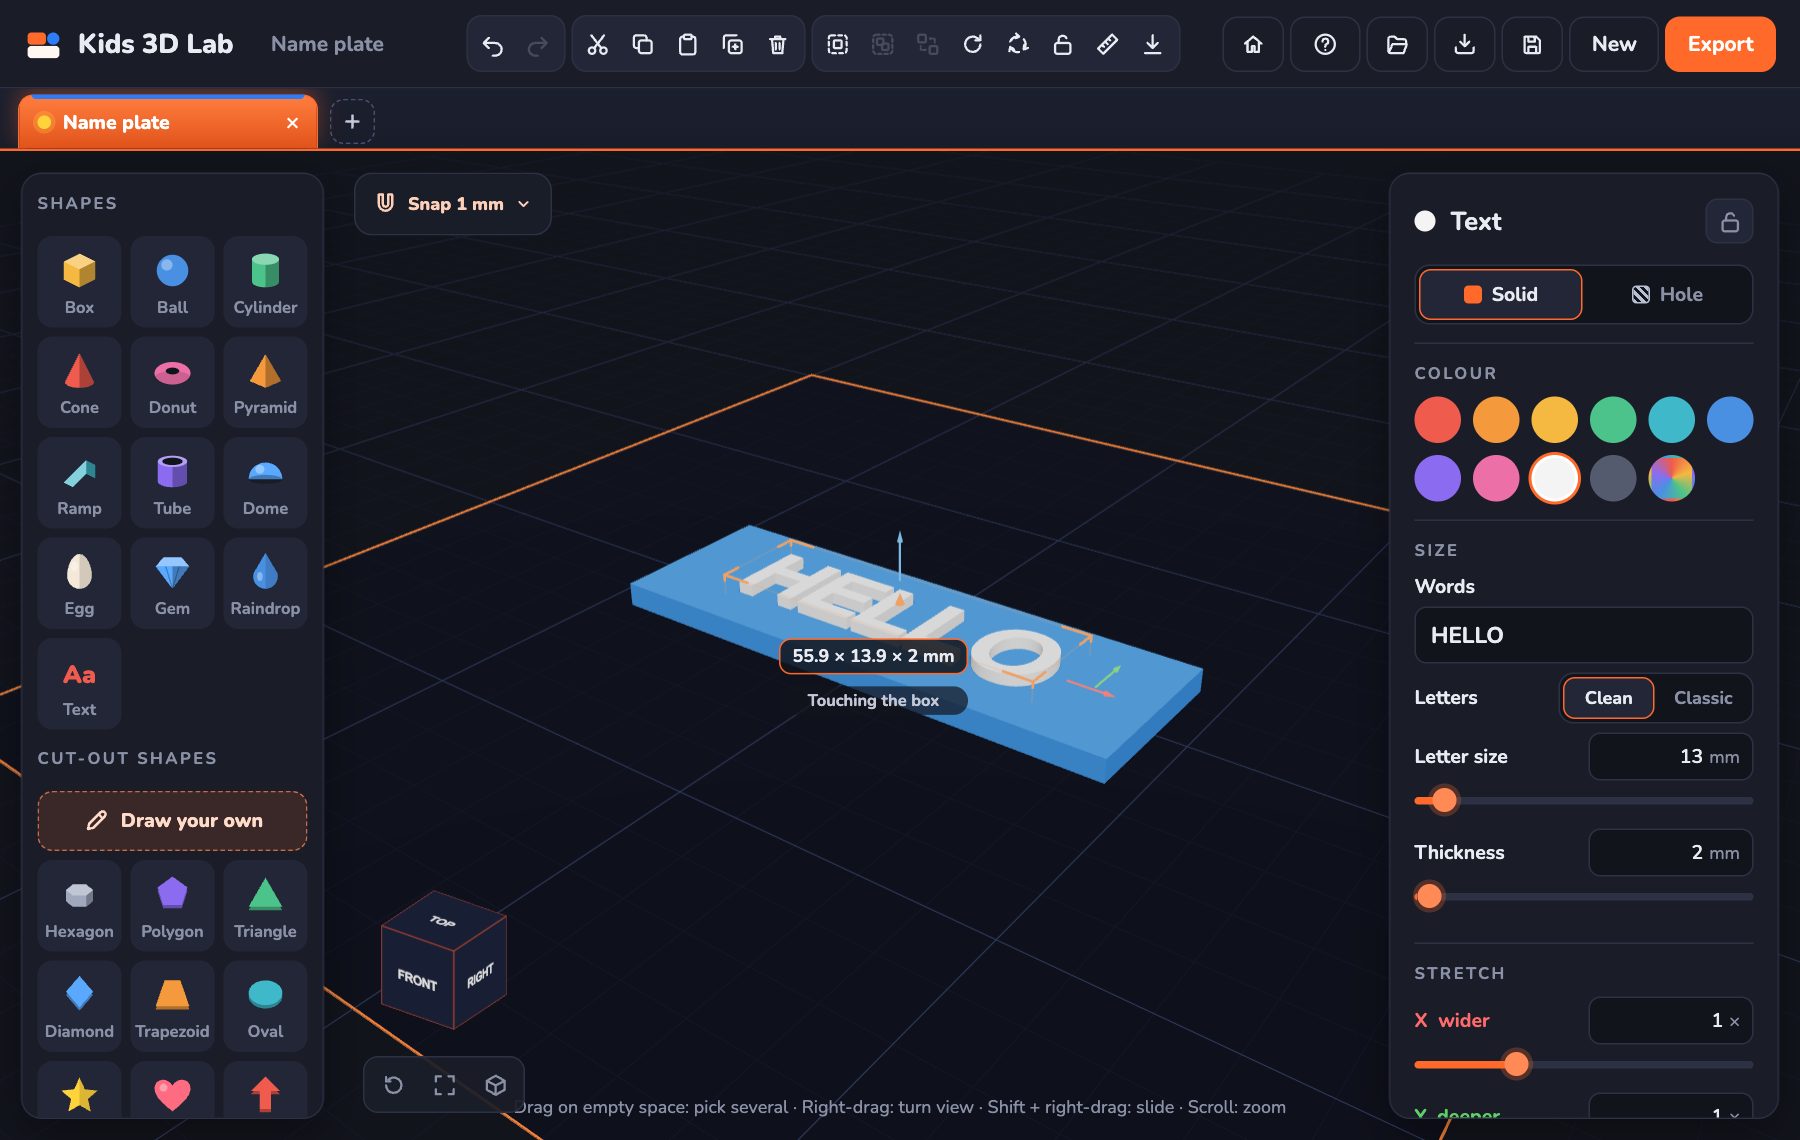
A step-by-step guide to your very first 3D model — a name tag with your own name on it.
5 min read
App skills
Make Your First 3D Model in 10 Minutes
A step-by-step guide to your very first 3D model — a name tag with your own name on it.
5 min read