Blog ›
3D Printing Projects for Kids: 15 Easy Ideas
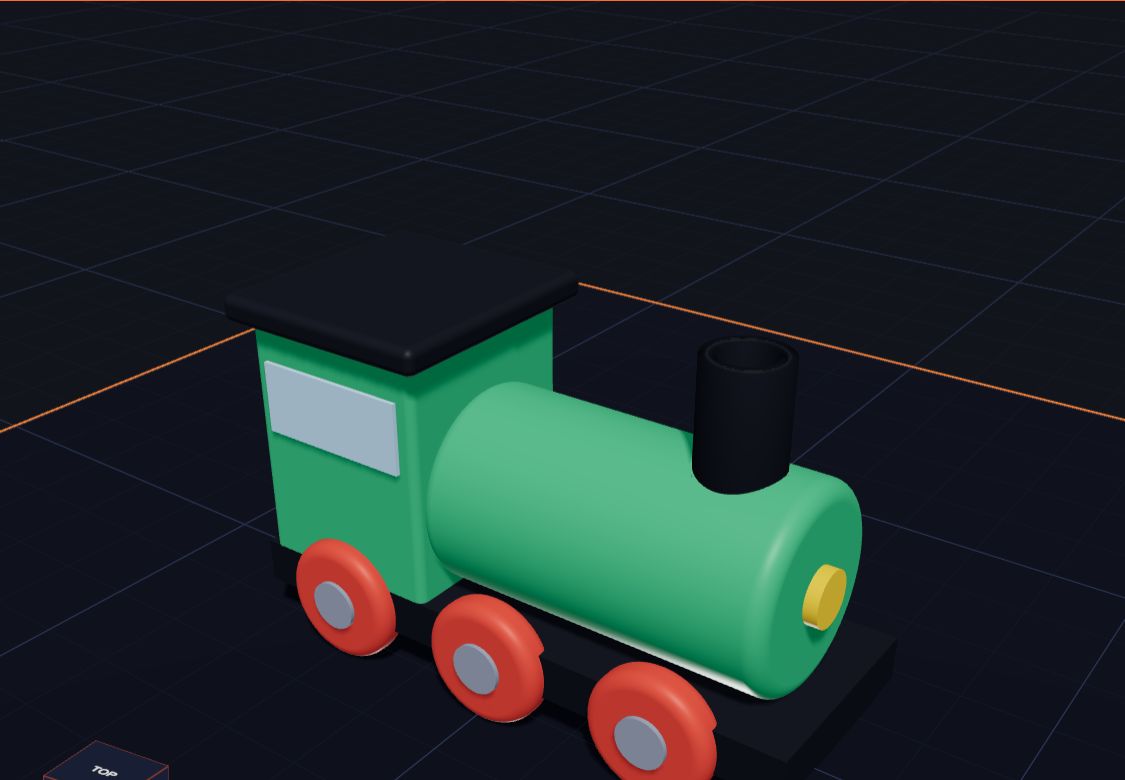
You have a 3D printer, or you can use one at school or the library. Now what should you make? Here are 15 projects that kids can design themselves. Each one is small, useful or fun, and each one teaches a new trick.
Many of them are ready-made examples on the Kids 3D Lab start page. Open one, take it apart, and then make your own version!
Before you start
Three rules make almost every print work:
- Flat bottom. Your model needs a flat side that sits on the plate.
- Everything touches. No part can float in the air. The printer can't print on nothing!
- Not too thin. Make walls and parts at least 2 mm thick.
When you click Export, Kids 3D Lab checks these things for you.
Super easy (your first prints)
1. A name tag
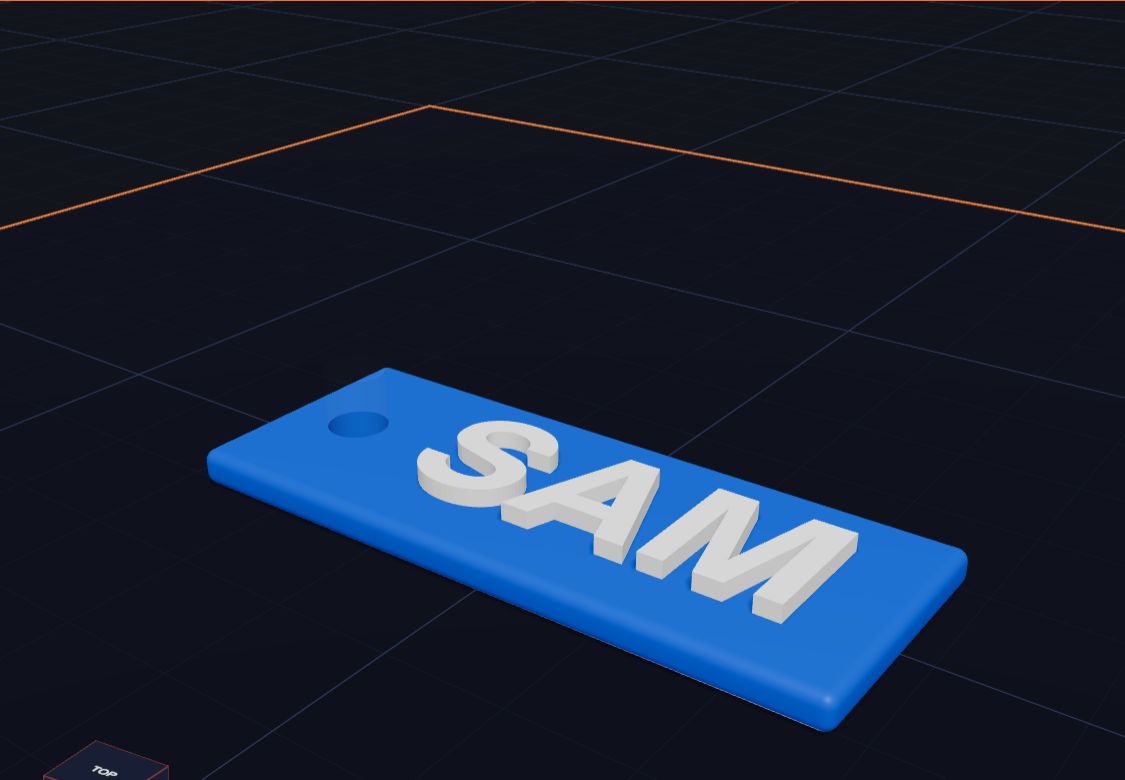
A flat box with your name on top. It is the best first project because it prints fast and you learn text. Add a hole and it becomes a keychain. See Make a Name Keychain.
2. A coaster
A thin cylinder with a star pressed into the top. The star is a hole that only goes 1 mm into the cylinder. Open the Coaster example to see how.
3. A bookmark
A long, thin strip with a heart on the end. Turn your name sideways and put it along the strip. Open the Bookmark example.
4. A dice
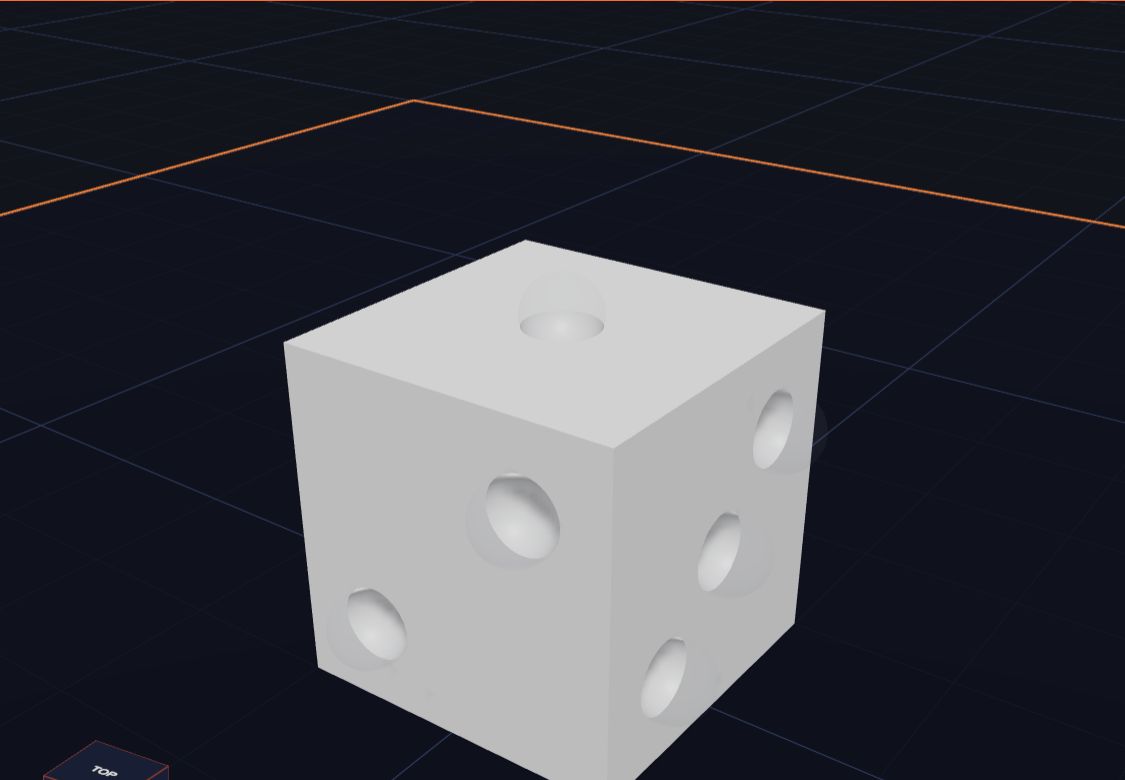
A 20 mm cube with little ball holes for the dots. Remember: opposite sides always add up to 7! Open the Dice example and count the holes.
5. A door hanger
A flat sign with a round hole at the top, so it can hang on a door handle. Write "KEEP OUT" or "WELCOME" on it.
Easy (a few more shapes)
6. A medal
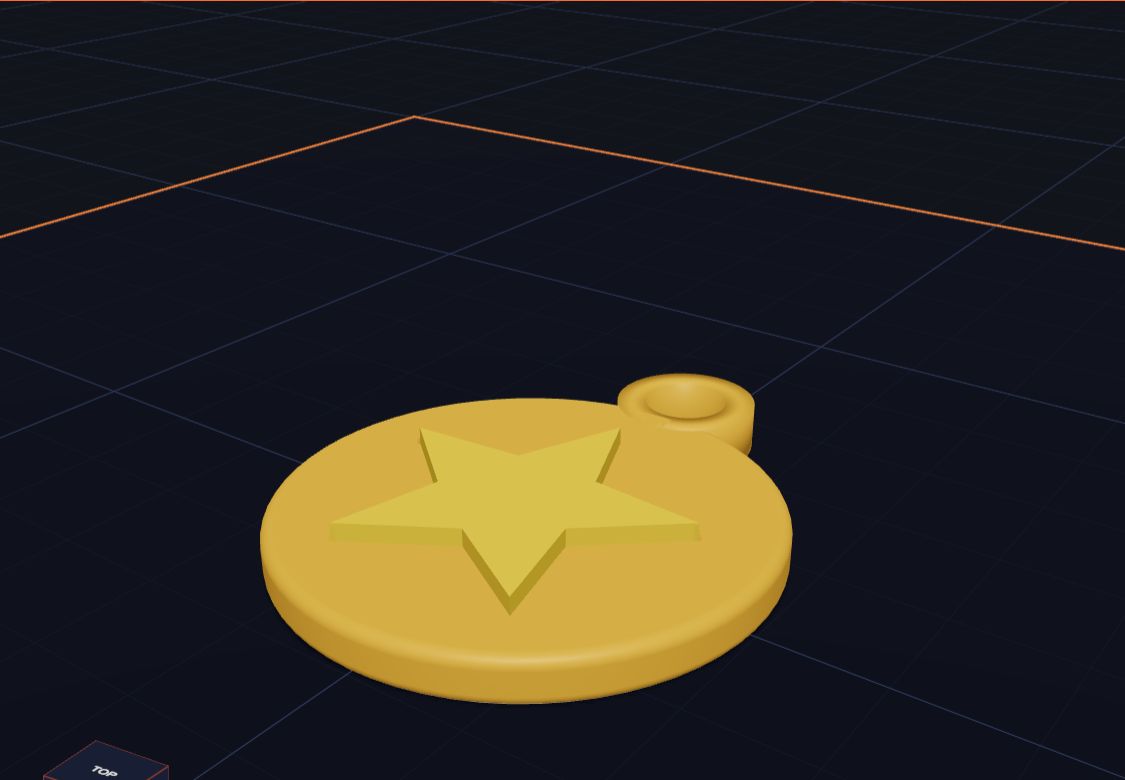
A gold disc with a star on it and a loop at the top for a ribbon. Give it to someone who did something great!
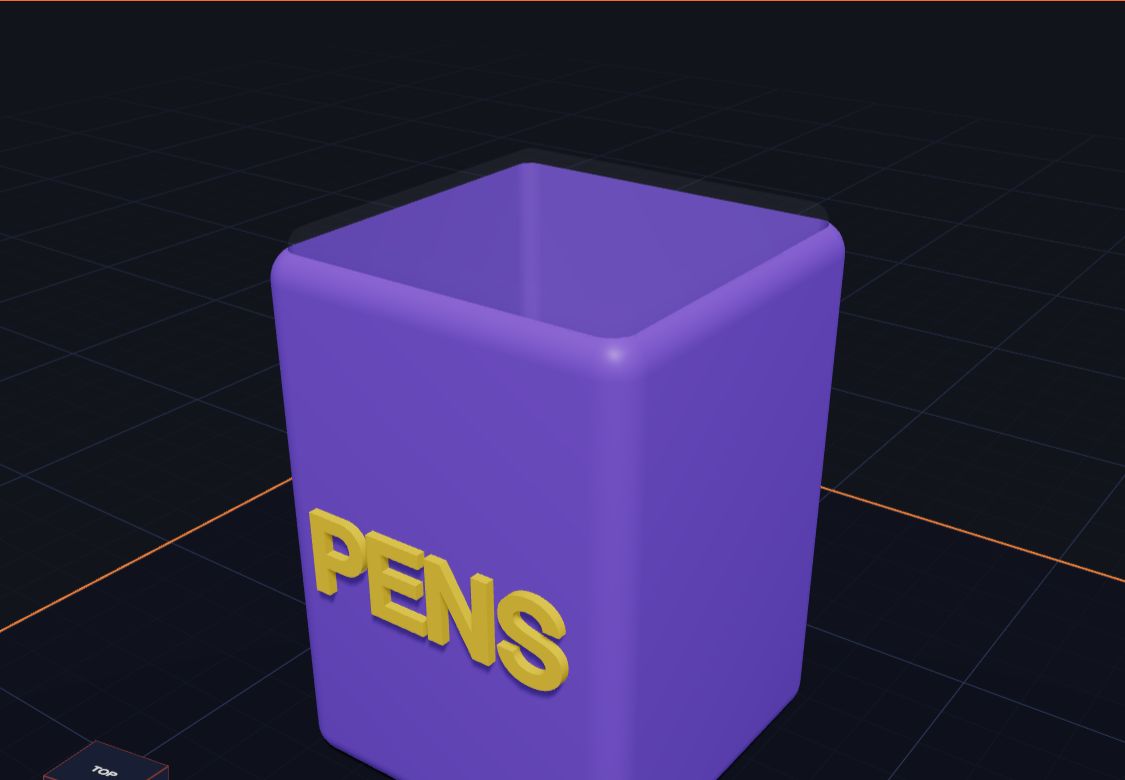
7. A pen pot
A tall box with a hole inside it makes a pot for your pencils. Put your name on the front. See Make a Pencil Holder for Your Desk.
8. A cookie cutter
A heart with a slightly smaller heart taken out of it. A grown-up can help you use it with real dough. See Make Your Own Cookie Cutter.
9. A snowman
Three balls, a carrot nose and a hat. It's a great way to learn stacking. See Build a Snowman by Stacking Shapes.
10. Stacking rings
Five rings, each smaller than the last, on a pole. A little brother or sister will love it. Open the Stacking rings example.
A bit tricky (for when you're ready)
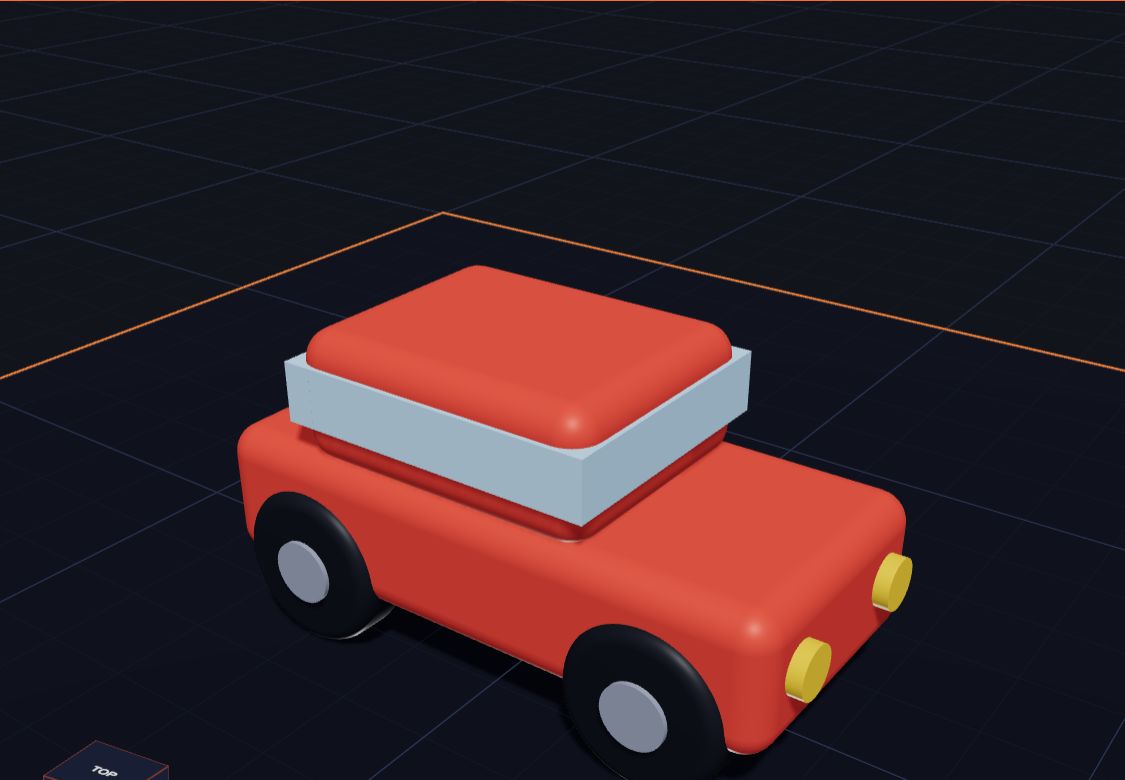
11. A toy car
A body, a roof, windows and four wheels. You'll learn to turn cylinders on their side and copy shapes. See Design Your Own Toy Car.
12. A phone stand
A ramp leans your phone back, and a little lip at the front stops it sliding off. Measure your phone first, so it fits!
13. A rocket
A cylinder body, a cone nose and three fins turned around the body. Each fin is turned 120 degrees from the last.
14. A robot
Boxes for the body, head, arms and legs, with round eyes and an antenna with a ball on top. Give your robot a name tag on its chest!
15. A spinning top
A cone, a disc and a handle. Try making the disc wider or thinner, and see which one spins longest.
How big should a project be?
Small prints are quicker and use less plastic. A name tag might take less than half an hour. A tall pen pot can take a few hours. When you click Export, the Ready to print? box tells you about how many grams of plastic your model needs. Fewer grams usually means a faster print.
Common mistakes
- Parts floating in the air. Click Drop to plate, or move the part down until it touches.
- Text too thin. Letters thinner than about 1 mm can break. Make the text Thickness at least 1.5.
- Holes that cut nothing. A hole must go into a solid shape. Kids 3D Lab shows a warning if it doesn't.
- Too big for the printer. Pick your printer in Ready to print? and it tells you if your model fits.
Questions kids ask
Which project should I make first?
A name tag. It's quick to design, quick to print, and you'll use it every day.
Can I print in more than one colour?
If your printer can use many colours, click Download 3MF. It keeps your colours. On a one-colour printer, a grown-up can often change the plastic halfway through the print, so the top comes out a different colour.
What if my print breaks?
Make the thin parts thicker, and check that every part touches another part. Then try again. Every maker has broken prints. That's how we learn!
Can I change the examples?
Yes! Open any example, click a shape, and change its size, colour or place. Then save it as your own build.
For grown-ups
Projects work best when they solve a real problem or make a real gift. Ask your child who the object is for, and what it needs to do. A pen pot has to fit real pens. A medal needs a hole big enough for a ribbon. These questions turn a fun activity into real design thinking: measuring, testing and improving. Keep the first prints small so a failure costs minutes, not hours. For printing tips, read Getting Your Model Ready to Print.
Keep reading
 Make a Name Keychain, Step by Step
Design your own name keychain in Kids 3D Lab — a tag, your name on top and a hole for the ring — then get it ready for a 3D printer.
6 min read
Make a Name Keychain, Step by Step
Design your own name keychain in Kids 3D Lab — a tag, your name on top and a hole for the ring — then get it ready for a 3D printer.
6 min read
 Design Your Own Toy Car
Build a toy car in Kids 3D Lab from boxes and cylinders — a body, a roof, windows, lights and four wheels — and learn to turn and copy shapes.
6 min read
Design Your Own Toy Car
Build a toy car in Kids 3D Lab from boxes and cylinders — a body, a roof, windows, lights and four wheels — and learn to turn and copy shapes.
6 min read
 Make a Pencil Holder for Your Desk
Design a pencil holder (a pen pot) in Kids 3D Lab using a box and a hole, add your name on the front, and learn about walls and floors.
6 min read
Make a Pencil Holder for Your Desk
Design a pencil holder (a pen pot) in Kids 3D Lab using a box and a hole, add your name on the front, and learn about walls and floors.
6 min read