8 Science Fair Projects With 3D Design and 3D Printing
A great science fair project isn't just a cool object. It's a question you can test. 3D design and 3D printing are perfect for this, because you can make several versions of something that are identical except for one thing — and then measure what difference that one thing makes.
Here are eight project ideas, from easy to more advanced, plus a simple plan for running any of them like a real scientist.
First: how to make it a real experiment
Every idea below follows the same method:
- Ask a question. "Does more infill make a print stronger?"
- Make a prediction (hypothesis). "I think 50% infill will hold twice as much weight as 20%."
- Choose your variables.
- The independent variable is the one thing you change (like the infill). - The dependent variable is what you measure (like the weight it holds). - The controlled variables stay the same every time (same shape, same plastic, same printer settings, same test).
- Test each version at least three times, and work out the average.
- Show your results in a table and a graph, and say whether your prediction was right.
1. Does more infill make a print stronger?
Print the same small beam at 10%, 20%, 40% and 80% infill. Hang it between two tables and add weights (bags of coins or water bottles) to the middle until it bends or breaks. Measure: the weight it held. Read What Is Infill? to understand what's inside a print.
2. Which bridge shape is strongest?
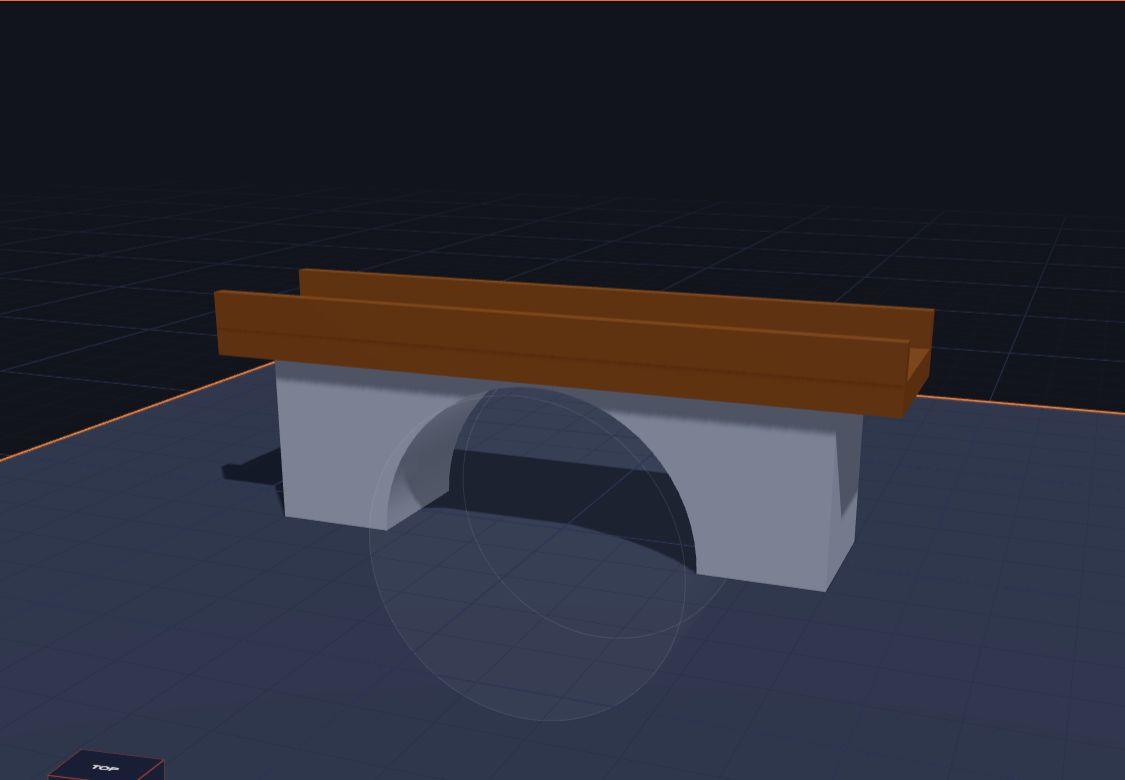
Design three bridges with the same length and the same amount of plastic: a flat beam, an arch and a triangle truss. Load each one in the middle. Measure: the weight each holds before it fails. Bonus: work out "weight held per gram of plastic" for a fairer comparison.
3. What boat shape carries the most cargo?
Design boats with the same width and length but different hull shapes: flat-bottomed, rounded and V-shaped. Float them in a tub and add coins one at a time. Measure: how many coins each holds before it sinks. Our post Design a Boat That Floats has tips for making the hull watertight.
4. How does wall thickness change strength?
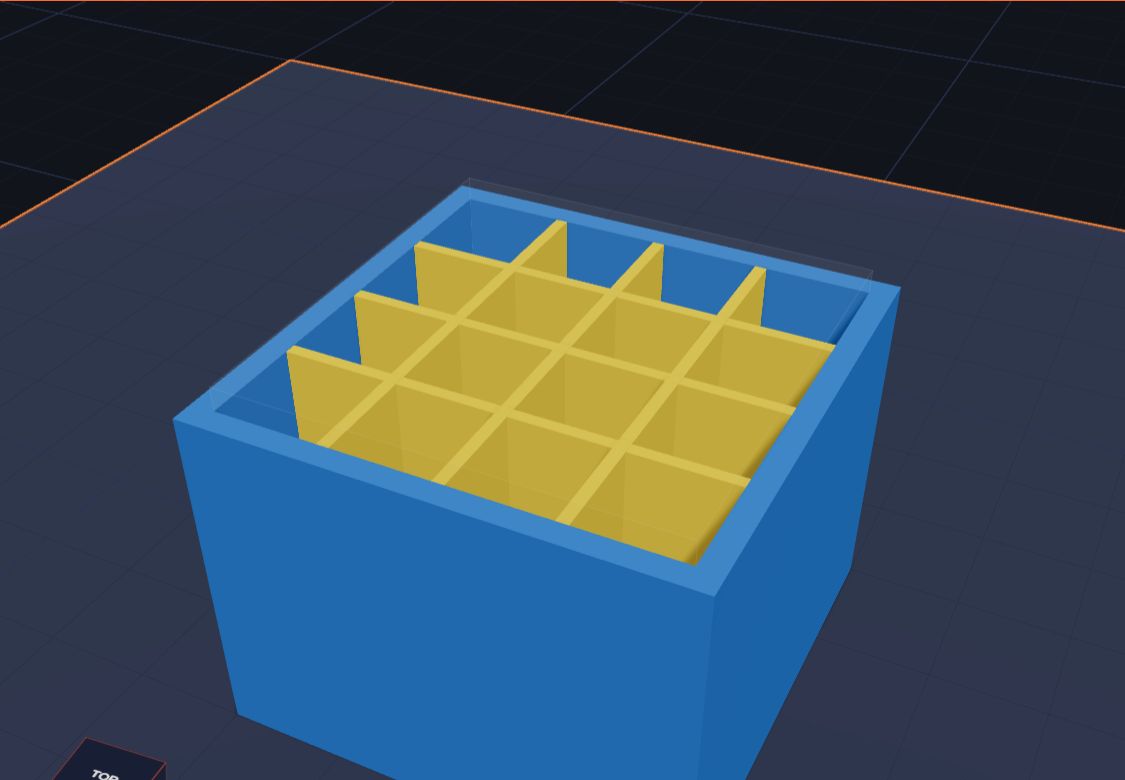
Make the same cup with walls 0.8, 1.2, 1.6 and 2.4 mm thick. Squeeze each one with a kitchen scale underneath, or stack weights on top. Measure: the force when it cracks or bends.
5. Do gear sizes change speed?
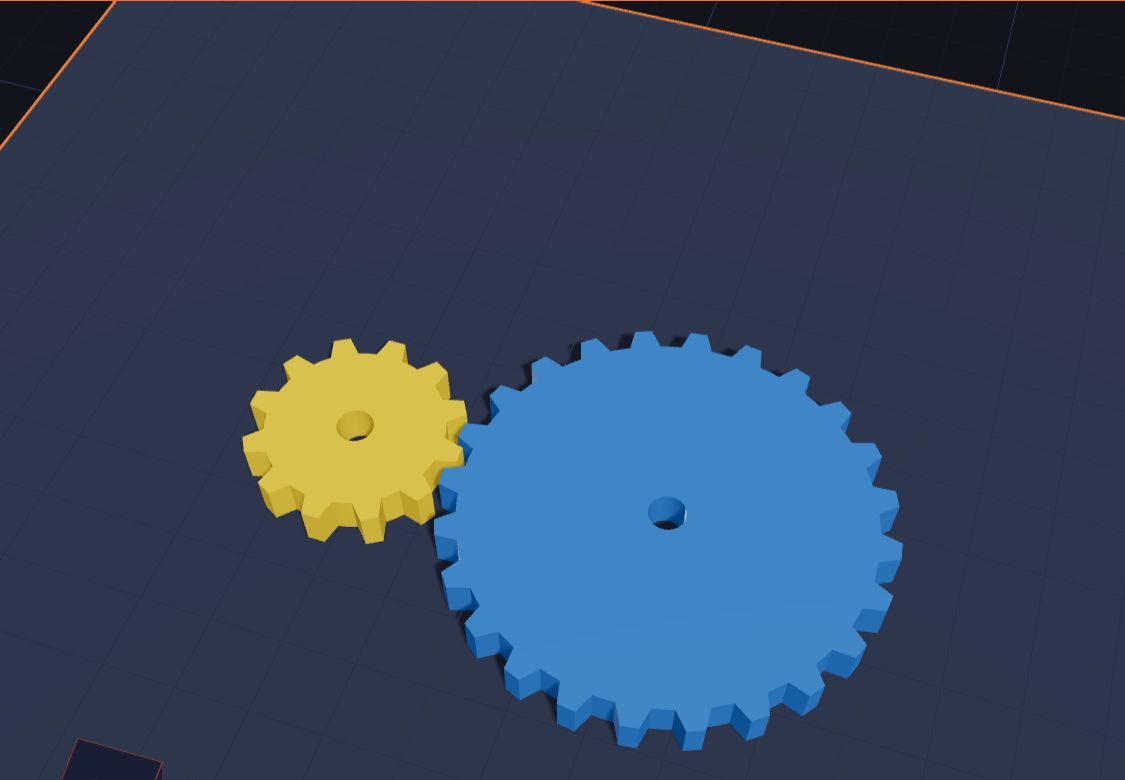
Design two gears with different numbers of teeth, like 10 and 30. Turn the big one once and count how many times the small one turns. Measure: turns of each gear. Then predict other pairs before you test them. How Do Gears Work? explains gear ratios.
6. Which shape holds the most for the least plastic?
Design containers that all hold the same amount of water — a cube, a cylinder and a sphere-like shape. Weigh each print. Measure: the plastic used. This is a project about surface area and volume, and the answer surprises a lot of people.
7. Does layer height change print time and finish?
Print the same model with layer heights of 0.12, 0.2 and 0.28 mm. Measure: print time (from the slicer and the real clock) and how smooth it feels or looks under a magnifier. Why Do 3D Prints Have Lines? explains the layers.
8. How accurate is a 3D-printed sundial?
Design a sundial for your latitude, print it and set it up outside. Every hour, compare its reading with a clock. Measure: how many minutes it's off, and how that changes through the day. Make a Sundial shows how to design one.
Example: how to record your results
Here's how a results table for idea 1 (infill and strength) might look. These numbers are made up, to show the layout — your own results will be different.
| Infill | Test 1 (g) | Test 2 (g) | Test 3 (g) | Average (g) |
|---|---|---|---|---|
| 10% | 820 | 790 | 850 | 820 |
| 20% | 1,150 | 1,210 | 1,180 | 1,180 |
| 40% | 1,640 | 1,580 | 1,700 | 1,640 |
| 80% | 2,050 | 2,120 | 1,990 | 2,053 |
Then draw a line graph: infill along the bottom (x-axis) and average weight held up the side (y-axis). Look at the shape of the line. Does doubling the infill double the strength? If the line flattens out, that's an interesting finding — write about it!
Writing your conclusion: say what you found, whether it matched your prediction, and use numbers. For example: "Increasing infill from 10% to 80% increased the weight held from 820 g to 2,053 g. Strength rose quickly at first and then more slowly, so my prediction that it would double each time was only partly right."
What judges look for
Use this checklist before the fair:
- A clear, testable question written at the top of your board.
- A hypothesis with a reason ("…because more infill means more plastic inside").
- Variables listed: what you changed, what you measured, what you kept the same.
- Repeated tests and averages, not just one try.
- A table and a graph with labelled axes and units.
- Photos of your CAD models, prints and tests.
- A conclusion that uses your numbers.
- Evaluation: what went wrong, what you'd improve, and what you'd test next.
Tips for a winning project
- Keep it simple. One clear question beats five vague ones.
- Take photos at every step, including failed tests.
- Explain sources of error. Prints aren't all perfect; say what might have affected your results.
- Show your CAD model on a tablet at the fair, so judges can see how you made fair versions.
- Say what you'd test next. Judges love curiosity.
Safety
Ask a grown-up to help with the 3D printer: the nozzle and bed get very hot. Wear safety glasses when testing to breaking point, since plastic can snap and fly. Read Is 3D Printing Safe for Kids? for more.
Questions students ask
Can I do a 3D printing science project without a printer?
Yes. A library, school or print service can print your designs. Read How to 3D Print Without Owning a 3D Printer. Ideas 3, 5 and 6 can also be done partly in CAD, by measuring the model on screen.
How many versions should I make?
At least three different versions, and test each one at least three times. More versions give you a better graph.
What makes a good science fair question?
It has one thing you change and one thing you can measure with a number.
For parents and teachers
These projects build real scientific thinking: fair tests, controlled variables, repeated measurements and honest conclusions. 3D design makes fair testing unusually easy, because each version can be identical apart from one setting. Budget time for printing — several versions can take a few days — and keep early tests small. Younger siblings can join in with the simpler ideas, and for teens interested in where this leads, see Jobs That Use 3D Design and CAD in DT.
Keep reading
 For teens
Jobs That Use 3D Design: CAD Careers for Teens to Explore
Which jobs use CAD and 3D design? Engineers, product designers, architects, game artists, dental technicians and more — what they do, which school subjects help, and free tools to start learning now.
7 min read
 For teens
CAD in DT: A Student's Guide for GCSE Design and Technology
What CAD stands for in DT, how CAD and CAM are used in GCSE Design and Technology, which software schools use, and how to show good CAD work in your NEA project.
8 min read
 3D printing
What Is 3D Printing? Explained for Kids
What is a 3D printer, and what does it do? A 3D printer makes real things you can hold, one thin layer at a time. 3D printing explained for kids, with fun facts.
6 min read